Recipes

French style cooked tomatoes

French style baked tomatoes

I wanted to provide a new recipe to you all which requires a skill level of less than #1! These French style baked tomatoes are so easy to prepare. It is an old and forgotten dish that is probably overlooked, but will add a little colour and flavour to your meals.

Ingredients:

3 tomatoes, ripe and colourful

6 whole cloves of garlic

sprigs of thyme

olive oil, salt and freshly ground pepper

Method:

Preheat oven to 180c.

Slice the tomatoes in half, drizzle with olive oil and sprinkle some salt and ground pepper to your taste. Lay the fresh (or packaged) sprigs of thyme and add one clove of garlic to each half. The garlic needs a little dash of olive oil to allow it to cook slowly and soften to a delicate paste.

Place in the oven for 15-20 minutes or until the garlic has browned and the tomatoes look like they're ready.

Very simple, very tasty, very good!

I'll add this to the website where you'll find around one hundred easy recipes for everyday enjoyment. Just Google 'Brendan's Kitchen'. https://maxifoods.net.au/cook

Kindest regards,

Brendan Blake

Tiramisu

The name ‘tiramisu’ is actually three Italian words combined in a phrase:

-  Tira, the third person conjugation of the verb ‘tirare’ translates in English to ‘pull’.

-  Mi, means ‘me’; and

-  Su, means ‘up’

The word tiramisu literally translates to ‘pull me up’!  Or ‘lift me up’!

It is very easy to make.  No refrigeration required.  It is even easier to consume!

My version does not use raw eggs whites, but most recipes do. 

Ingredients:

-       a packet of sponge finger biscuits;

-       200ml freshly brewed or percolated coffee, cooled to room temperature

-       300ml fresh thickened cream

-       250gms mascarpone cheese (from the deli/dairy case)

-       1/3 cup caster sugar

-       4 drops vanilla essence

-       Fresh powdered cocoa

Method

The tiramisu is a two layered cake, each layer is the same.

Using a mixer, whip the cream, sugar and vanilla essence until it is fairly stiff.  Using a spatula, fold well the mascarpone cheese into the mix.  

Ensure your coffee mixture is cooled.  Hot coffee may cause the cream/cheese mixture to curdle. 

Prepare your bowl of cooled freshly brewed coffee.  Prepare a square tin/glass or ceramic dish approximately 50mm high.  Using exactly half the quantity of finger biscuits, dip each finger biscuit into the coffee for a second only and place it to create a create a layer on the base of the tin.  Now spread a layer of the cream cheese mixture, using exactly half of the amount prepared.  Generously sift the cocoa powder over the cream cheese layer.  This is one layer done. 

Now repeat the same atop the first layer.  Cover with the remainder of the cream cheese mixture and heavily sift the cocoa powder on top.

Refrigerate for about three hours.

Eat.

Enjoy.

Tuna and tomato pasta sauce

Now I understand that you will call into question my frequent comment that, “this tastes so good blah blah blah…”’ but maybe, just maybe it’s true!

This pasta sauce is a variation to the old bolognese sauce with a much quicker preparation time using canned tuna and fresh ingredients.  I think the one ingredient that makes this sauce taste so good is the coarsely cut garlic.  I have never had much luck frying garlic, I like to throw it in when all the other ingredients are simmering so the garlic loses its edge and blends delicate flavour throughout the sauce without overcooking or frying in oil.

If you have children looking for a meal to cook, then this is a simple meal that will provide them with a strong sense of accomplishment because it is easy to make and tastes really good!

Like everything you cook, fresh ingredients are a must.

Ing.

1 x onion, finely diced

a tablespoon olive oil

200g canned tuna in oil, the Italian ones tend to be solid piece as opposed to flakes

3 x sprigs spring onion

1 x 400g can chopped tomatoes (or three fresh tomatoes instead)

3 cloves fresh garlic, coarsely chopped   

a handful of chopped fresh Continental Parsley

a tablespoon of tomato paste

a teaspoon of Massell powdered chicken stock

Murray River Pink Salt

Freshly ground pepper

Start by heating the pasta water onto the stove.  Place the pasta into the water when it boils.  Once the pasta is ready, the sauce will be ready.  Timing is everything!

Into a medium heated frypan, fry the onion in the olive oil.  After a minute, add your can(s) of tuna, ensuring to add all the oil in the can.  Mix it up and let it cook for another minute.  Add your tomatoes, spring onion, tomato paste and Massell chicken stock.  Let it settle.  Now add the garlic, Murray River Pink Salt and pepper to taste.  Add your Continental parsley and turn down the heat to low and let it simmer.

Make sure to serve your pasta sauce with freshly grated Grana Padano cheese!

There will be no leftovers, so if you’re into making several meals at one time, make a bigger batch!

Enjoy!

Brendan

Fresh Tasmanian Trout

Hi Lockdown Lovers and Lockdown Foodies (that should cover everyone),

 During the last Melbourne lockdown, we cooked a lot.  We enjoyed some new flavours, new experiences and moved out of our culinary comfort zone, just a little.  Now that Lockdown is back I promise to bombard you with meals and instructions, take dazzling good photographs (thanks to my phone) and engage with you all to prove that we can all cook, you just have to get to the kitchen!

OK, this week my good buddy Mark gave me a couple of fresh Tasmanian trout that he reluctantly parted with following many long fishless days and the usual fisher despair!  No, not really, he just gave me some fish!

Now, this is a simple meal.  Simple in fresh produce, minimal cooking, wonderful flavours and very little preparation.  The only factory produced products here are the butter and the cream in the fish sauce, but one could argue that they are pretty natural regardless of their manufacturing processes.  

The recommended ‘method de cook’ was oven baked.  Simple.  Here’s how:

Ingredients

Fresh trout

1 x lemon, sliced

Murray River Pink Salt

Cracked Pepper

Olive oil

Continental parsley or Fresh Dill

I would normally have added fresh Continental parsley or Dill, but I didn’t (too may diets to manage!)

Method

Preheat oven to 200c.

Clean the fish. 

We are going to envelope the fish in a foil envelope, so place the fresh fish onto a large piece of aluminium foil.  

This method cooks the whole fish, so inside the fish place two slices of fresh lemon, a sprinkle of Murray River Pink Salt, freshly cracked pepper to taste and a good splash of olive oil.  Add your Continental parsley or Dill now.

Pour a little more olive oil on the outside of the fish, wrap the foil so a large air pocket is created above the fish.  This will act as an oven or internal steamer while the fish bakes at high temperature.

Place on an oven tray and place into the preheated oven and bake for 20 mins.

When the parcels are ready to be removed, be aware that the steam is hotter than boiling water, so beware the rise of the steam!  Place the fish onto a serving plate and pour the remaining juices from the foil envelope over the fish.

The delicate flesh will fall off the bones, the fresh vegetables (not really salads) attached are complimentary and the ‘mandatory’, legendary butter, garlic, lemon and cream sauce recipe is here:

https://maxifoods.net.au/kitchen/sauce-so-good-it-must-be-bad

The ripe tomatoes were tossed in Murray River Pink Salt, freshly cracked pepper and fresh whole basil leaves.  Covered in olive oil.  Fresh!

The lettuce is just plain old freshly chopped Cos lettuce with Murray River Pink Salt and Olive Oil.  This tastes great!

The giant mushrooms are pan fried, on their heads, with a splash of olive oil on top and on the bottom.  They are served whole (and eaten in pieces)!

Promising you more recipes, reviews and rubbish this year (the three R’s). 

I’ve been a little busy.  Apologies!

 Brendan Blake

Many mushrooms make good pasta

OK, so I’m yet to discover that eating too many mushrooms encourages weird dreams, but if such a condition exists, then I’m in for a show!

I used four types of mushrooms, button, swiss brown, oyster and enoki (which are the long stem small head mushrooms).  The combination of olive oil, butter, garlic and mushrooms is pretty hard to beat.  This is a really delightful pasta which I thought suited the day we experienced today.  

You can use any type of mushrooms, even one type only.  It will still taste terrific.

Make sure you know that the mushrooms you are using are safe, particularly if you ‘found them in the garden’.  I suggest not to use field mushrooms unless you are trained in their identification and potential danger, and you wish to take that risk. 

Ing.

2 cups of Mushrooms, any type (from a reliable source)

300gms spaghetti

One onion, sliced

Four cloves of garlic, finely diced

A handful of Continental parsley

A few sprigs of fresh thyme

80gms butter

300gms fresh thickened cream

A tablespoon of olive oil

1 teaspoon Massel powdered chicken stock* (dissolved in a splash of hot water)

Freshly cracked pepper to taste

Murray River Pink salt

Grated Grana Padano cheese to serve  

Method

The pasta and the mushroom sauce are to be prepared separately.  Heat the pasta water so the water will be heated in a few minutes time, ready to cook.

In a large stovetop pan, gently pan fry the onion in olive oil over medium heat.  Once golden add the butter.  As the butter melts add the chopped garlic to the butter, ensuring it doesn’t fry.  Now add all the mushrooms (whole) and the Massel stock which is dissolved in a splash of hot water.  Sprinkle in some salt and pepper to taste.  Add the handful of chopped parsley and thyme.


Cook it for about 5-7 minutes while the mushrooms reduce.  

The pasta water is probably now ready.  Add your pasta to the water and cook as per the instructions on the packet, which is generally about eight minutes.

Now to your mushroom pan, add the cream.  Stir it about and let it sit for about three minutes whilst it rises.  Let it rise, but not boil.  Once the cream takes on the colour of the mushrooms turn off the heat and let it rest until your pasta is ready.

Strain the cooked pasta through a colander.  Tip the pasta into the mushroom sauce and toss about so everything is covered in the delicious mushroom flavoured cream.

Serve with a generous sprinkling of Grana Padano cheese.

Now eat.

Enjoy those dreams.

Kind regards,

Brendan Blake

 * Massel stock is vegan

Sauce so good, it must be bad!

This is my lemon/butter/garlic/cream sauce.  It is very very good.  It was created to be used on seafood, but I have come to learn that it goes on ‘everything’.  Its use should be ‘limited’!

It is very easy to make.

Ing.

50gms butter

The juice of one fresh lemon

3 cloves garlic, finely diced/chopped

100ml thickened cream

a pinch of finely chopped Continental Parsley

Murray River Pink Salt to taste

Melt the butter over low heat.  When melted, add the lemon juice and then the garlic.  Stir it about and let it heat up for about a minute.  Add a pinch of salt.  Add the cream and stir it all together.  Let the cream warm and rise, then turn off the heat.  Now add your very small pinch of parsley.

Now pour it over whatever you like!

BTW, I added a picture of my sliced avocado.  Drizzled with Olive Oil and freshly coarse ground pepper.  

Many decades ago, I discovered the fabulous blend of avocado and cracked pepper.  For some reason it works very well.  

Avocados are naked without pepper!

Enjoy please.

Pasta al forno (Italian style oven baked pasta)

The wintery weather prompted me to make a lasagne, but when I arrived home I was asked to substitute the lasagne sheets with macaroni.  Go figure!

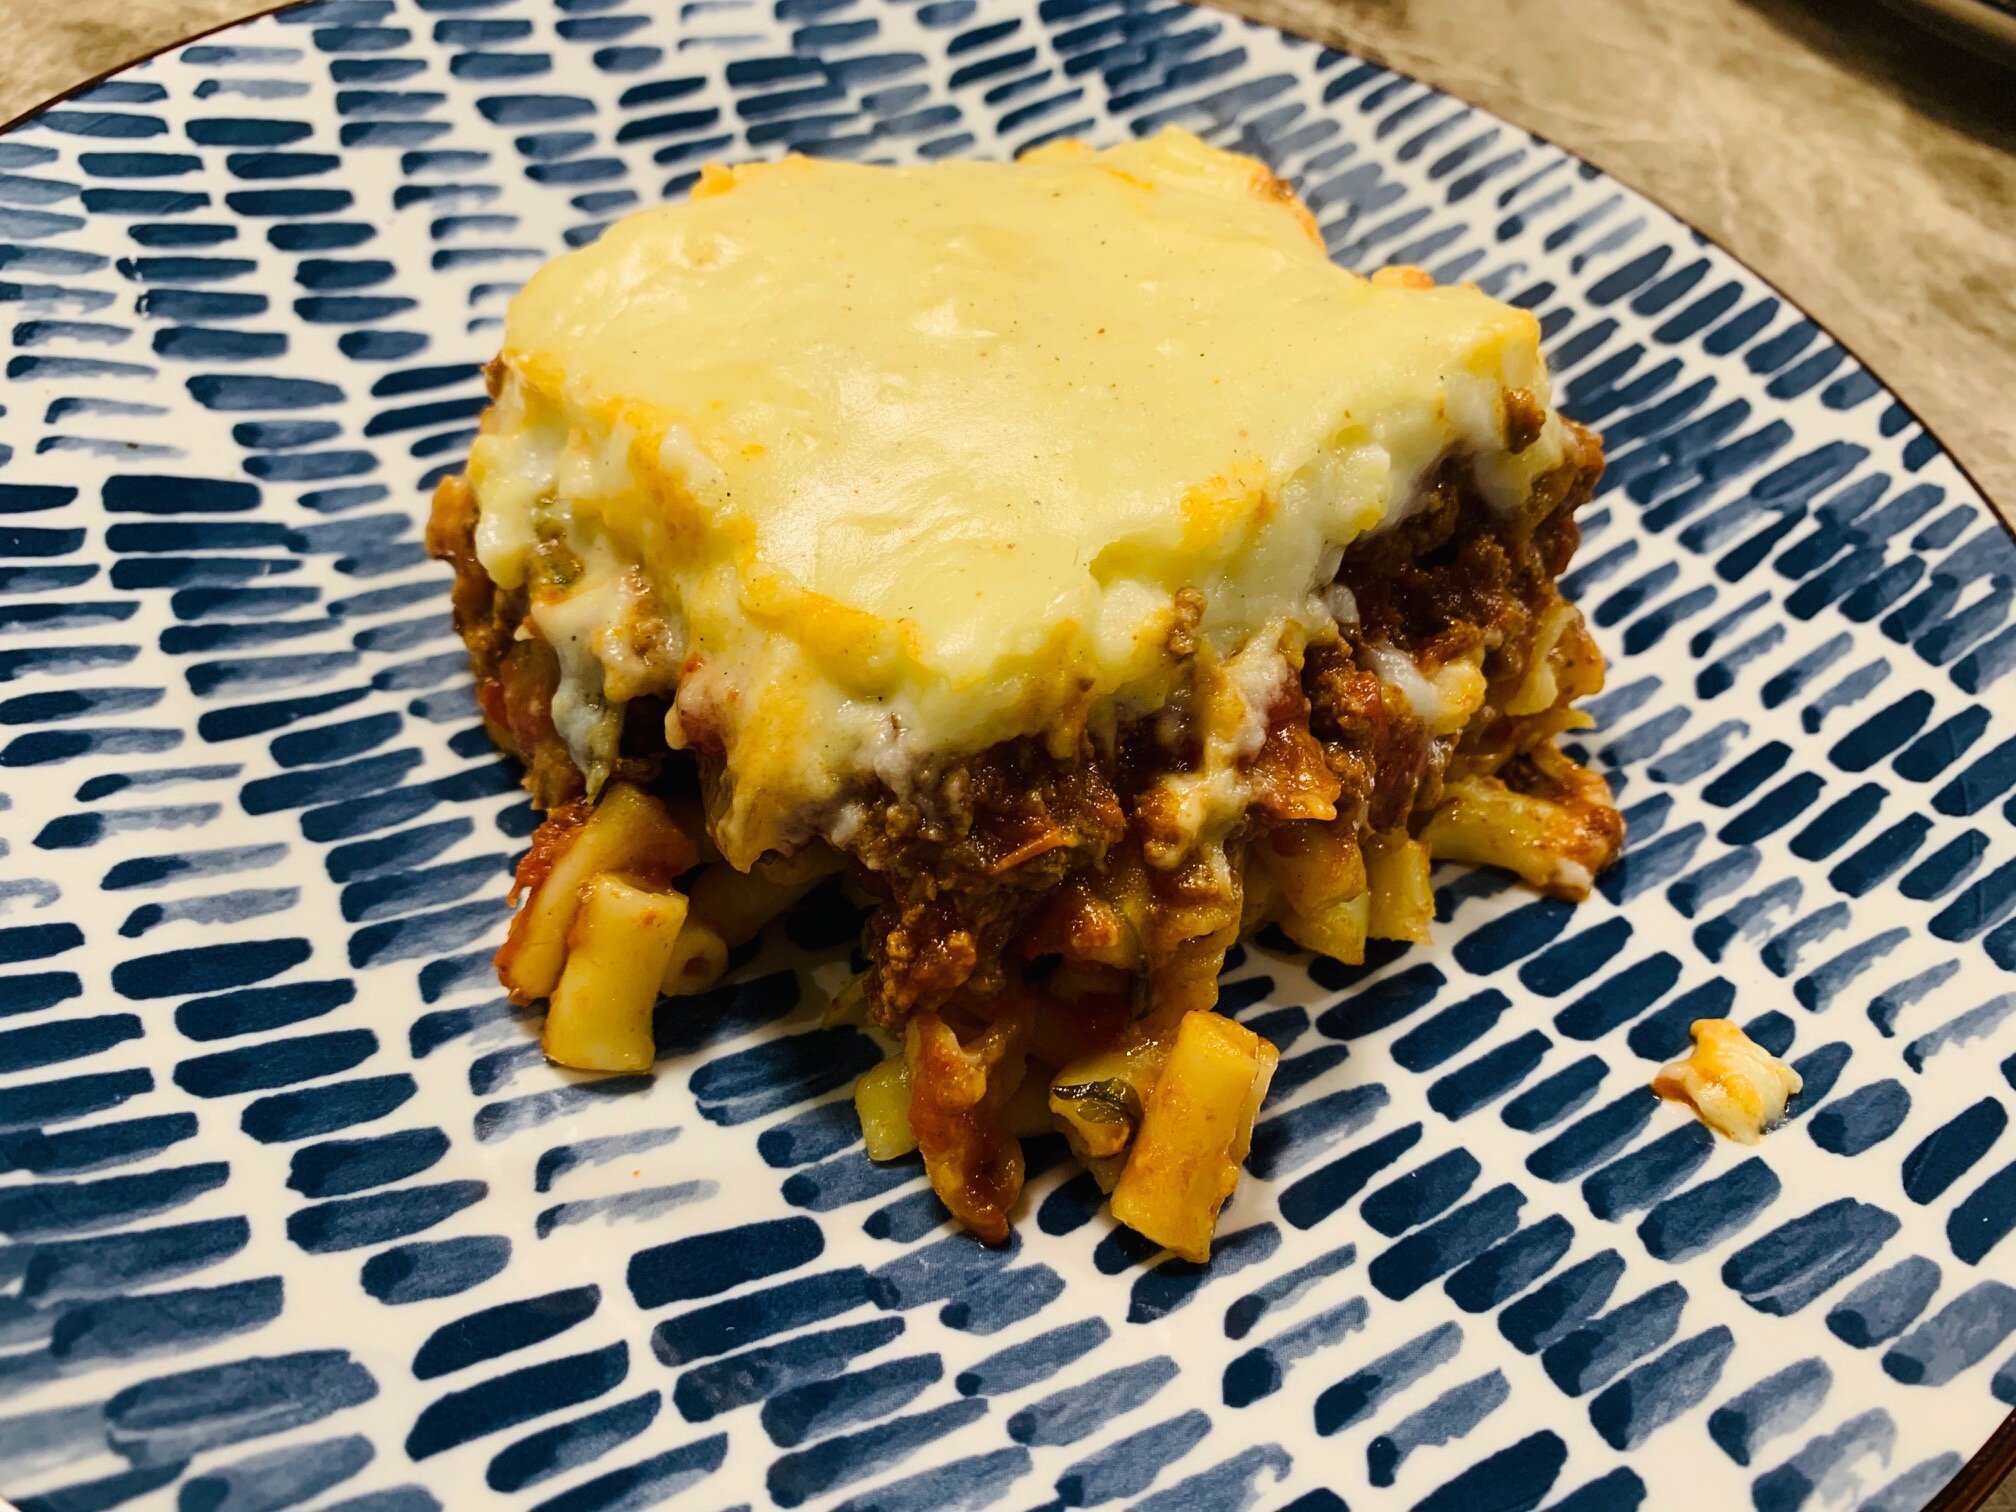
My lasagne was instantly converted into ‘pasta al forno’. The method is largely the same but instead of layering the pasta sheets and sauce, the (semi cooked) macaroni is placed at the bottom of the oven dish and the meat is placed atop, covered by a decent layer of nutmeg spiced béchamel sauce.

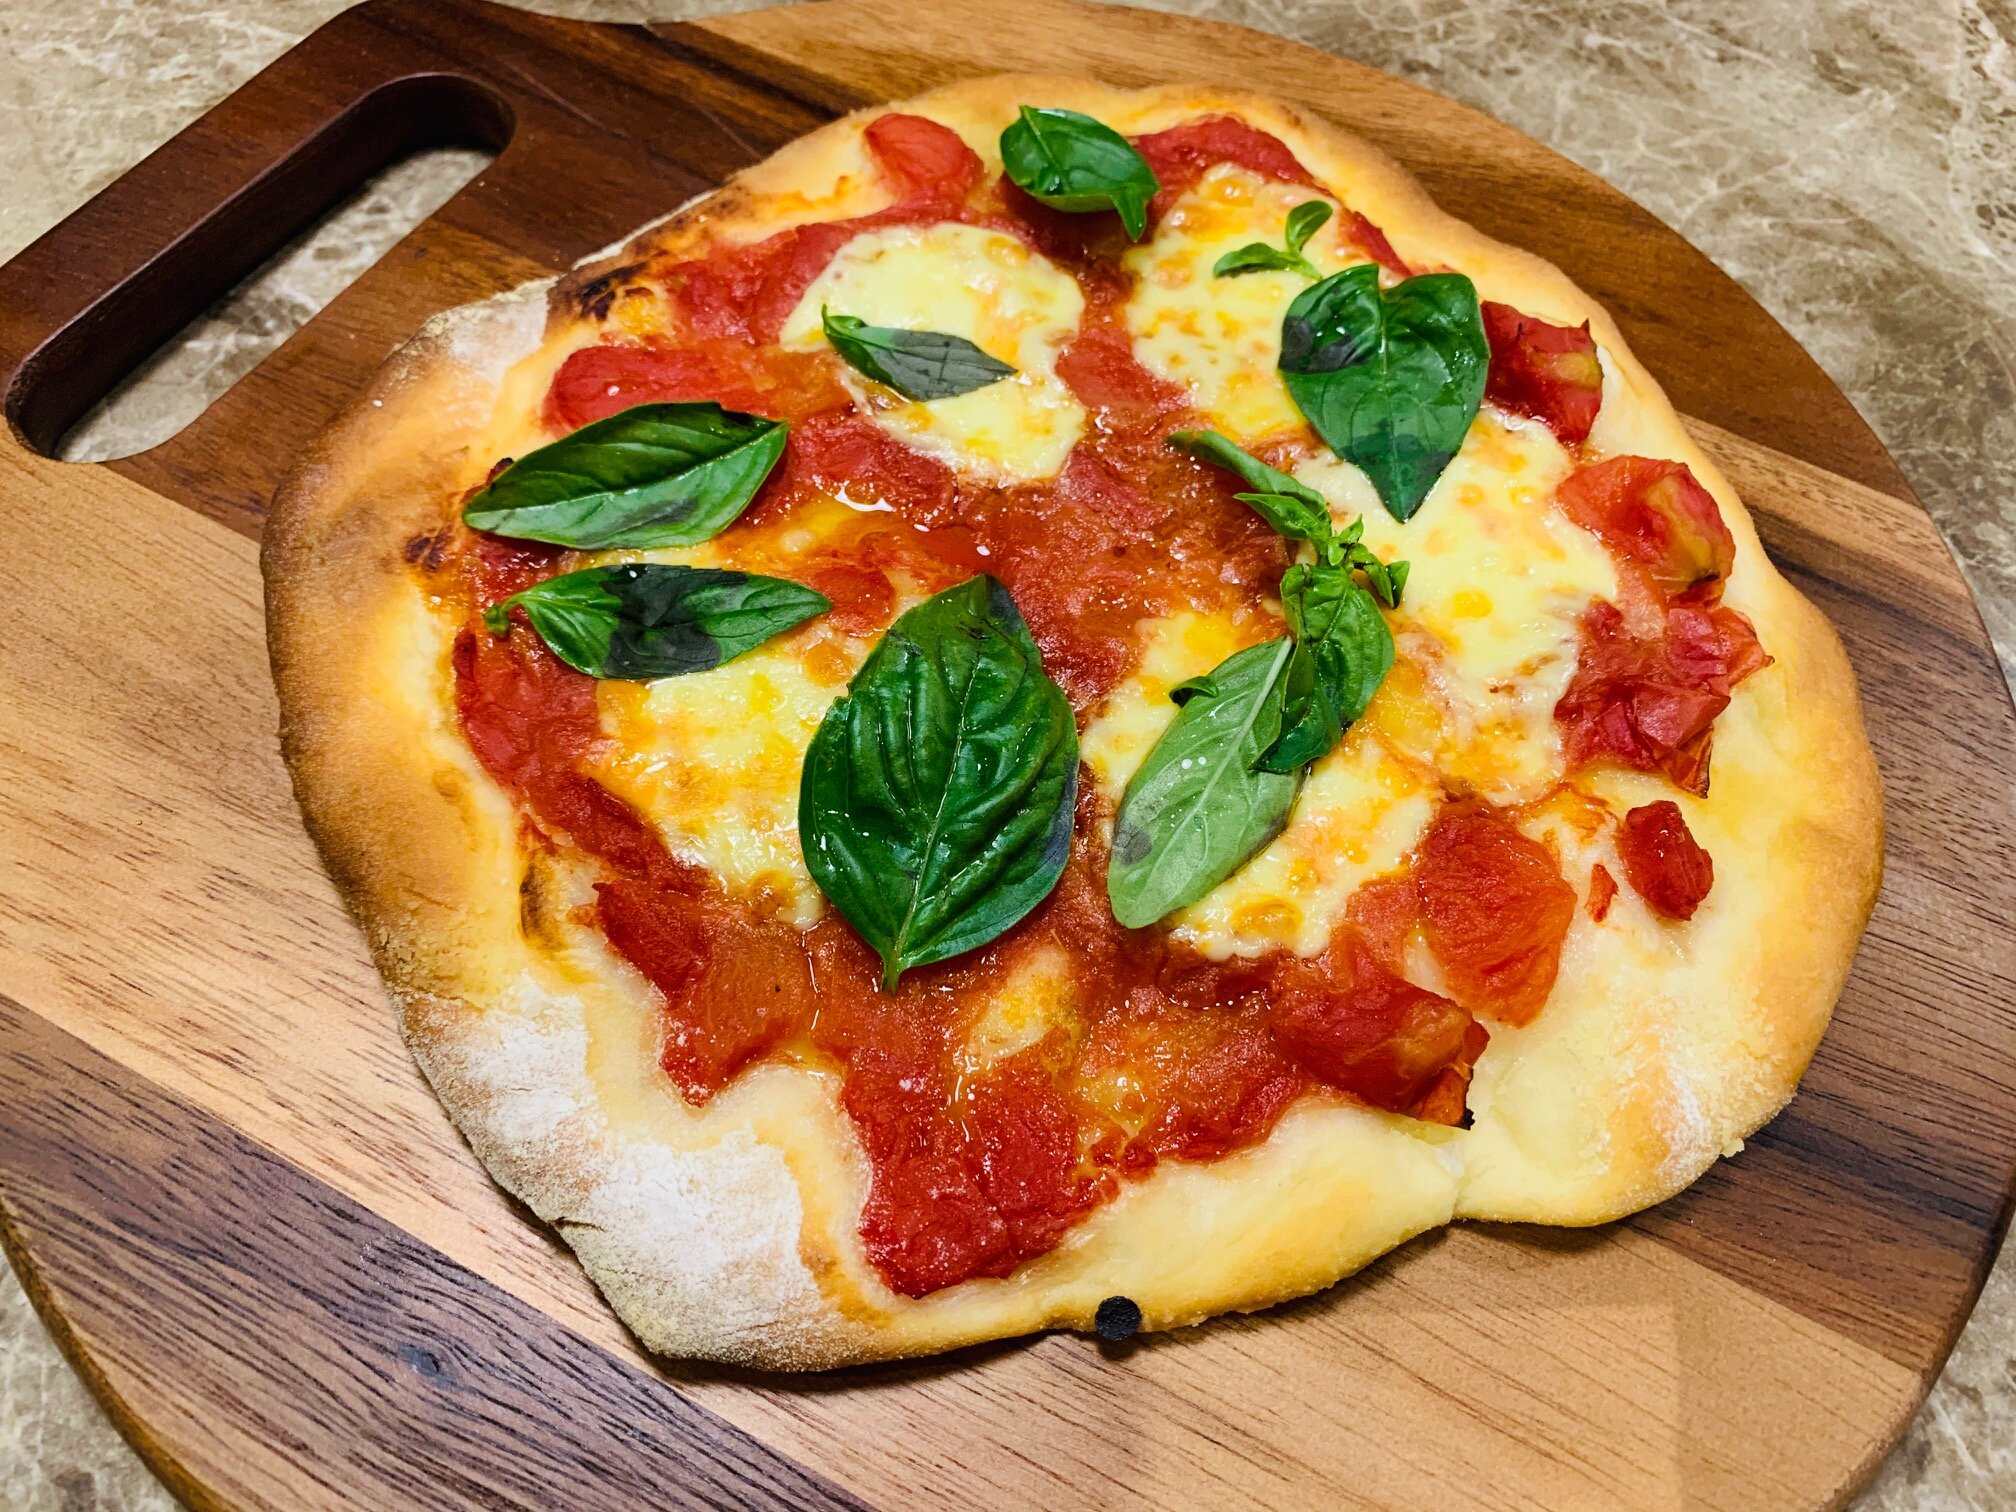
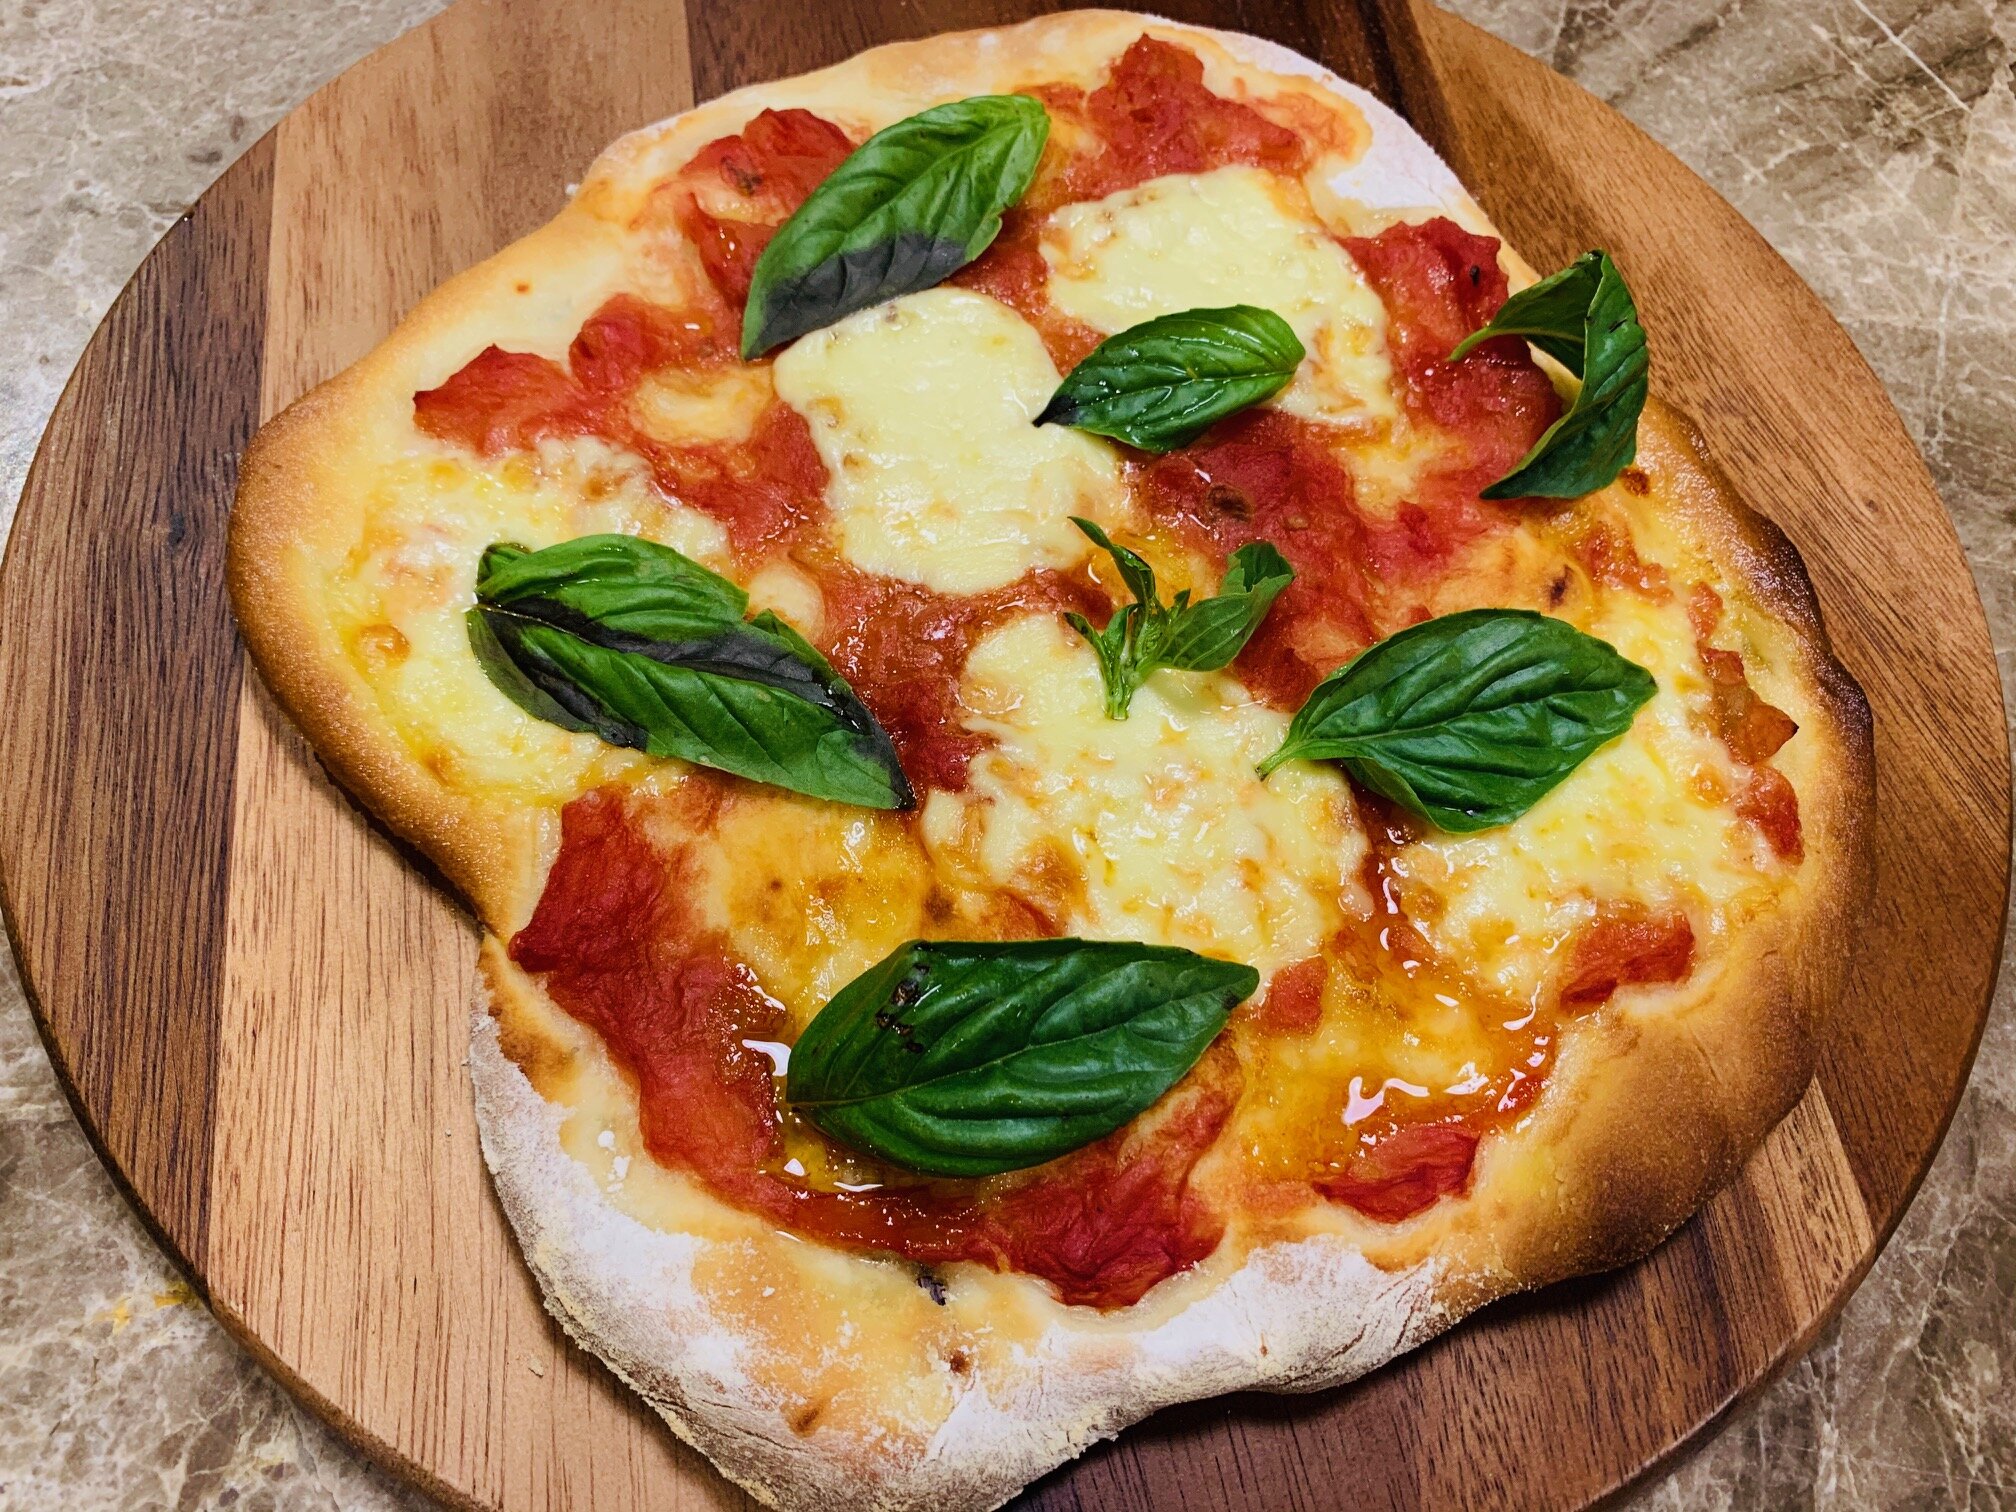
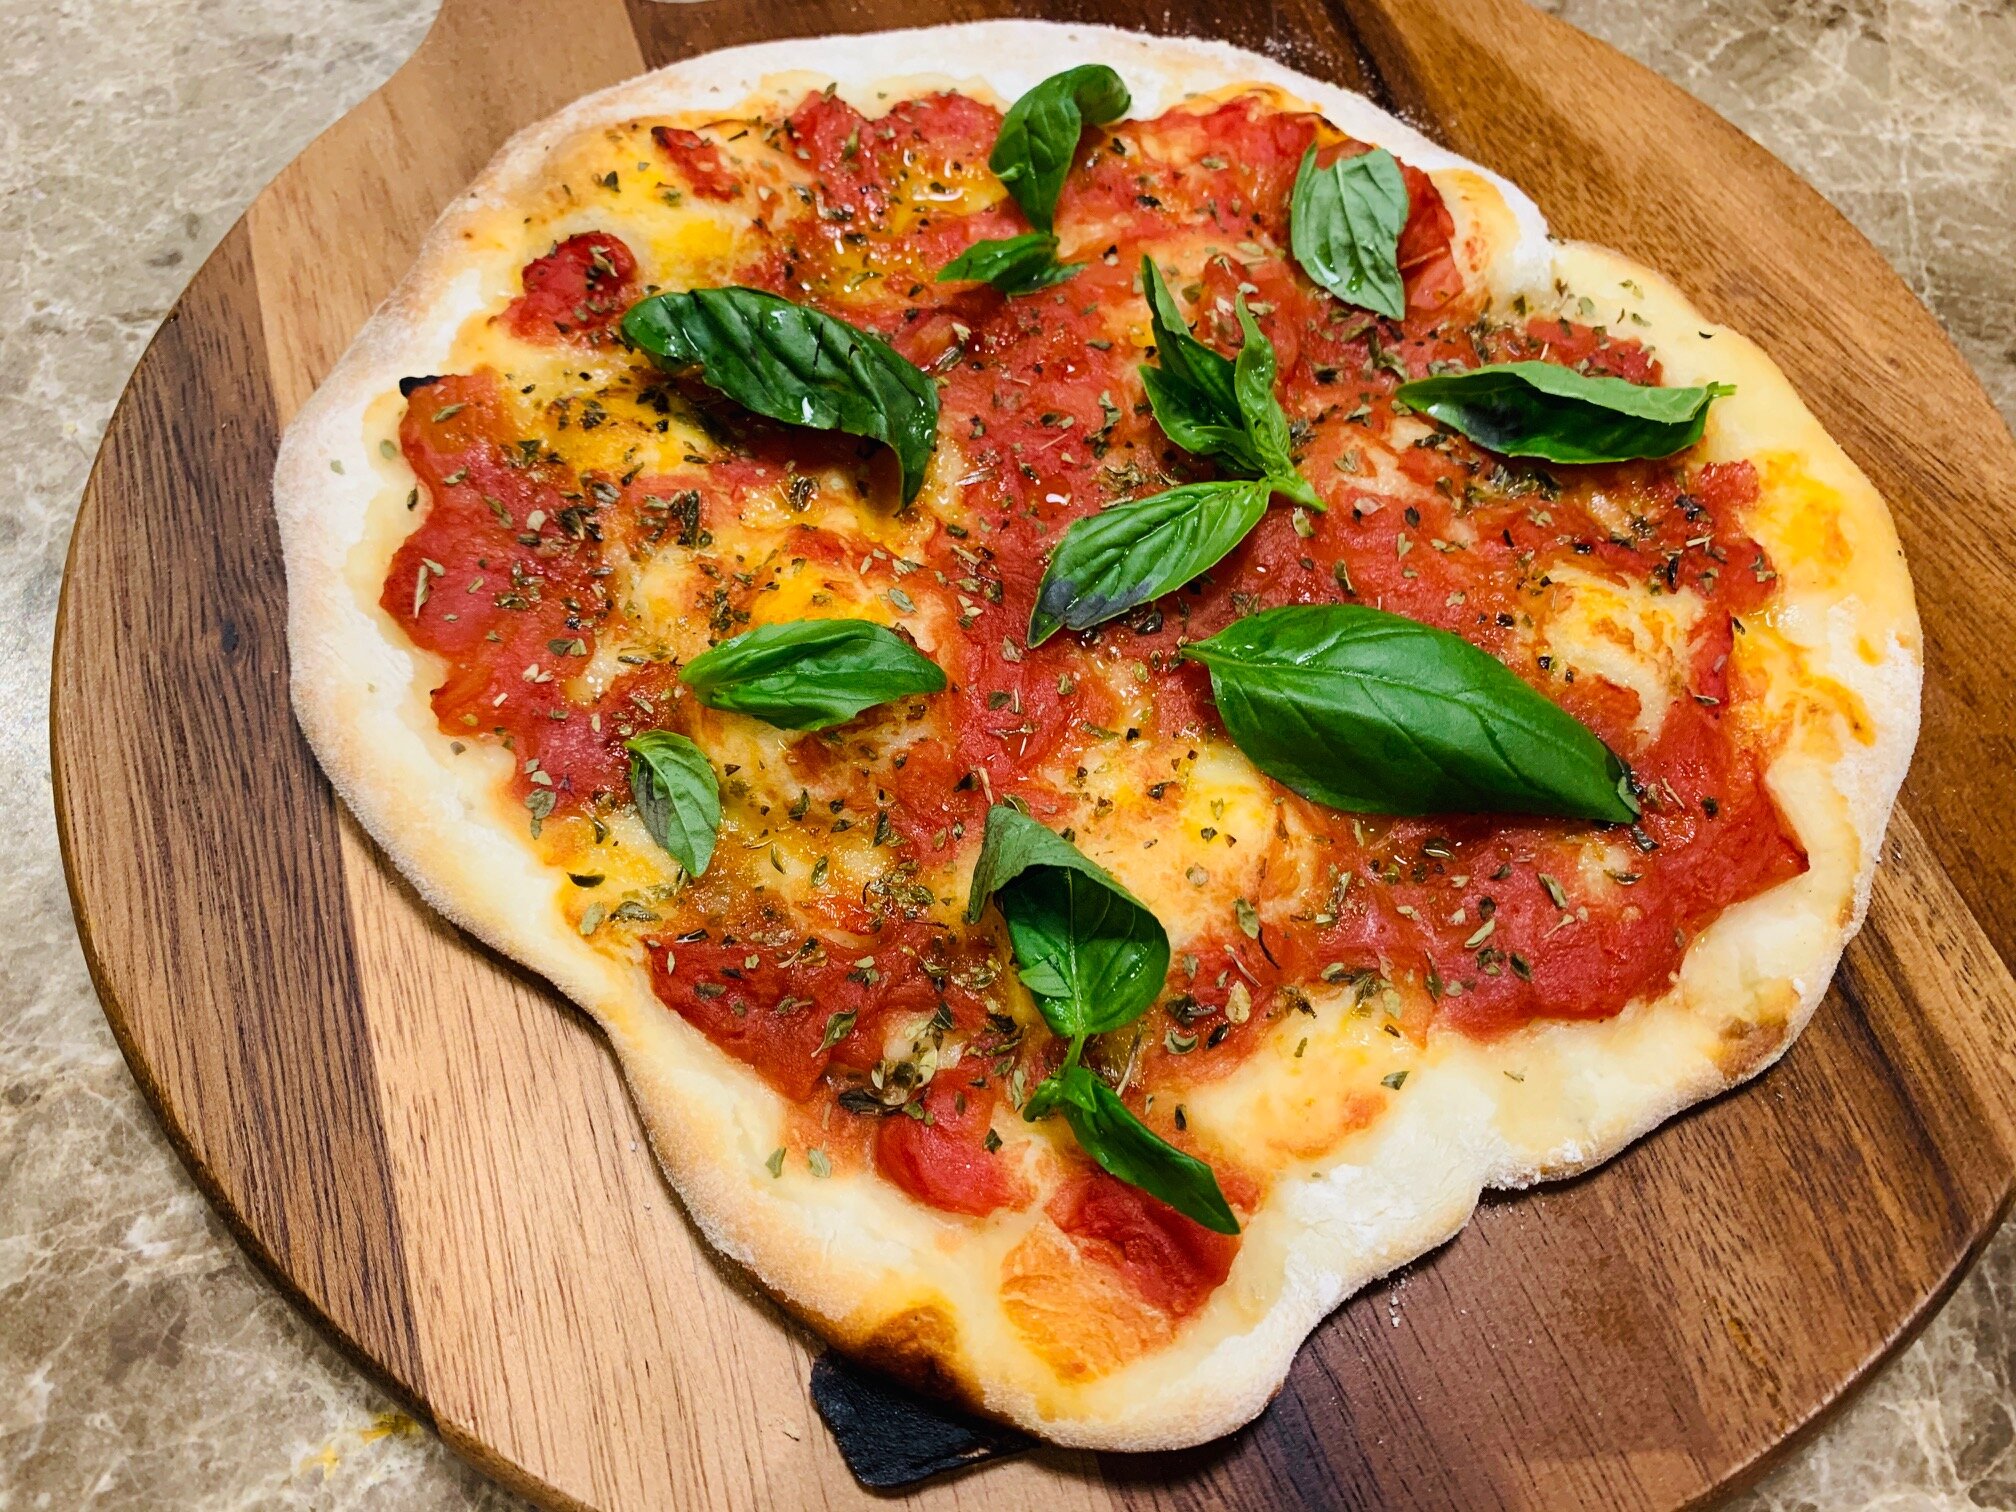
It is enough to make you over hungry!  A large baking dish will provide several meals, unless the first sitting does as it is expected and the whole lot goes!

Ing.

500g macaroni, I used San Remo

Sauce

1kg premium mince beef

1 tablespoon of olive oil (I used Cobram, but they are all good)

3 tins chopped tomatoes (Annalisa Italian are the best)
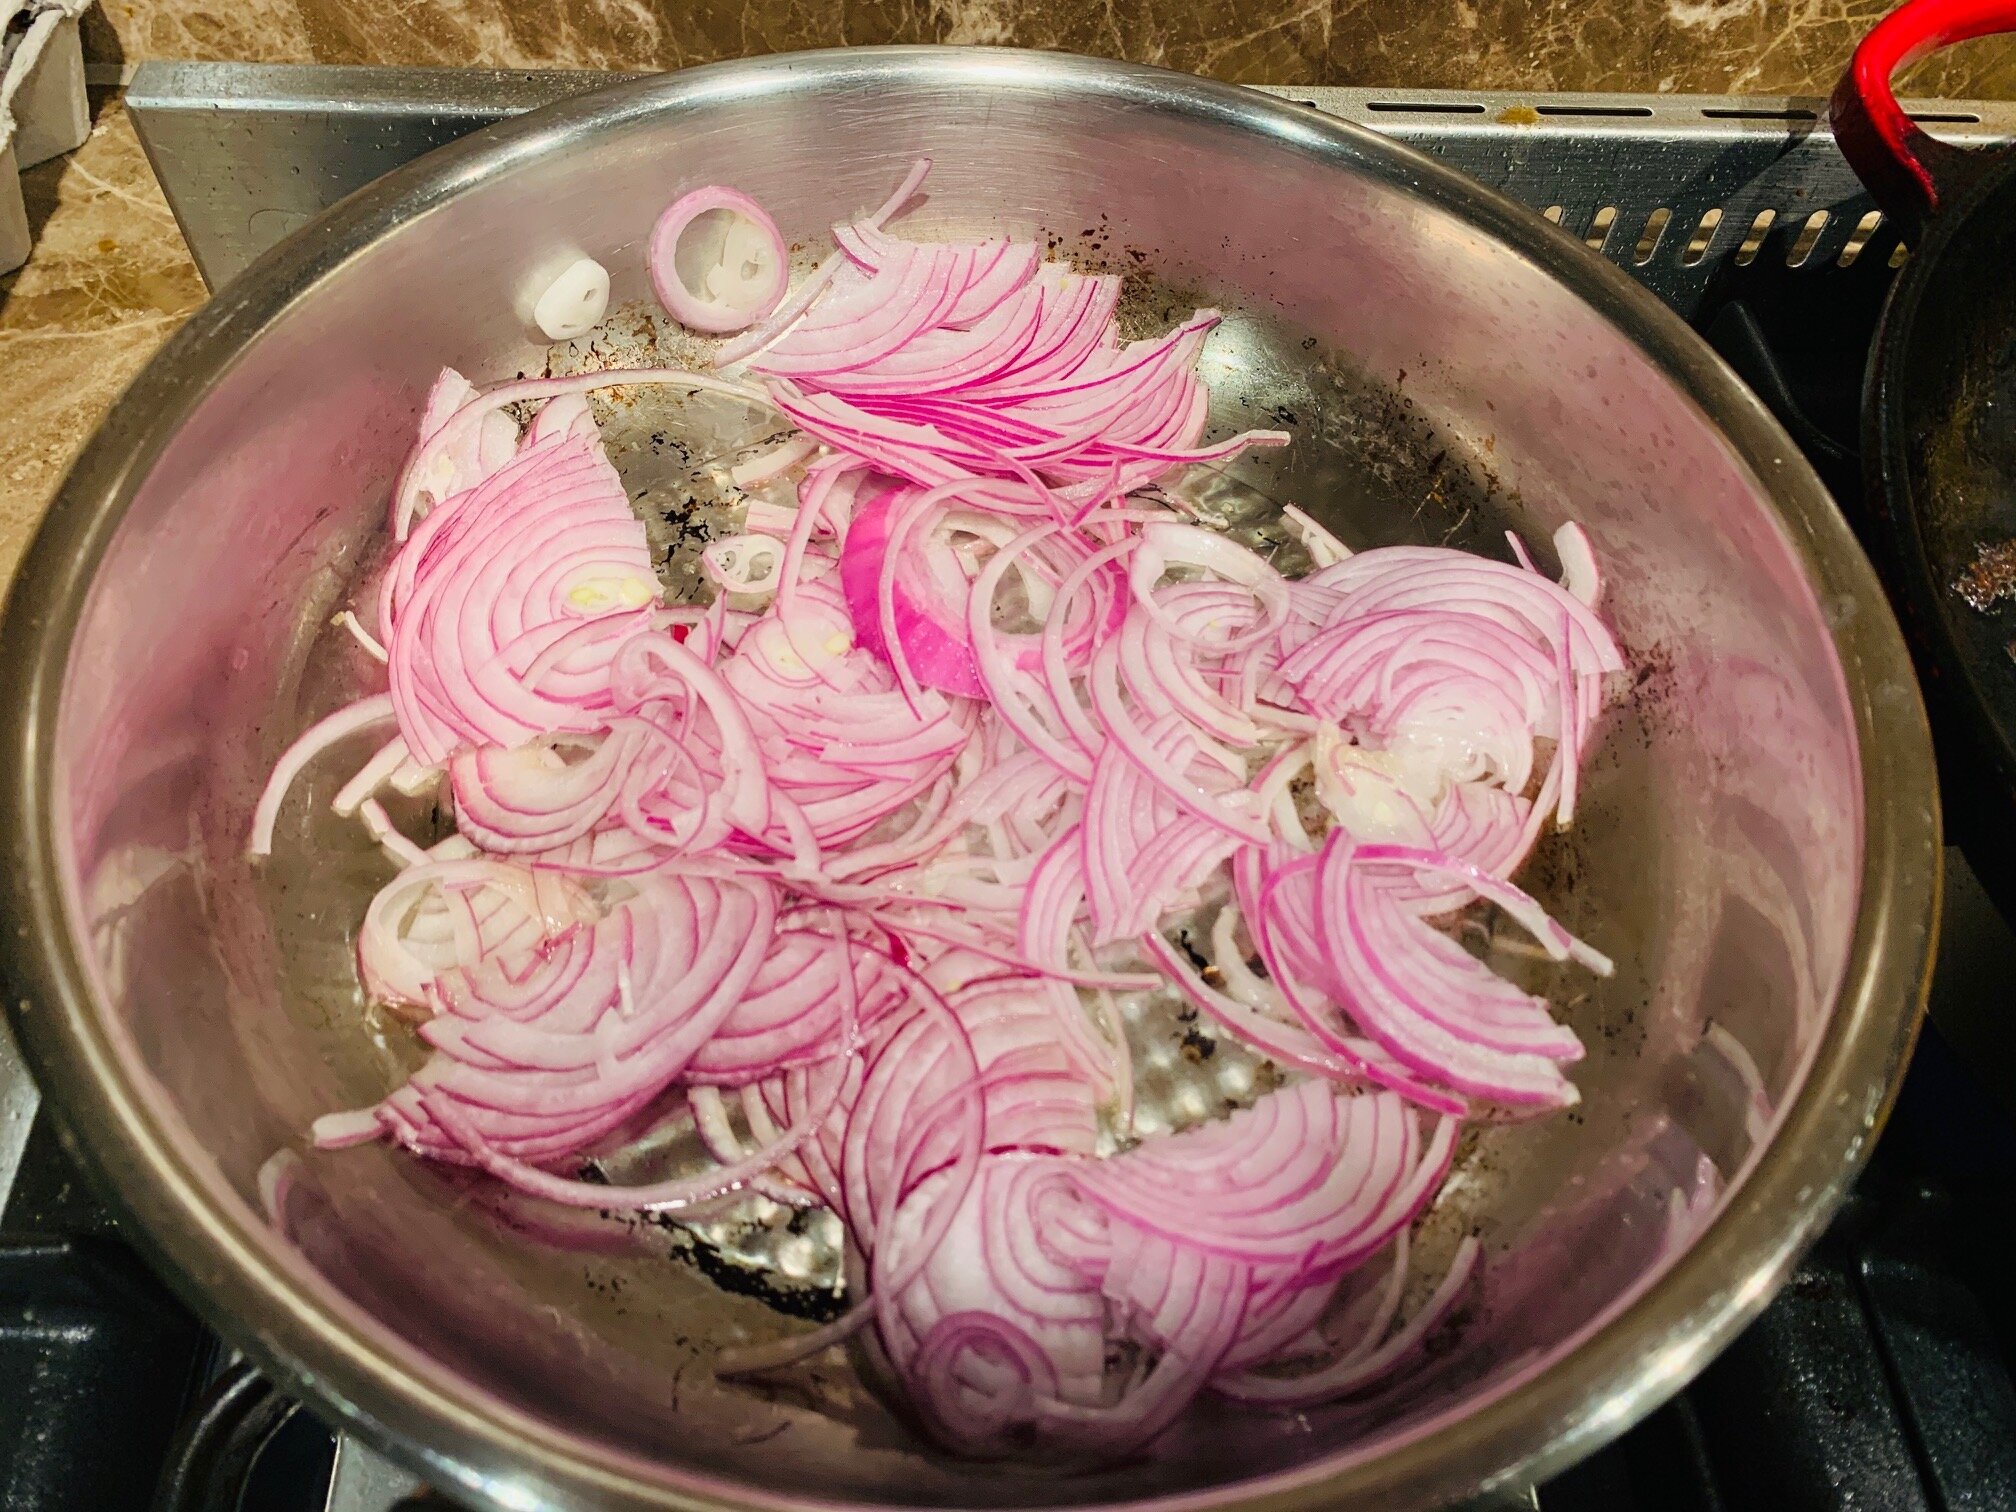
1 onion, chopped

3 cloves garlic, chopped

3 sprigs spring onion, chopped.

3 tablespoons tomato paste (Leggo’s)

1 handful of freshly chopped Continental parsley

1 heaped teaspoon Massel chicken stock

A good pinch of Murray River Pink Salt

Freshly ground pepper to taste

4 cups boiling water

2 eggs, beaten, for use later.

Béchamel sauce

60gms butter

1 cup plain flour

3 cups milk

1 cup Mozzarella cheese

1 cup grated parmesan (I always use Grana Padano)

Murray River Pink Salt

Freshly ground pepper to taste

A sprinkle of ground nutmeg or mace

Method

Preheat oven to 175C.

In a large pot, on medium heat, heat your onion in olive oil until gently golden.  Add the mincemeat and try to break it up. A whisk breaks it beautifully.  Let it cook with the lid on until it colours up and then remove the lid and let the liquid cook off.  The drier it is the more absorbent it will be when you add the other things.

Now add the three tins chopped tomatoes and the tomato paste.  Mix it up and let it cook. Add the parsley, spring onion, garlic, salt, pepper, boiling water (4 cups) and Massel chicken stock.  Bring it to the boil, stirring occasionally.  When it boils, turn the heat down to the lowest setting and put the lid on.  Let it cook for about 30 mins or longer of you have time.  The longer it cooks the better it will be.

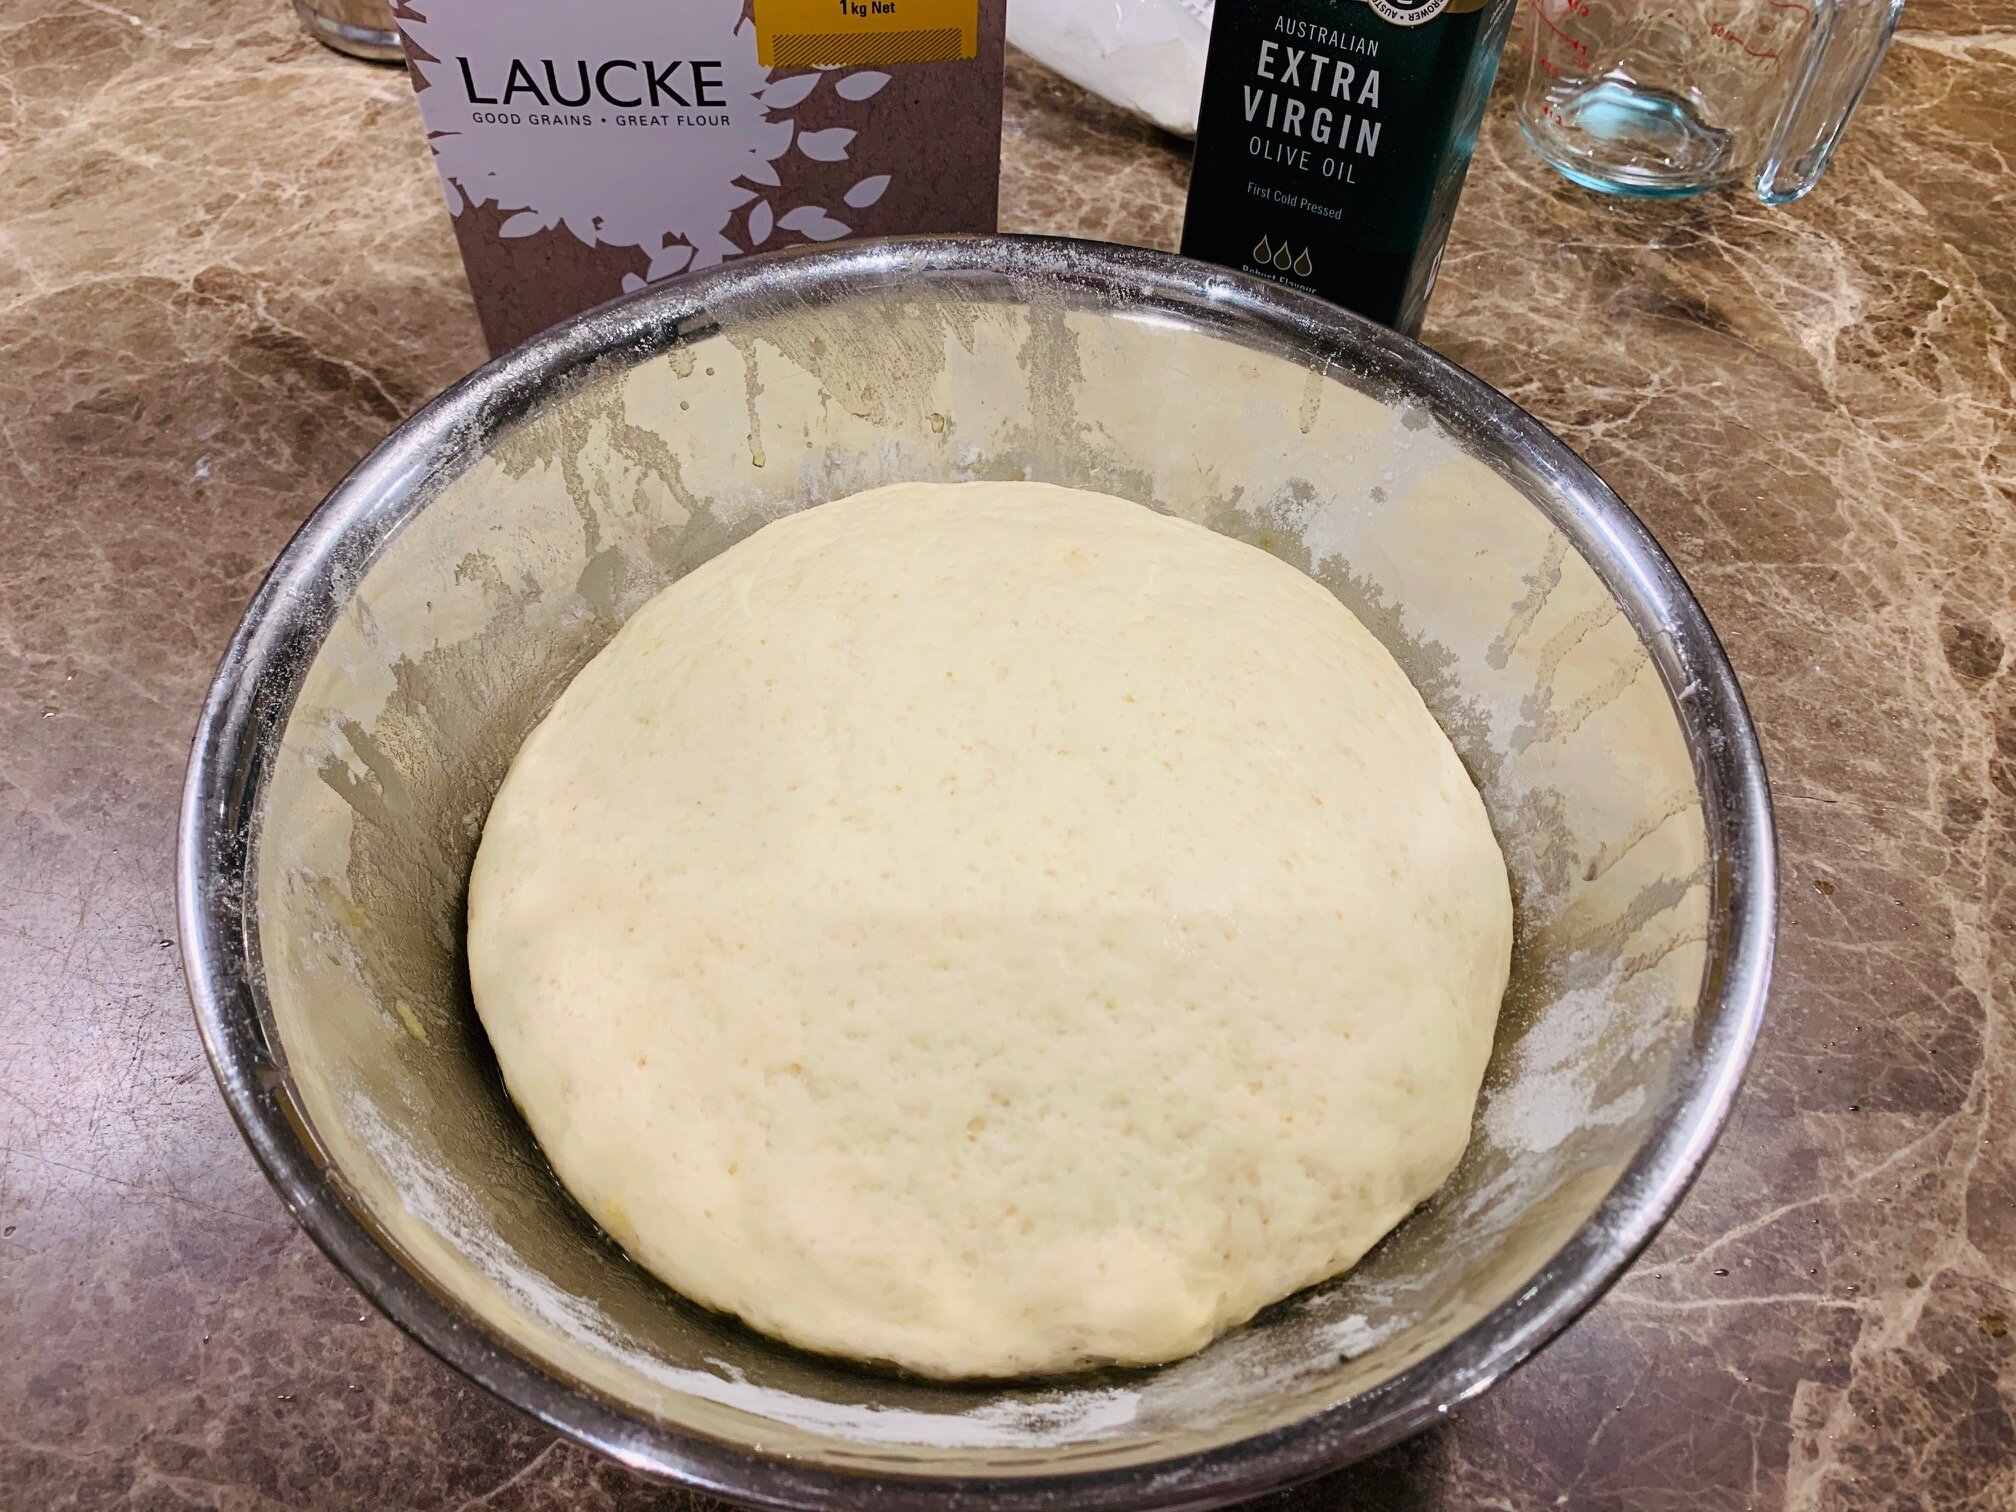
Your pasta water should be already heating on the stove.  Once the water boils, add a teaspoon of Murray River Pink salt.  Add your macaroni and let it cook for about four minutes. Once it is semi-cooked, drain the water and set the macaroni aside to cool.

Bechamel sauce

There are two rules to making béchamel sauce. 

Rule No. 1 Do not stop stirring!

Rule No. 2 If you stop stirring, refer to rule No. 1 

To make the béchamel sauce, melt the butter on medium heat in a medium sized saucepan.  Once melted, slowly add and stir in the cup of flour.  A whisk works very well here too.  It will start to get lumpy.  Now add a cup of milk. Stir it about constantly trying to break up the lumps.  Add another cup of milk, stir…, now add the third cup of milk and stir…

Once the lumps break down, add your two cups of cheeses, Murray River Pink salt, freshly ground pepper and a sprinkle of nutmeg.  Stir, stir, stir.   

When the sauce is thick, but not heavy, turn it off and cover with a lid.  If it gets too thick it will want to become ‘bread like’ and that is not what we are looking for!

Assembly

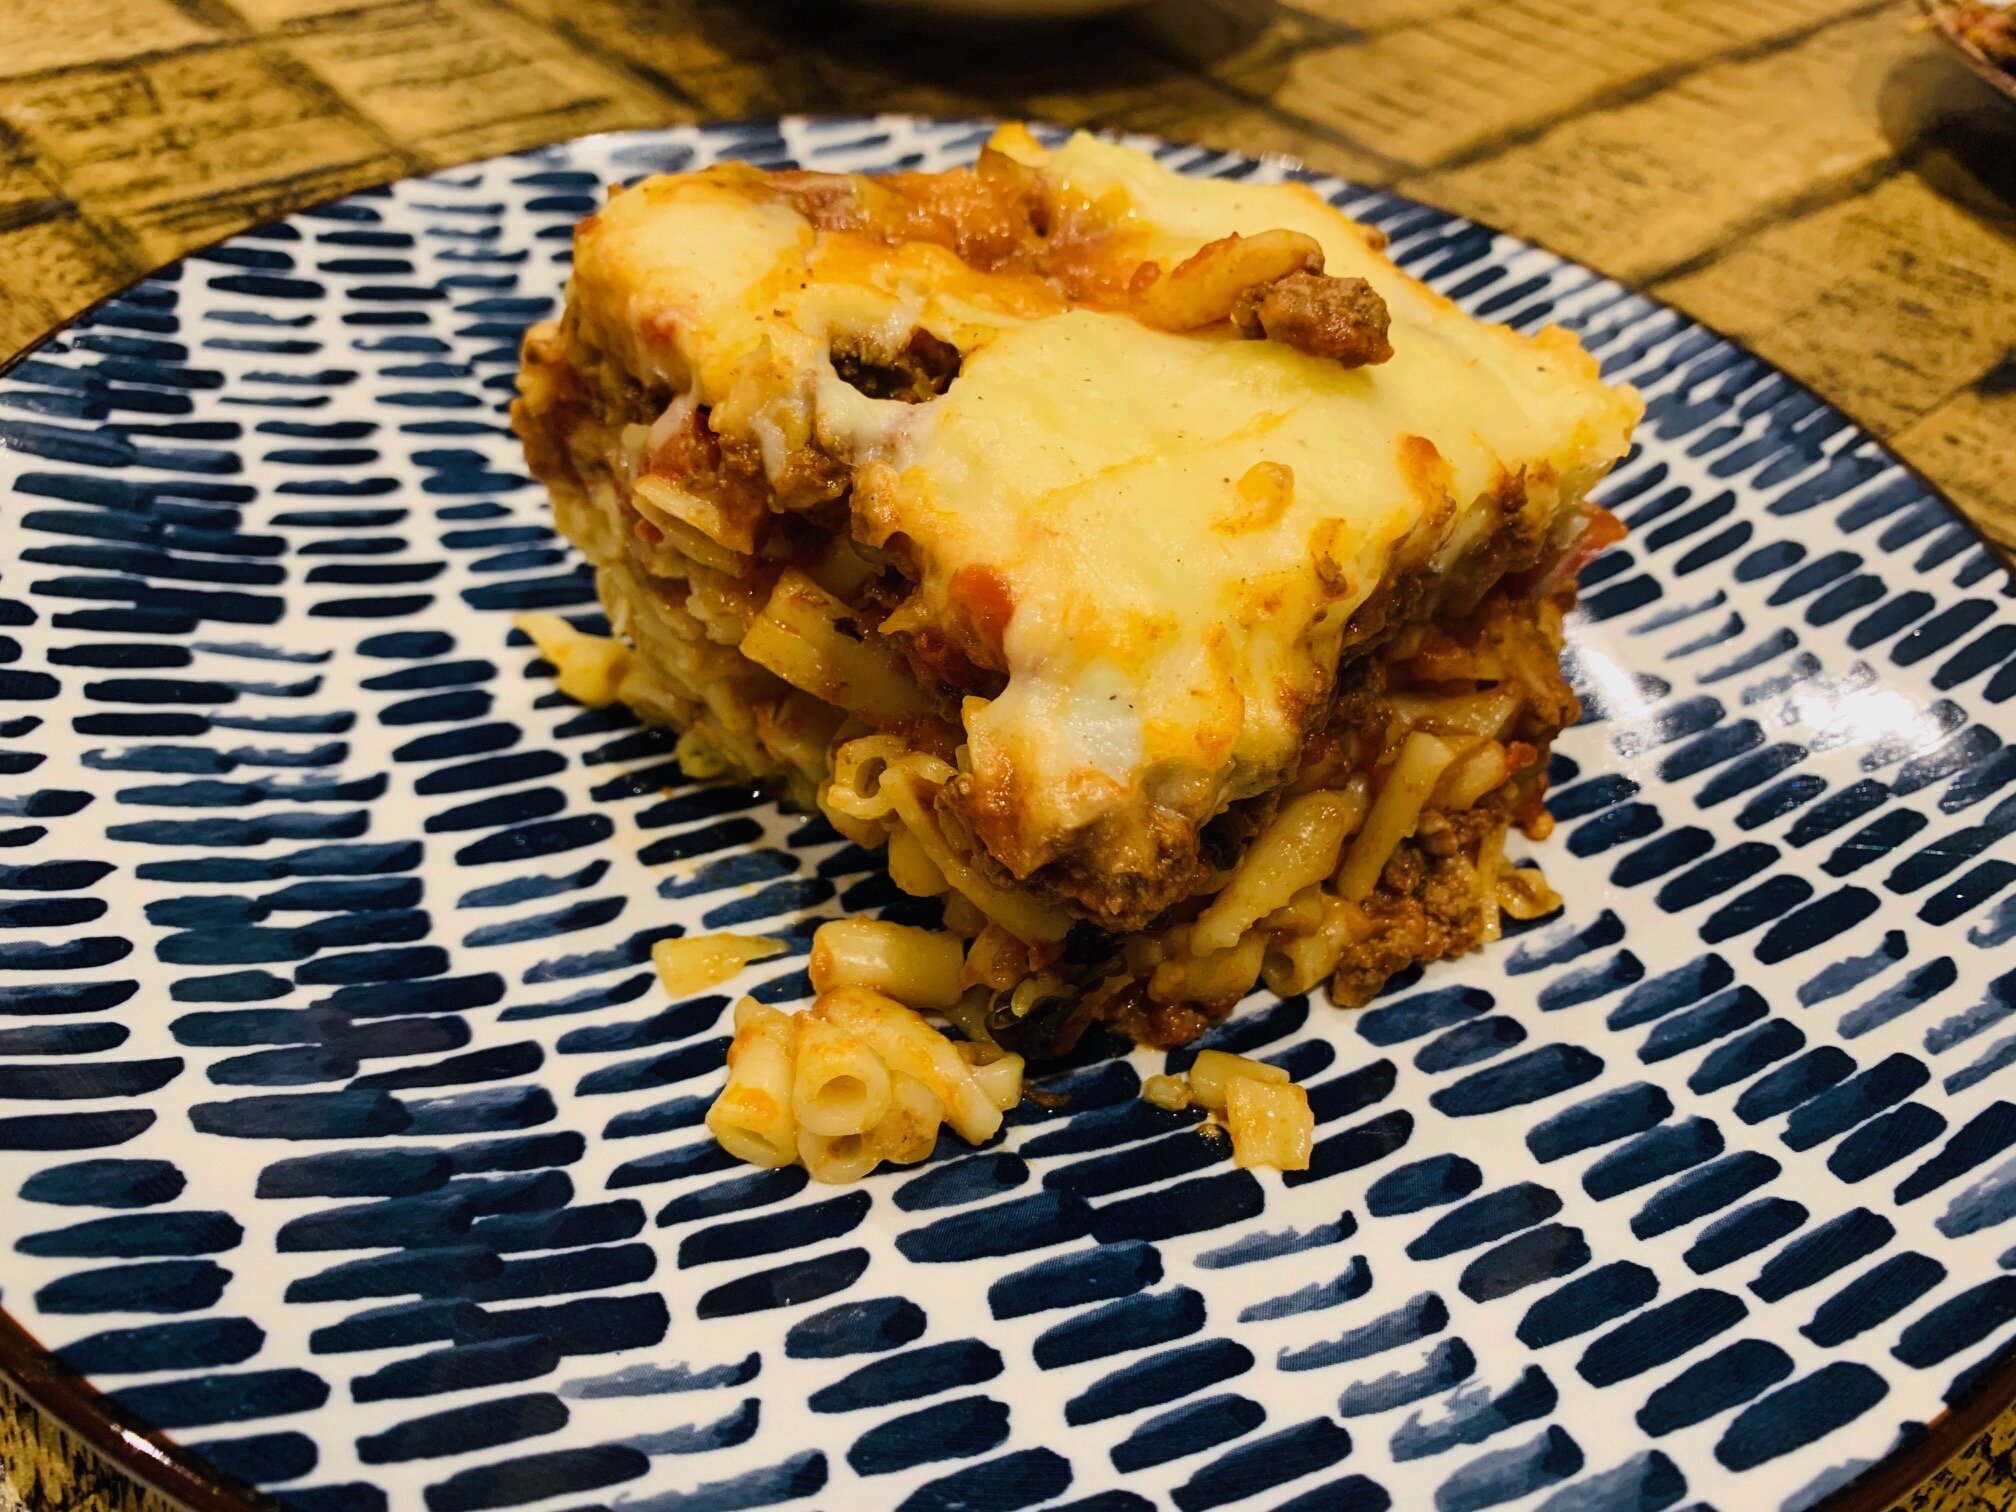
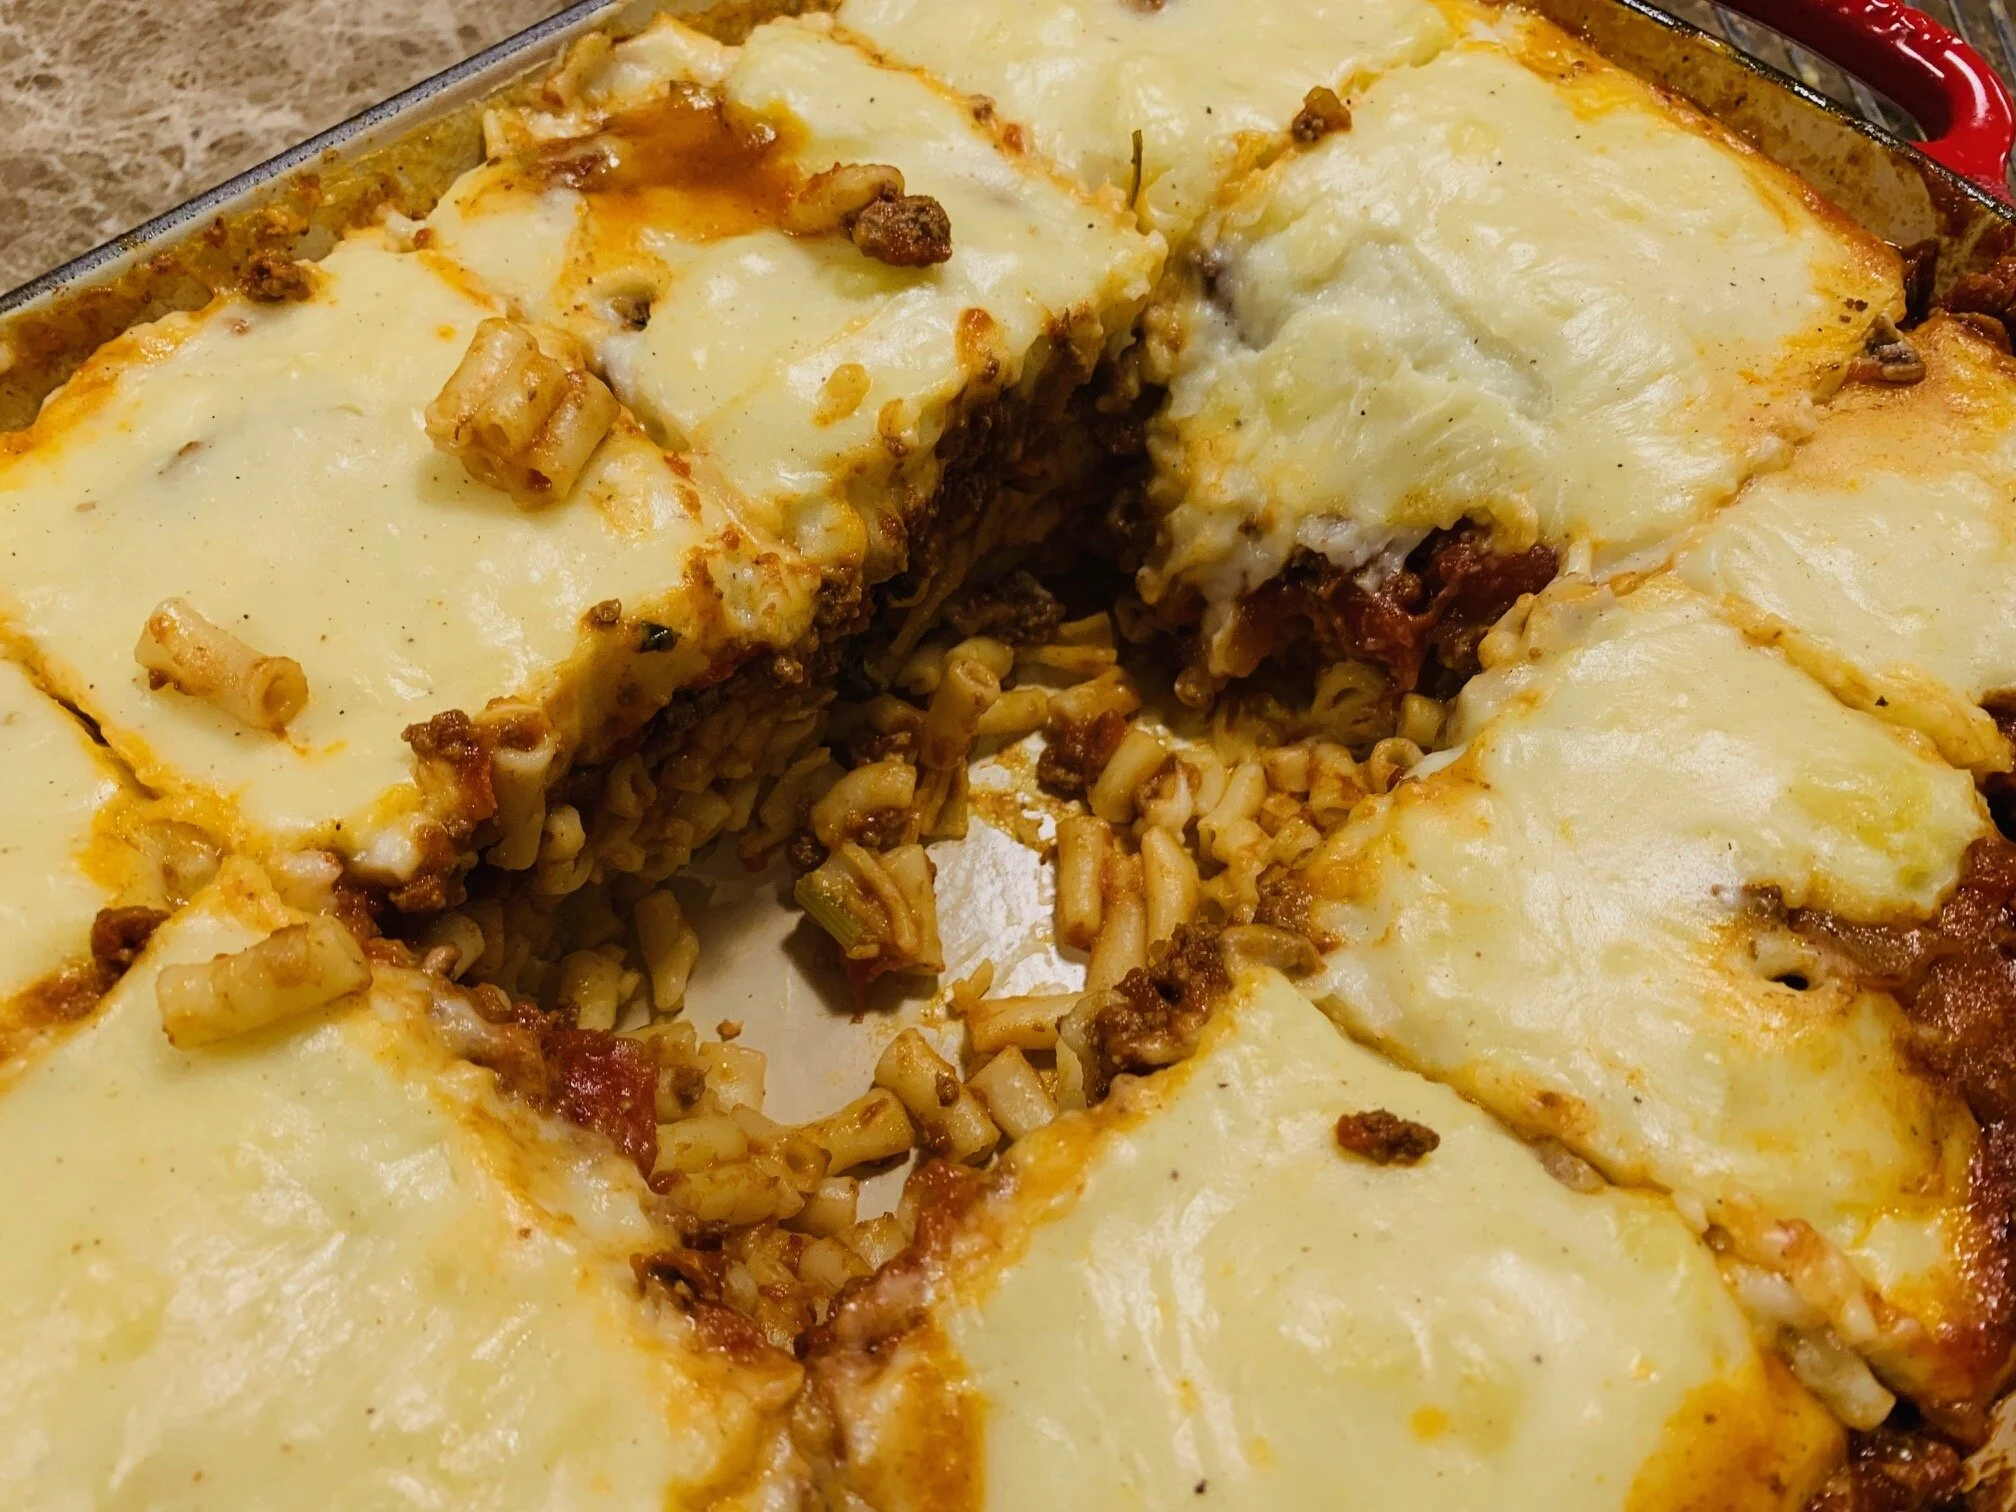
In your baking dish place a thin layer of the meat sauce.  Now mix the two beaten eggs with the mass of macaroni and layer it all on the bottom of the dish.  Flatten it as much as you can.  Ensure that there will be room for the meat sauce and the béchamel sauce on top, with enough clearance for a piece of foil not to stick to the sauce. 

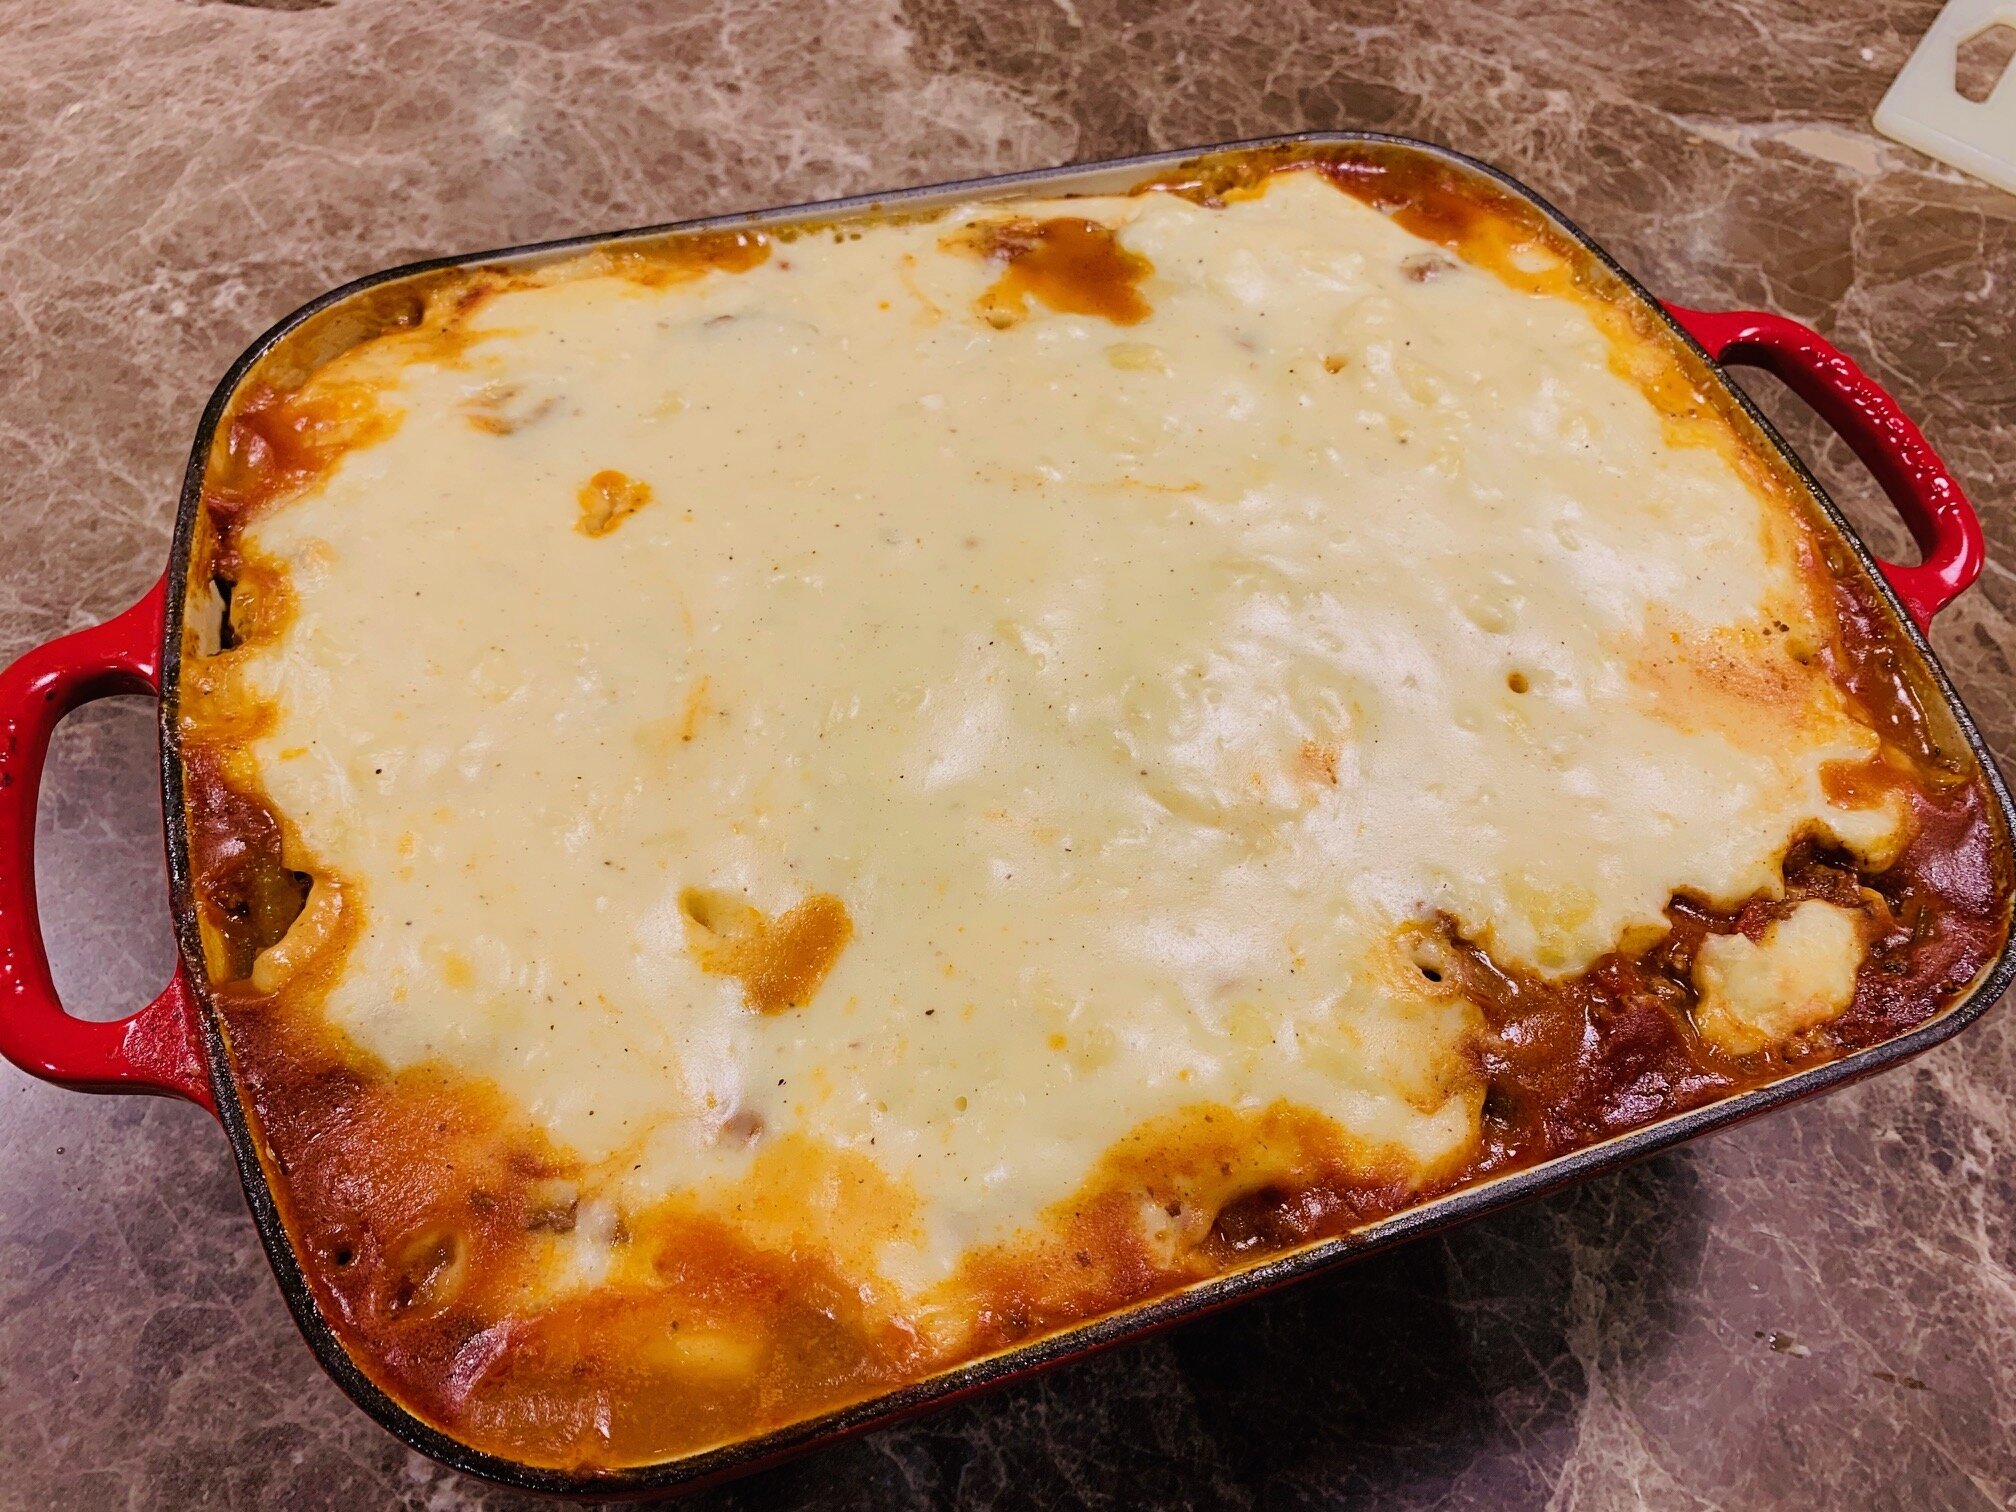
Once flattened, pour the meat sauce all over the macaroni and press it in.  Now pour, from the saucepan, the béchamel sauce over the meat sauce.  Using a fork, spread it evenly across the entire dish.  If you want, sprinkle some cheese lightly over the sauce.

Cover with foil.  If the sauce is too high and risks sticking to the foil, stand several, snapped to length, wooden or bamboo skewers upright in the dish, just high enough to hold the foil above the sauce.

Place into the oven and cook at 175C for about 40 mins.  Then remove the foil, turn the heat down to 150C and cook for an additional 10 mins so the top browns up a little.

Let it cool before you slice it up into 12 pieces.  The longer it cools the better the piece formation will be.  The first piece is the hardest to remove cleanly!  Otherwise no one should care about the presentation as it won’t last long enough to be admired!

Enjoy.  This is great for the adults and the kids.

Kind regards,

Brendan

Japanese Katsudon – crumbed pork cutlet with egg and rice.

Japanese Katsudon – crumbed pork cutlet with egg and rice.

Many of you must think I'm turning Japanese!

Now this Japanese dish is just fantastic. I’ve made it and posted it before, but his time the colour of the pork schnitzels was just perfect, so I couldn’t resist this important post!

Ing.

4 pork medallions
2 cups sushi rice
Plain flour to coat the pork
1 egg, beaten after the plain flour coating
1 cup Panko crumbs

In the pan

1 onion, sliced
4 eggs, beaten

Katsudon sauce, consisting of:
1 cup water
2 teaspoons Massel chicken stock
4 tablespoons soy sauce
4 teaspoons maple syrup
2 teaspoons Mirin

To Serve

Sushi Rice

2 cups sushi rice cooked using the packet’s instructions (like other white rice)
Garnish with freshly chopped spring onion

Method

Lightly tenderise the pork fillets, cost them with plain flour, the egg mix and then into the Panko crumbs. Gently pan fry in olive oil until golden. Set aside.

Separately pan fry the onion in olive oil until golden.

In a separate (smaller) fry pan, place ¼ of the fried onion, place a cooked sliced Katsudon pork fillet on top and pour over it ¼ the beaten egg mixture. Now pour over ¼ of the cooking sauce.

Fry for about 1-2 minutes.

Do the same for the remaining three pork schnitzels, using the balance of the onion, egg mixture and cooking sauce.

Serve on a bed of sushi rice.

Excellent!

Kind regards,
Brendan

Japanese Gyoza

OK foodies, apparently my menu has consisted of food from the 1970’s, so I have had to lift my game and bring the menu forward 50 years.  Welcome to 2020!

Japanese Gyozas are fantastic.  The kids will love them!  So will the adults…

Gyoza 

500g minced pork

Gyoza wrappers (from the dairy case)

2 cups shredded Wombok (chinses cabbage)

3 cloves minced garlic

3 sprigs chopped spring onion

1 carrot, finely chopped

½ teaspoon finely chopped ginger

chopped chives (if you like)

2 tablespoons Hoi Sin sauce

1 tablespoon sesame oil

a pinch of salt and pepper

Dipping sauce

2 tablespoons water

2 tablespoons soy sauce

1 tablespoon rice vinegar

½ teaspoon sesame oil

Sesame seeds

Blend all the gyoza ingredients.  Place a teaspoon of the mixture onto a gyoza wrap.

Using your hands and little water, gently fold the front side of the wrapper into the pattern as seen in the photo.  This excellent YouTube video will assist:  

https://www.youtube.com/watch?v=9uzGezdkuso

To cook, heat a pan on the stovetop.  Warm a tablespoon of sesame oil and pan fry the gyoza on the base only.  When golden brown, add two tablespoons of water and quickly place a sealed lid over the pan so the water is trapped and it steams the rest of the dumplings.

After a couple of minutes, check to ensure they are internally cooked.

Make sure to use the fantastic dipping sauce.

Enjoy!

Saganaki (Greek or Cypriot frying cheese)

For those of you who have never tried Saganaki or Haloumi, your time starts now!  For the rest of you I’m preaching to the converted, so you already know what is below…

This cheese is awesome.  It takes three minutes from fridge to feast. 

It is not a strong cheese, it is just delicious.  It is so good the manufacturers have to limit each pack to two pieces only, which is the right quantity!

It can be served as an appetiser in Greek restaurants, but if the Greek restaurant is not open, bring the restaurant to you!  Saganaki and Haloumi are available at all Maxi stores.

How to cook:

-       warm stovetop frypan on medium heat.  Don’t add oil just yet,

-       open refrigerated pack, there are two pieces which require delicate separation,

-       soak for a minute in bowl of warm water,

-       remove from water and dust in both sides with flour,

-       add a tablespoon of olive oil to your frypan,

-       when the oil has heated, add the cheese slices, pan fry for about a minute on each side until they are a delicious golden colour.

-       eat them whilst they’re hot!

So Good!

Be game and try Saganaki. 

Home Made Sausage Rolls

Hi Foodies, now these sausage rolls are ‘easy peasy lemon squeezy’ to make.  They taste so good.  Everything tastes so good… 

This is my daughter’s recipe.  She made them, I ate them.  They were very good!

Ing. 

500g premium mince meat

500g pork or sausage mince

4 sheets frozen puff pastry (Borgs is working well right now)

1 cup breadcrumbs

2 eggs one for sausage mixture, the other for coating the rolls before they cook)

1 onion, finely chopped

1 large carrot, finely chopped

3 cloves fresh garlic, finely chopped

5cm fresh ginger, finely chopped (makes a difference!)

1 tablespoon tomato paste

2 tablespoons Worcestershire sauce

2 tablespoons black and white sesame seeds for topping

Method

Preheat oven to 200c fan forced

Thaw the puff pastry on the bench.

In a bowl, mix the mince meats, bread crumbs, carrot, onion, ginger, tomato paste, Worcestershire sauce and one egg.  Mix it thoroughly using your hands until the mixture is consistent.

Cut the pastry sheets in half.  Divide the mixture into eight equal portions and place the mixture onto each sheet and roll into a roll.  Seal the edges.

Gently cut the rolls into the sausage roll pieces by gently sawing, not pressing with your knife.

Place the rolls seam side down onto a baking tray lined with baking paper.

Whisk the remaining egg and brush it over the rolls.  Sprinkle on the sesame seeds.

Bake for 18-20 mins or until the pastry is golden.

Now eat! 


Jap/Kent Pumpkin with Mushrooms and Sautéed Spinach


Hi Foodies, last night I made a regular pumpkin dish that has been a huge success in my household for lovers of pumpkin and also those who do not like pumpkin!  I attach the recipe below and suggest you make it part of your vegetable diet. It is really very good.

The pumpkin photo doesn’t do it justice!  The flavour is incredible! 

For those who made the lentil dish, you will understand how simple foods like lentils can really taste so good, you’ll want to eat them every day!

I also cooked some Oakwood South African Bratwursts, sautéed spinach (with shallots because I didn’t have any garlic) and delicious steamed bok choy, which I overcooked by about a minute. 

Oakwood smallgoods will feature at the new Daylesford store.  I have written several Oakwood Smallgoods reviews and I am a huge fan of the skill and quality that Ralf and his crew offer to the community of Castlemaine.  Local producers are well supported!  Here are the Oakwood reviews:

https://maxifoods.net.au/kitchen/product-review-oakwood-free-range-berkshire-pork-smoked-bbq-pork-ribs

https://maxifoods.net.au/kitchen/oakwood-cheese-krankys-product-review

https://maxifoods.net.au/kitchen/oakwood-free-range-berkshire-pork-cheese-kranskys 

OK.  Pumpkin and Mushrooms – very easy to make

Ing.

1 qtr (or half) Jap/Kent pumpkin, chopped into large chunks, skin on

1 punnet sliced mushrooms

1 onion, sliced or diced

1 large handful of Continental Parsley, coarsely chopped  

1 teaspoon Massell Chicken stock (yes, it is vegan!)

A pinch of Murray River Pink Salt

1 pinch of cracked pepper

A teaspoon of butter (if you choose)

Olive oil and a cup of water

 Method

In a stovetop pot with lid gently fry the onion in a tablespoon of olive oil. When golden, add the mushrooms.  If you are using butter, toss it in now.  After a minute or so toss in all the pumpkin and parsley.  Add a cup of water.

Add the salt, pepper and Massel chicken stock.

Bring to the boil.  Turn down to the lowest possible heat setting, cover and let it cook for about 30 mins.  Check it every now and then to ensure the water has not run low and give it a turn or two. 

Now eat!

Sautéed Spinach

Rule: your spinach quantity will reduce to about 5% of the original amount you put into the pot, so if you want to get any edible results from this dish, fill your pot to the brim before placing the lid on top!

Ing.

Heaps of baby spinach leaves

2 tablespoons olive oil

A splash of water

2-10 freshly chopped garlic cloves (I would use 10 every time!)

A pinch of Murray River Pink Salt

A sprinkle of cracked pepper

Method

In a stovetop pot (with lid) on medium heat, warm your oil and then toss in all the spinach.  Add your garlic on top of the spinach, don’t let it fry in the oil, add the splash of water, salt and pepper.  Put the lid on and let it cook for about 2 minutes. 

Now eat!

Stay well.

Green Lentils – better than you think!  Veggie or Vegan

This is an old favourite.  It can be vegetarian or vegan (just don’t add the parmesan cheese).

I made it tonight and now I remember why I used to make it regularly.  It is just so good!

Easy to make (all my meals are easy to make)

Ing.

375g or 500g Green or French Lentils (don’t use red or yellow lentils)

1 onion, finely diced

2 carrots, peeled and coarsely chopped

2 x 400g tins of chopped tomatoes (or fresh tomatoes with the centre removed)

1 handful of fresh Continental parsley, coarsely chopped

4 cups hot water

6 pieces of coarsely cut parmesan cheese squares (not if you’re vegan)

1 tablespoon olive oil

Cracked pepper to taste

A good pinch of Murray River Pink salt

1 x teaspoon Massel powdered chicken stock (it’s actually vegan and gluten free)

Method

In a stovetop pot (with lid), on medium heat, gently pan fry the diced onion in olive oil until golden brown.  Toss in the whole packet of green lentils.  Stir them about to absorb the onion and oil flavours.

After a minute or two add your tomatoes, carrots and parsley.  Stir it about.  Now add the pepper, salt and Massel chicken stock.  Add two of the four cups of water and let it gently heat up.  If you want to use the parmesan cheese, toss the coarse pieces in now - don’t try to find them later, they will dissolve!

Add the final two cups of water and raise the heat to bring it to the boil.  Once boiled, turn down the heat to the lowest heat setting, put the lid on and let it simmer for about 40 minutes.  Stir it occasionally to ensure nothing sticks to your pot.

‘Slightly crunchy’ is how I best describe the way I like to eat these lentils.

If you want to find the parmesan chunks, simply add them later, just before you remove it from the stove.

Serve with grated parmesan, if you choose.

This dish is excellent.  It tastes great, it is healthy and the kids will want more than one bowl!  I had three tonight!

Berry Crumble (gluten free/dairy free versions below)

Berry Crumble

As a result of my failed Summer Berry pudding, this berry crumble dessert became a winner!

Fresh berries are great, with cream they are better, as a crumble they are best!

Berry base:

2 punnets blackberries

2 punnets blueberries

2 punnets raspberries

1 punnet strawberries, tops chopped and halved.

150gms brown sugar

5 tablespoons water

Crumble:

1 cup rolled oats

1 cup plain flour

½ cup brown sugar (or coconut sugar)

125g butter

1 teaspoon baking powder

Pinch of salt

-       Gluten free version:

Substitute plain flour with almond meal or gluten free flour

 -       Dairy Free version:

Substitute butter with olive oil

Berry method

In a saucepan, gently heat sugar (I used coconut sugar) in five teaspoons of water.  When the sugar dissolves add a handful of mixed berries.  Let them simmer and release their fabulous flavours for about two minutes.  Turn of the heat.  Add the rest of your berries and gently turn over so they all become gently warm.  Leave them for about five minutes.

 Crumble method

Prepare your dessert bowls or tray.  Line the base with the berries.  The ‘crumble on top’ is a mixture of butter, plain flour and rolled oats.  In a separate bowl, mix the oats, flour, sugar, salt and baking powder.  Gently melt the butter on a low heat and add to the mix.  Stir with a spoon until the butter is well distributed.  Spoon this mixture onto your berry base.

Bake for about 30 minutes at 180C or until golden brown.  The olive oil version will brown faster, so keep a watchful eye on the colour!

Serve hot with freshly whipped cream.  Add a drop of vanilla essence to the cream as you whip for extra praise!

Stay warm!


Summer Berry Pudding – no success yet…

So, before we get to the recipe, let me tell you that I have failed at every attempt to make this spectacular dessert.  I saw it on a Christmas buffet dessert table about ten years ago and I have tried unsuccessfully to get it right.  Even the pudding you see picture here was not made by me, but my daughter. 

I am yet to successfully make a Summer Berry Pudding.

I tried to make it for you on the weekend when the weather felt like Spring.  I stuffed it up when releasing the pudding from the mould.  The quick solution was to retrieve all the delicious berry fruits and convert the dessert into a ‘berry crumble’, which is an apple crumble, but with berries.  That was highly successful, but again I claim no credit!

I took some photos of the berry crumble and I highly recommend it!  I’ll ask my daughter how she made it and I’ll post it separately as it is completely deserving of its own post.  

Therefore, I challenge you all to make a Summer Berry Pudding.  If you get it right, please photograph it and tell the world your secret.  Meanwhile, I’ll persist and I dream that one day I will sit back with my successfully made Summer Berry Pudding and eat the whole thing with too much cream and very dark coffee.

Please send in your posts.

Summer Berry Pudding

The recent ‘taste of Spring’ days we have enjoyed has prompted me to ‘bring on Summer’ and make a fantastic Summer berry delightful dessert.

Ing.

2 punnets raspberries

2 punnets blueberries

2 punnet blackberries or gooseberries or mulberries

1 punnet strawberries, trimmed and halved

150g castor sugar (I used coconut sugar)

10 tablespoons water

1/2 loaf fresh white bread, crusts removed

Method

Wash all the berries in a colander.  Put some aside for garnishing.

In a saucepan on medium heat, heat the sugar with five tablespoons water.  When heated and mixed, place a cup of your berries into the pot and heat slowly, stirring for about five minutes.  Add the other five table spoons water.  This releases the berry colours and juice.  It will smell amazing! 

Turn off the heat and place all the berries into the pot, stir them through and place the lid on top.  Let them rest, turning every minute or so to let the fresh berries warm a little.

In a bowl which will form your mould, line the sides with the bread slices, crusts removed.  Place your first piece in the centre and try to cut the bread to fit neatly and cover all gaps, without overlapping.

Using a slotted spoon, scoop the fruit into the mould, compressing with the spoon as you layer the fruit.  Save all the red berry juice that remains.  We will need to use it later 

Place pieces of sealing bread on the top of your fruit which will form the base of the pudding.  Invert a saucer or small plate that fits the mould and press down on it to compress the pudding.  Place weights on the saucer (I used two tins of tomatoes and a tin of coconut cream for weight) to keep it under pressure.  Place it into the refrigerator to set.    

After four or five hours, remove the weights and the saucepan, invert the mould, allowing it to come out neatly onto your presentation plate.  Place it on a serving plate.

Using the coloured and flavoured juice from the pot, paint the uncoloured areas where the colour did not soak through.  Run the fresh garnishing berries through the berry juice and pour the remainder over the pudding through the garnishing fruit.  Don’t waste the juice, pour it on!

I added some spearmint leaves for colour.  Serve with whipped cream!

Please enjoy!

Salmon and Dill Quiche, no pastry

Hey Foodies, now I’m no chef, but these meals seem to turn out pretty well.  They are all pretty simple to prepare, but results are awesome.  The best thing is that you know what you are eating because you add all the ingredients into your meals.

Remember all the recipes can be found on the Maxi Foods website: www.maxifoods.net.au

Ing.

A piece of skinless fresh salmon, chopped into pieces

6 sprigs fresh dill

6 eggs

300ml thickened cream

1 onion, pan fried in rings

1 tablespoon olive oil

1 teaspoon Massel powdered chicken stock

Murray River Pink salt

Freshly ground/cracked pepper

Method

Preheat the oven to 220c.

Gently pan fry the onion in rings in olive oil.  Flip them when they brown so both sides are nicely browned.  Place them into a pie dish as a base.

Whilst the onion is cooking, in a mixing bowl whisk 6 eggs until they’re well mixed and aerated.  Add 300ml thickened cream.  Add Murray River Pink salt, Massel powdered chicken stock and pepper to taste.  Whisk it some more so all the ingredients are mixed.  Pour the mixture over the sliced onion rings in the pie dish

Now add the salmon pieces so they are evenly positioned in the dish.  Add the dill in the same way.

When the oven reaches temp, put the dish into the oven and cook for about 20 mins.  Watch it from time to time.  When it is fully inflated and gently browned (yes it will double in size), remove it and cool it on the stovetop where it will (unfortunately) deflate.

Now eat.  This is so good I can’t explain it to you!!

Please enjoy!

Stay safe, stay well.

Kindest regards

Brendan Blake

Vegetable Soup – so easy, so good! 

This soup has no oil, no fats, no meat and there will be none left!  So, make a large amount.

I find soups easily become broths when too much water is added.  It’s still a good soup, but it can be a little thin.  So, put loads of veggies into this soup and limit your water quantity so the flavour is richer and the soup is more of a meal than a soup.   

A little crusty bread goes a long way.

Ing.

1 x onion, diced

1 x potato, diced

2 x stems of celery, chopped into soup sizes

2 carrots, diced

3 x sprigs spring onion

1 x handful of Continental parsley, chopped

5 cloves garlic

4-6 cups hot water

2 x teaspoons Massel powdered chicken stock

A sprinkle of cracked pepper

A good pinch of Murray River Pink salt

In a large stovetop pot on medium heat place all the veggies.  No oil, no butter.  Gently stir them around a dry pot for about five minutes.  The veggies will soften very quickly.

Now add two cups of (hot) water, powdered stock, salt and pepper.  Stir it about.  Now add another 2-4 cups boiling water, bring to the boil.  Once boiling, put the lid on, turn the heat down to the lowest possible setting and leave for one hour.

Remember, low and slow brings out the best flavours.

Serve with crusty bread.  Very awesome

Stay well, stay safe.

Kind regards,

Brendan

Pizza Romana MMXX

You can’t go to Italy, so bring Italy to you!

Italian pizza is not like Australian pizza, which the Italians call ‘Pizza Americana’.

A traditional pizza from Roma or Napoli has a base of chopped tomato and ‘placings’ of Mozzarella or Bocconcini cheese and other things like artichoke hearts etc.   

Tonight, I made Pizza Romana.  The basil (the undisputed King or Queen of herbs) is added after the pizza leaves the oven, not before.  I have taken a few photos to show the process and I took a photo of every pizza, including the vegan version, so you can make this at home.

Ing.

Base

550gm ‘Tipo 00’ white flour, 440gm for the base, the rest to sprinkle

310ml warm water

2 teaspoons dry yeast (I use Lowan dry yeast because it always works)

2 tablespoons olive oil

A sprinkle of Murray River Pink salt

Top

2 x 440ml cans of diced tomatoes

A tub of bocconcini or fresh balled Mozzarella cheese

Fresh basil leaves

Murray River Pink salt

A splash of olive oil

Method

In a bowl mix the 440gm flour, yeast, olive oil and a sprinkle of salt.  Add the 310ml warm water (not hot, not cold). I usually fill a jug with 250ml boiling water and top up to 310ml with 60mls cold water.  Stir it all up until it is well mixed.  Then tip it ono the bench and start to knead.  Knead, knead, knead until you don’t need to knead anymore!

Place your dough into the same bowl you used to mix the dough, pour on a little olive oil and seal the bowl with Glad Wrap and place somewhere warm for 20-30 mins whilst it rises.  May your dough rise!

Preheat the oven to 240c.

When the dough is done, place it onto the bench and punch it, then knead it again for a few minutes until you have an excellent, soft, elastic dough.  Roll it into a thick roll and slice it into however many even pieces you want to make that number of pieces.

Roll each piece into a ball and then press it into a pancake on a dusted bench.  Keep pressing it with your hands, flipping it occasionally until the desired pizza size is reached.  I made six pizzas from 440mg flour.  They were each about 250ml in diameter.

Sprinkle the base with flour, particularly at the edges to get the rustic look.  If it looks good, it is good.  Presentation is everything!

Pour on your diced tomato directly from the can, the puree is also wanted.  Now add your bocconcini or Mozzarella in clumps, sprinkle a little Murray River Pink salt and a drizzle of olive oil.  Place into the oven.  Bake for about 10 mins or until the edges reach the right colour.

When the pizza leaves the oven it will be extremely hot.   Add your basil, take a photo for Brendan and eat it!

You can do this.  Be a superstar in your kitchen!

Enjoy.

Lamb Shanks, Fennel and Licorice roots (slow cooker friendly)

If you have not yet made this dish, it is highly recommended and unique.  The fennel we currently offer the stores is huge, fresh and crisp.

Make wintertime enjoyable by cooking these low and slow meals that warm the belly!

At the risk of being called ‘boring’, I made this fabulous dish again tonight. I also made the Poached Fruit in Brandy  https://maxifoods.net.au/kitchen/spicy-australian-brandied-poached-dried-fruit because I could and because it is very good! 

I made a few subtle changes to the previous lamb shanks, so this is the revised recipe:

Ing. 

4 fresh lamb shanks

1 onion, sliced

2 tablespoons olive oil

100ml red or white wine

2 large fennel, thickly sliced

1 red capsicum, sliced

1 green capsicum, sliced

½ cup coarsely chopped Continental parsley

5 cloves garlic, coarsely chopped

1 teaspoon of licorice roots

1 teaspoon Fennel seeds

An additional 2 cups hot water

1 teaspoon Massel powdered chicken stock

A good sprinkle of cracked pepper

Murray River Pink salt

Method

I started a little earlier than usual so I infused into two cups of hot water the licorice roots, fennel seeds, powdered chicken stock, Murray River Pink salt and the pepper.  This burst of flavour liquid then became a charged stock to add to the shanks and vegetables.

Preheat the oven to 150c

In a large (oven proof) pot, pan fry on the stovetop the sliced onion in olive oil.  When golden add the fresh shanks to brown them (not cook them).  Turn them over after a minute or two.  Add a splash (100ml) of red or white wine and let the alcohol cook off for about three minutes.   Now add the fennel, capsicum, parsley and garlic. 

Pour in the infused stock liquid.  Add another two or three cups of hot water, but don’t fill the pot to the top, leave a good 1/3 to ¼ without liquid, even if it does not cover the vegetables.  Bring to the boil and then turn off, put a sealed lid on the pot, place it into the oven and leave alone for about an hour.

Now, presentation is everything!  Leave aside some Continental parsley to garnish your magnificent meal and (hopefully) you will be credited by your guests/family as the world’s greatest cook (again).

Slow Cooker

To cook this is a slow cooker, everything is the same after the shanks are browned.  The onion and shanks should be stovetop browned before placing into the slow cooker.

Leftovers for tomorrow

The flavoursome juices left over, with bits and pieces of vegetables, will make an excellent thin pasta sauce or add to freshly cooked rice.   

Please enjoy. 

How to make a simple meal with what you find in the fridge

Hey Foodies, not every meal has to be epic!  On Sunday night I opened the fridge to see what I had available to make for dinner.  I saw some leftover chicken drumsticks and I thought, “I can do this!”  So, this is what I did:


In a bowl I crumbed the drumsticks with breadcrumbs, salt, pepper and plain flour over a base of olive oil.  In a saucepan over low heat I browned half a Spanish onion and two chopped cloves of garlic in olive oil.  When browned I added the drumsticks and cooked them on low heat for about seven minutes, turning them over now and then.


As the chicken was browning I added about a cup of tomato passata (puree), a handful of sliced mushrooms and a handful of chopped parsley.  I also sprinkled in a teaspoon of Massel powdered chicken stock, cracked pepper and Murray River pink salt.  


I covered with a lid and let it cook on low heat for about 20 minutes, turning the drumsticks very five minutes and ensuring nothing stuck to the bottom of the pan for longer than it needed to.


Nothing was planned, everything was what I saw in the refrigerator.


The result… you guessed it again…excellent!


If you wanted to make this the ingredients are:


5 chicken drumsticks

1 Spanish (red) onion

2 cloves garlic, chopped

2 tablespoons olive oil

½ cup breadcrumbs

1 tablespoon plain flour

½ cup sliced mushrooms

1 handful of chopped Continental parsley

1 teaspoon of Massel powdered chicken stock

Murray River Pink salt

Cracked or coarse freshly ground pepper


Enjoy.