Dessert

Tiramisu

The name ‘tiramisu’ is actually three Italian words combined in a phrase:

-  Tira, the third person conjugation of the verb ‘tirare’ translates in English to ‘pull’.

-  Mi, means ‘me’; and

-  Su, means ‘up’

The word tiramisu literally translates to ‘pull me up’!  Or ‘lift me up’!

It is very easy to make.  No refrigeration required.  It is even easier to consume!

My version does not use raw eggs whites, but most recipes do. 
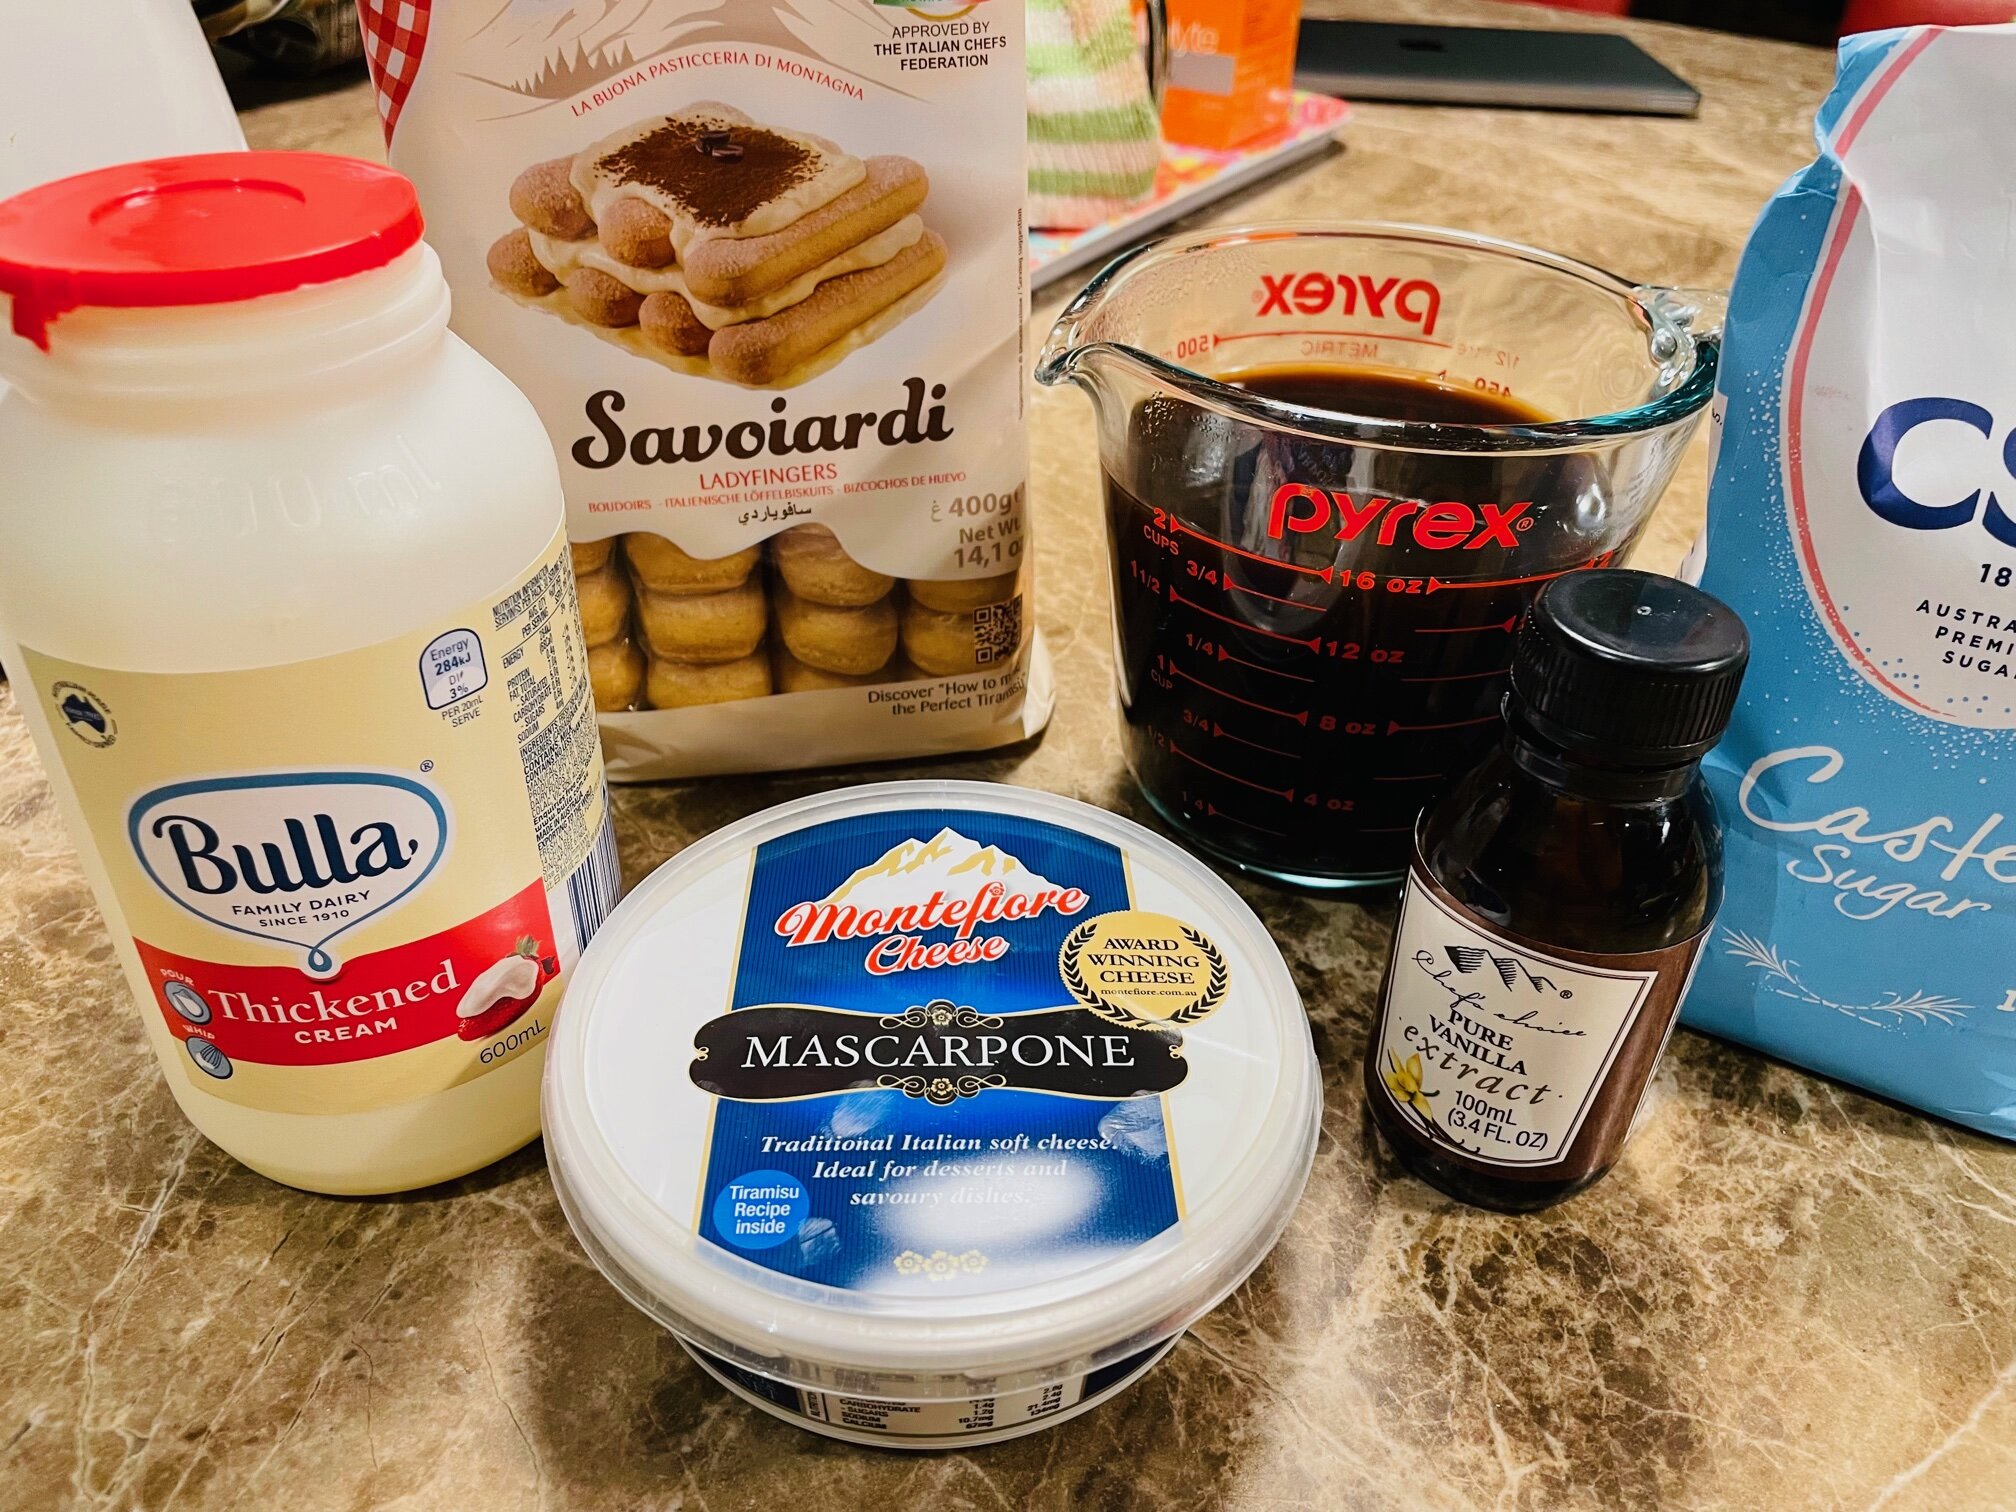
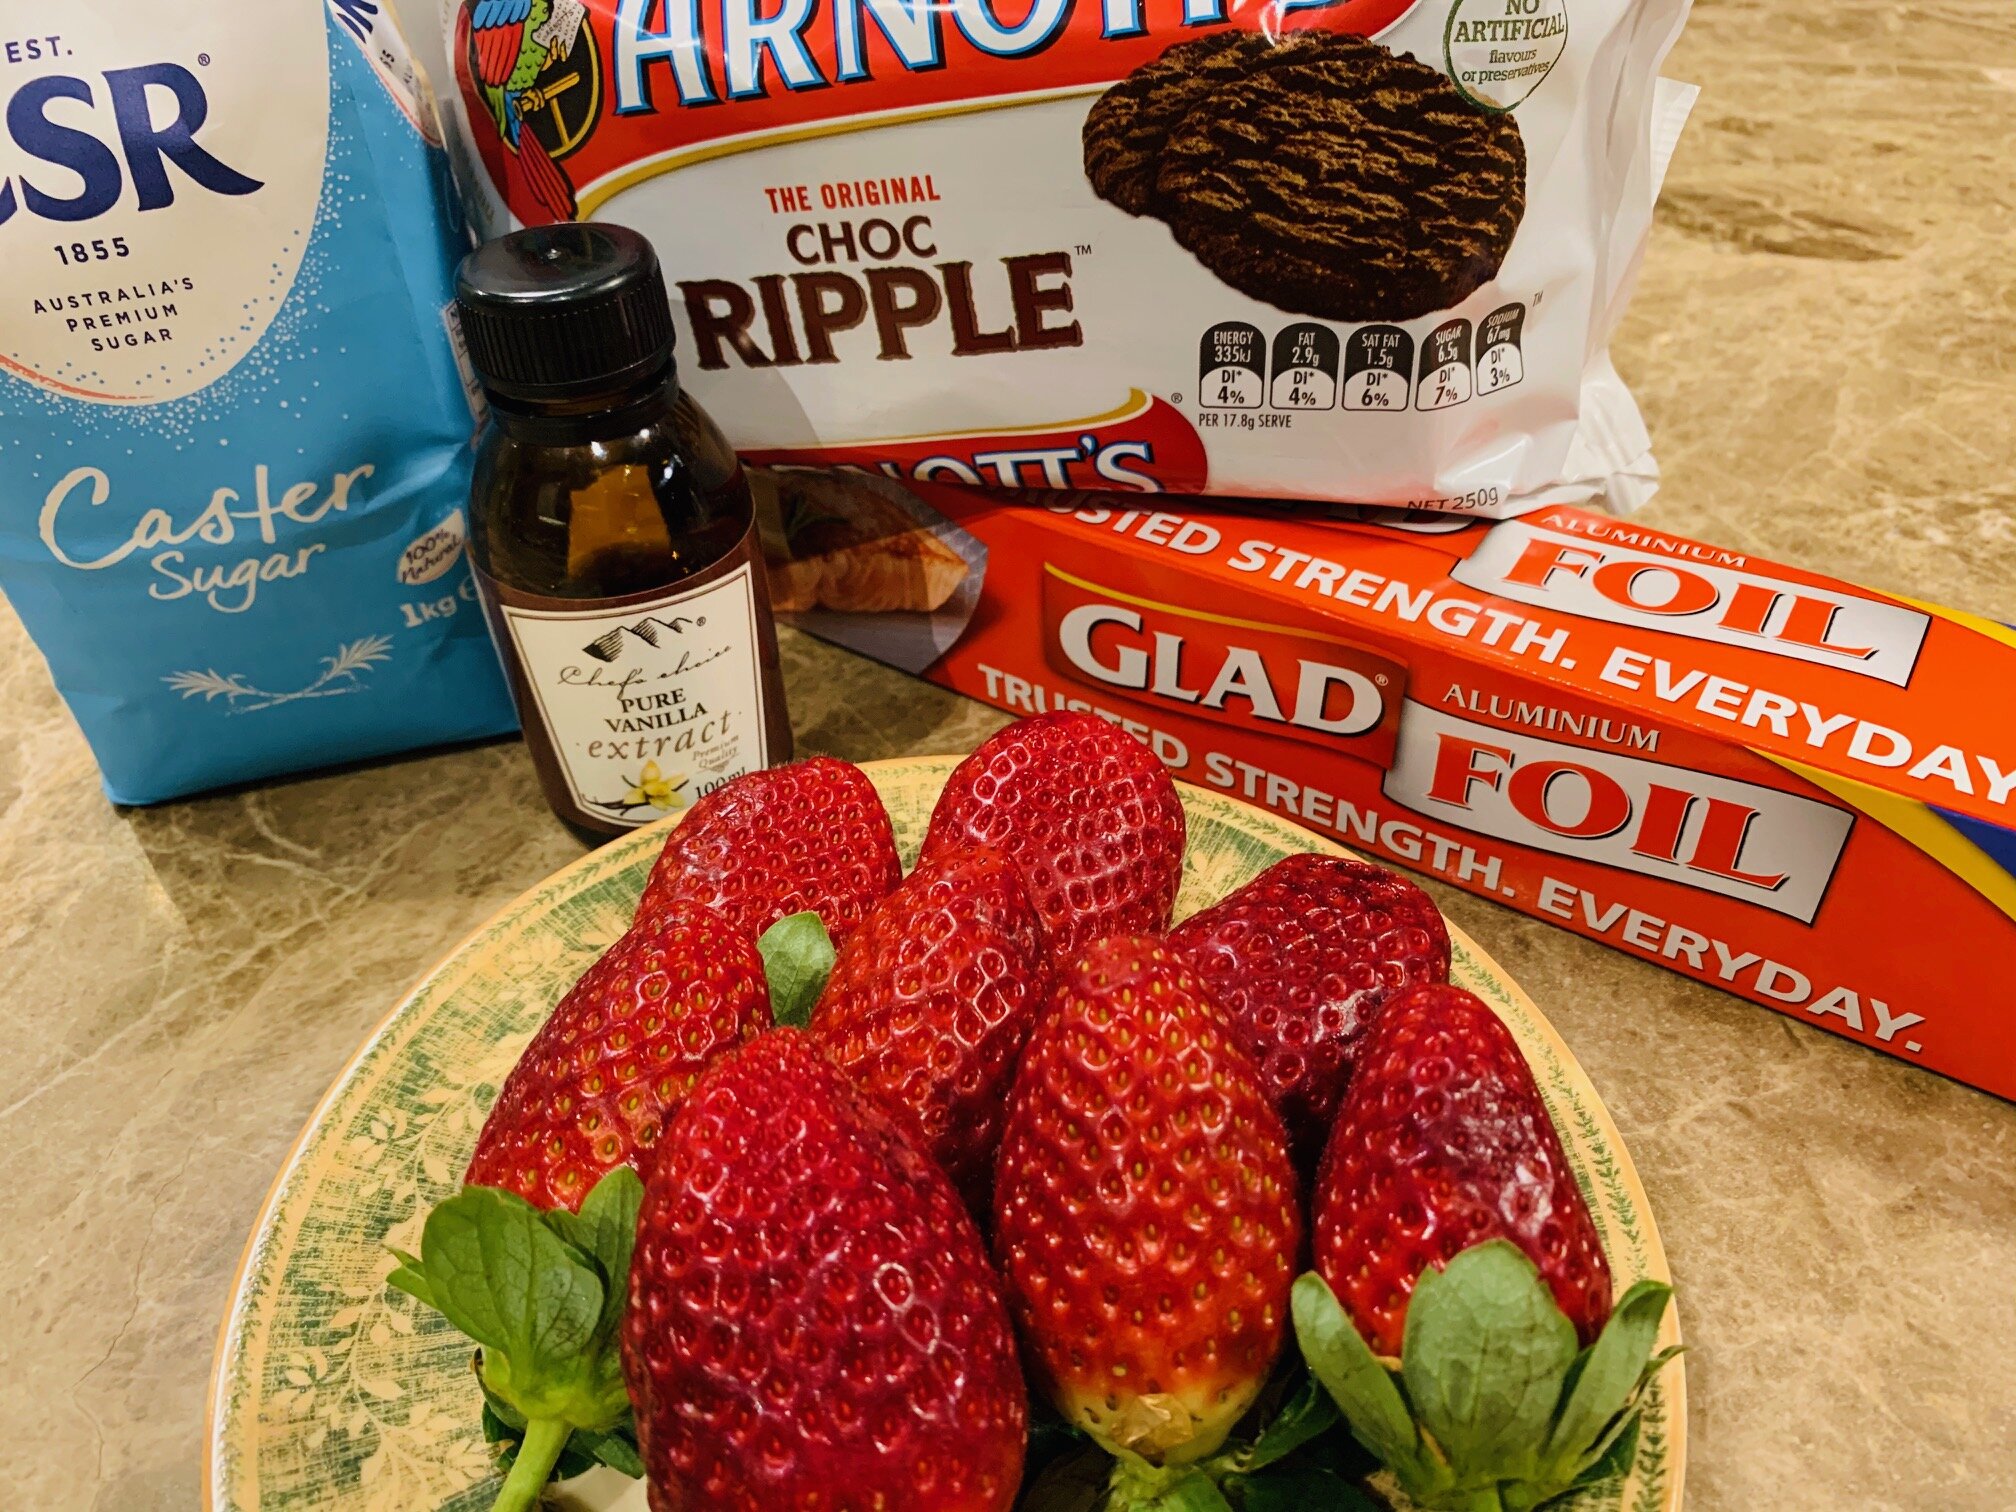
Ingredients:

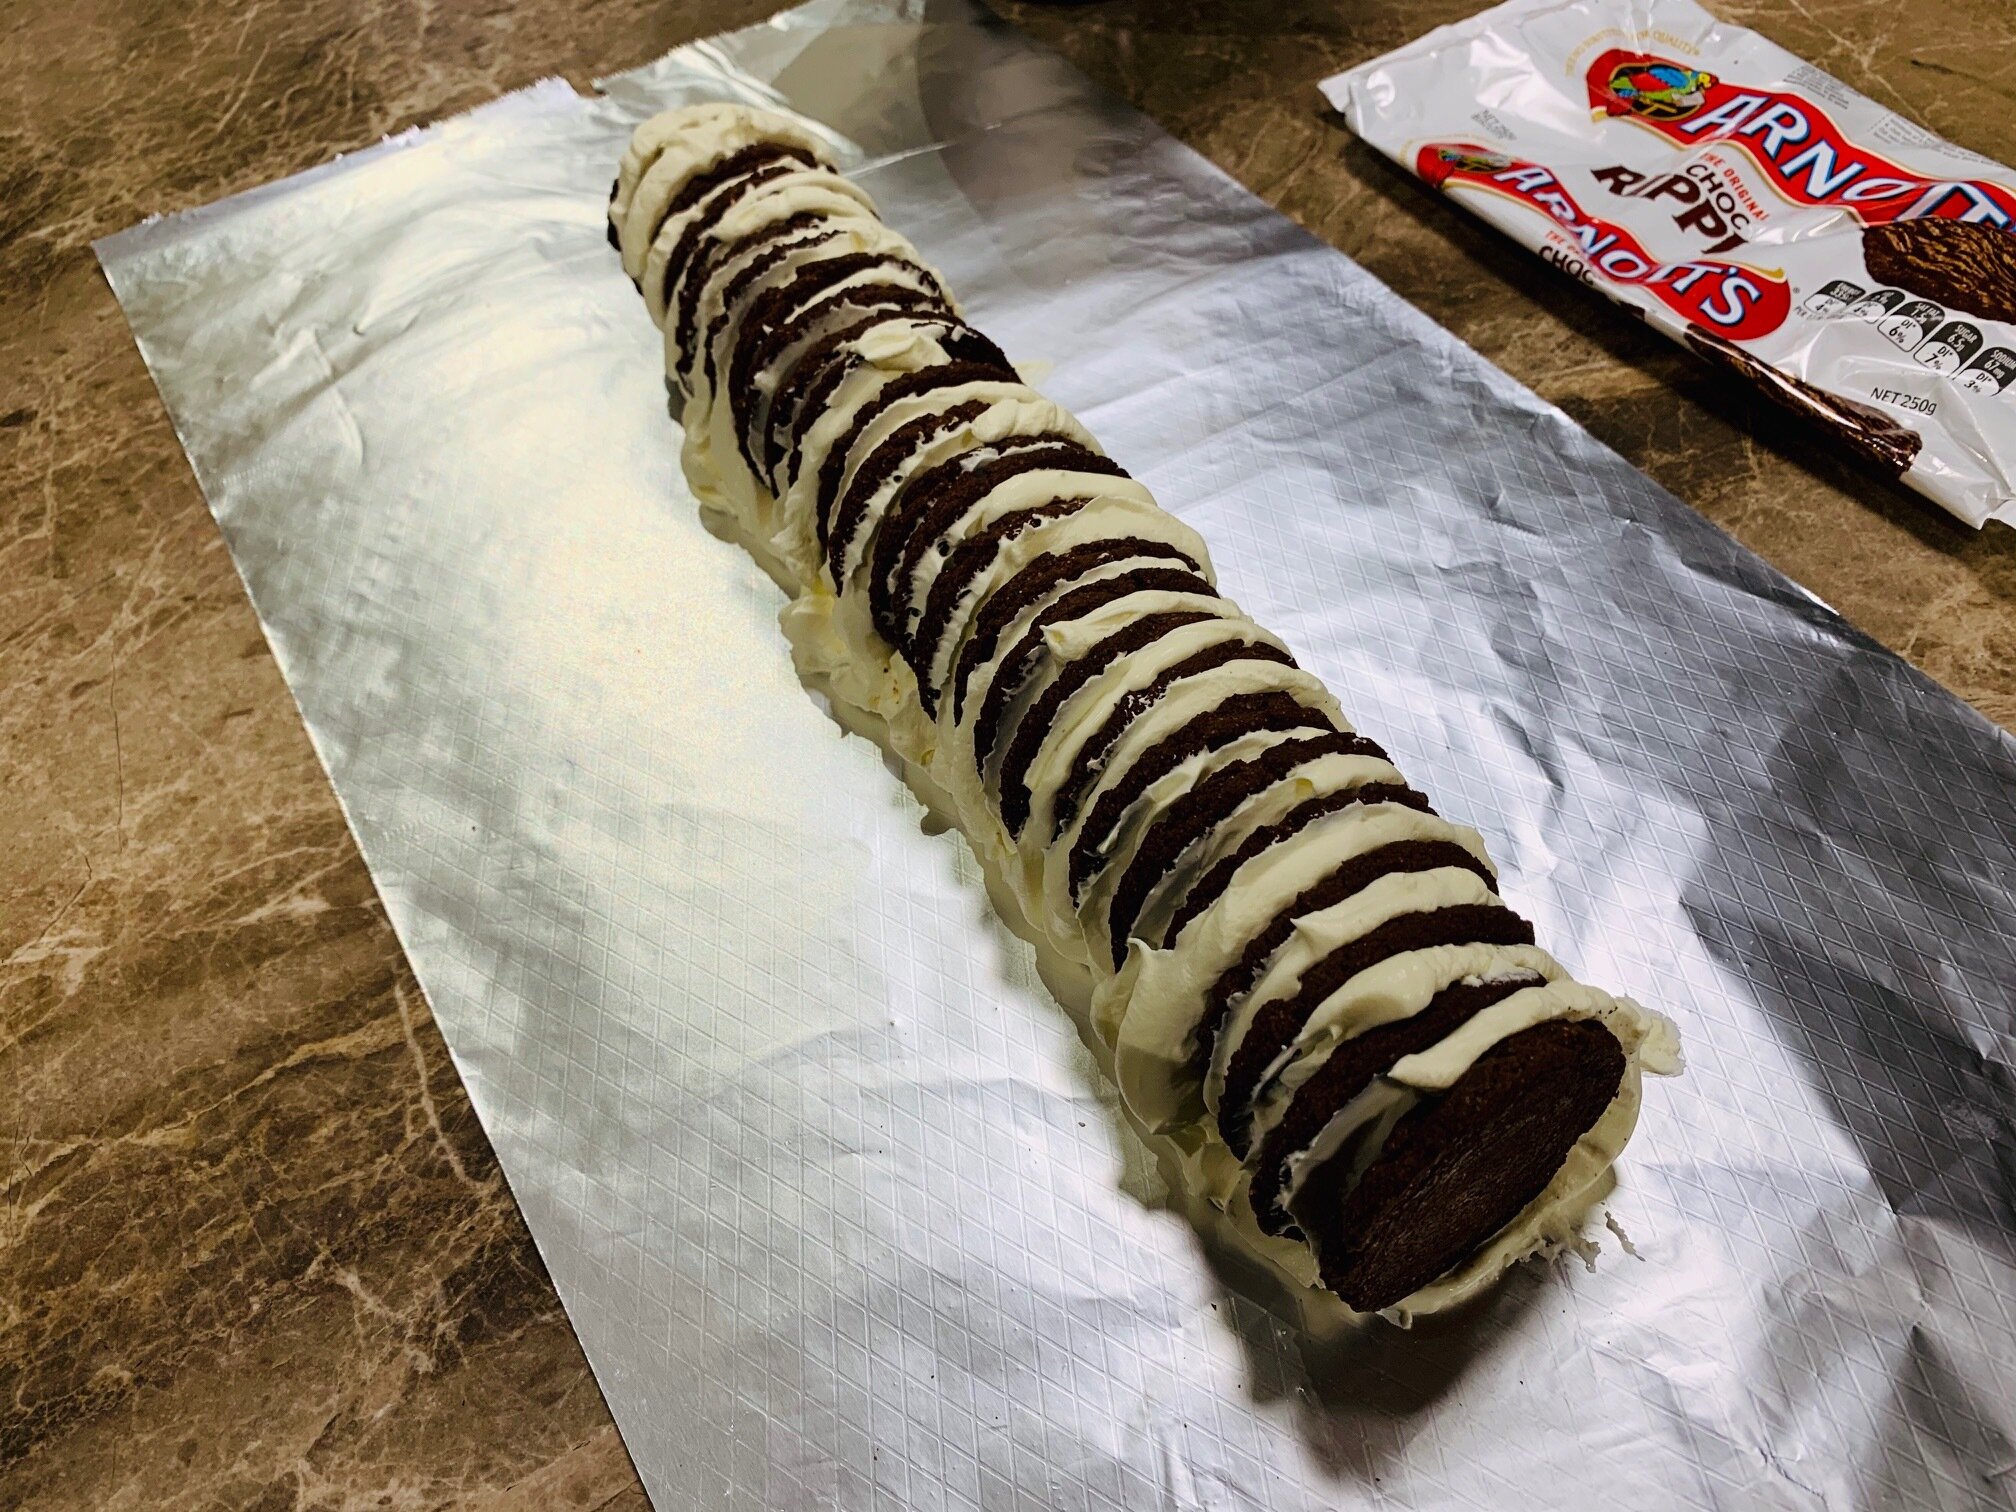
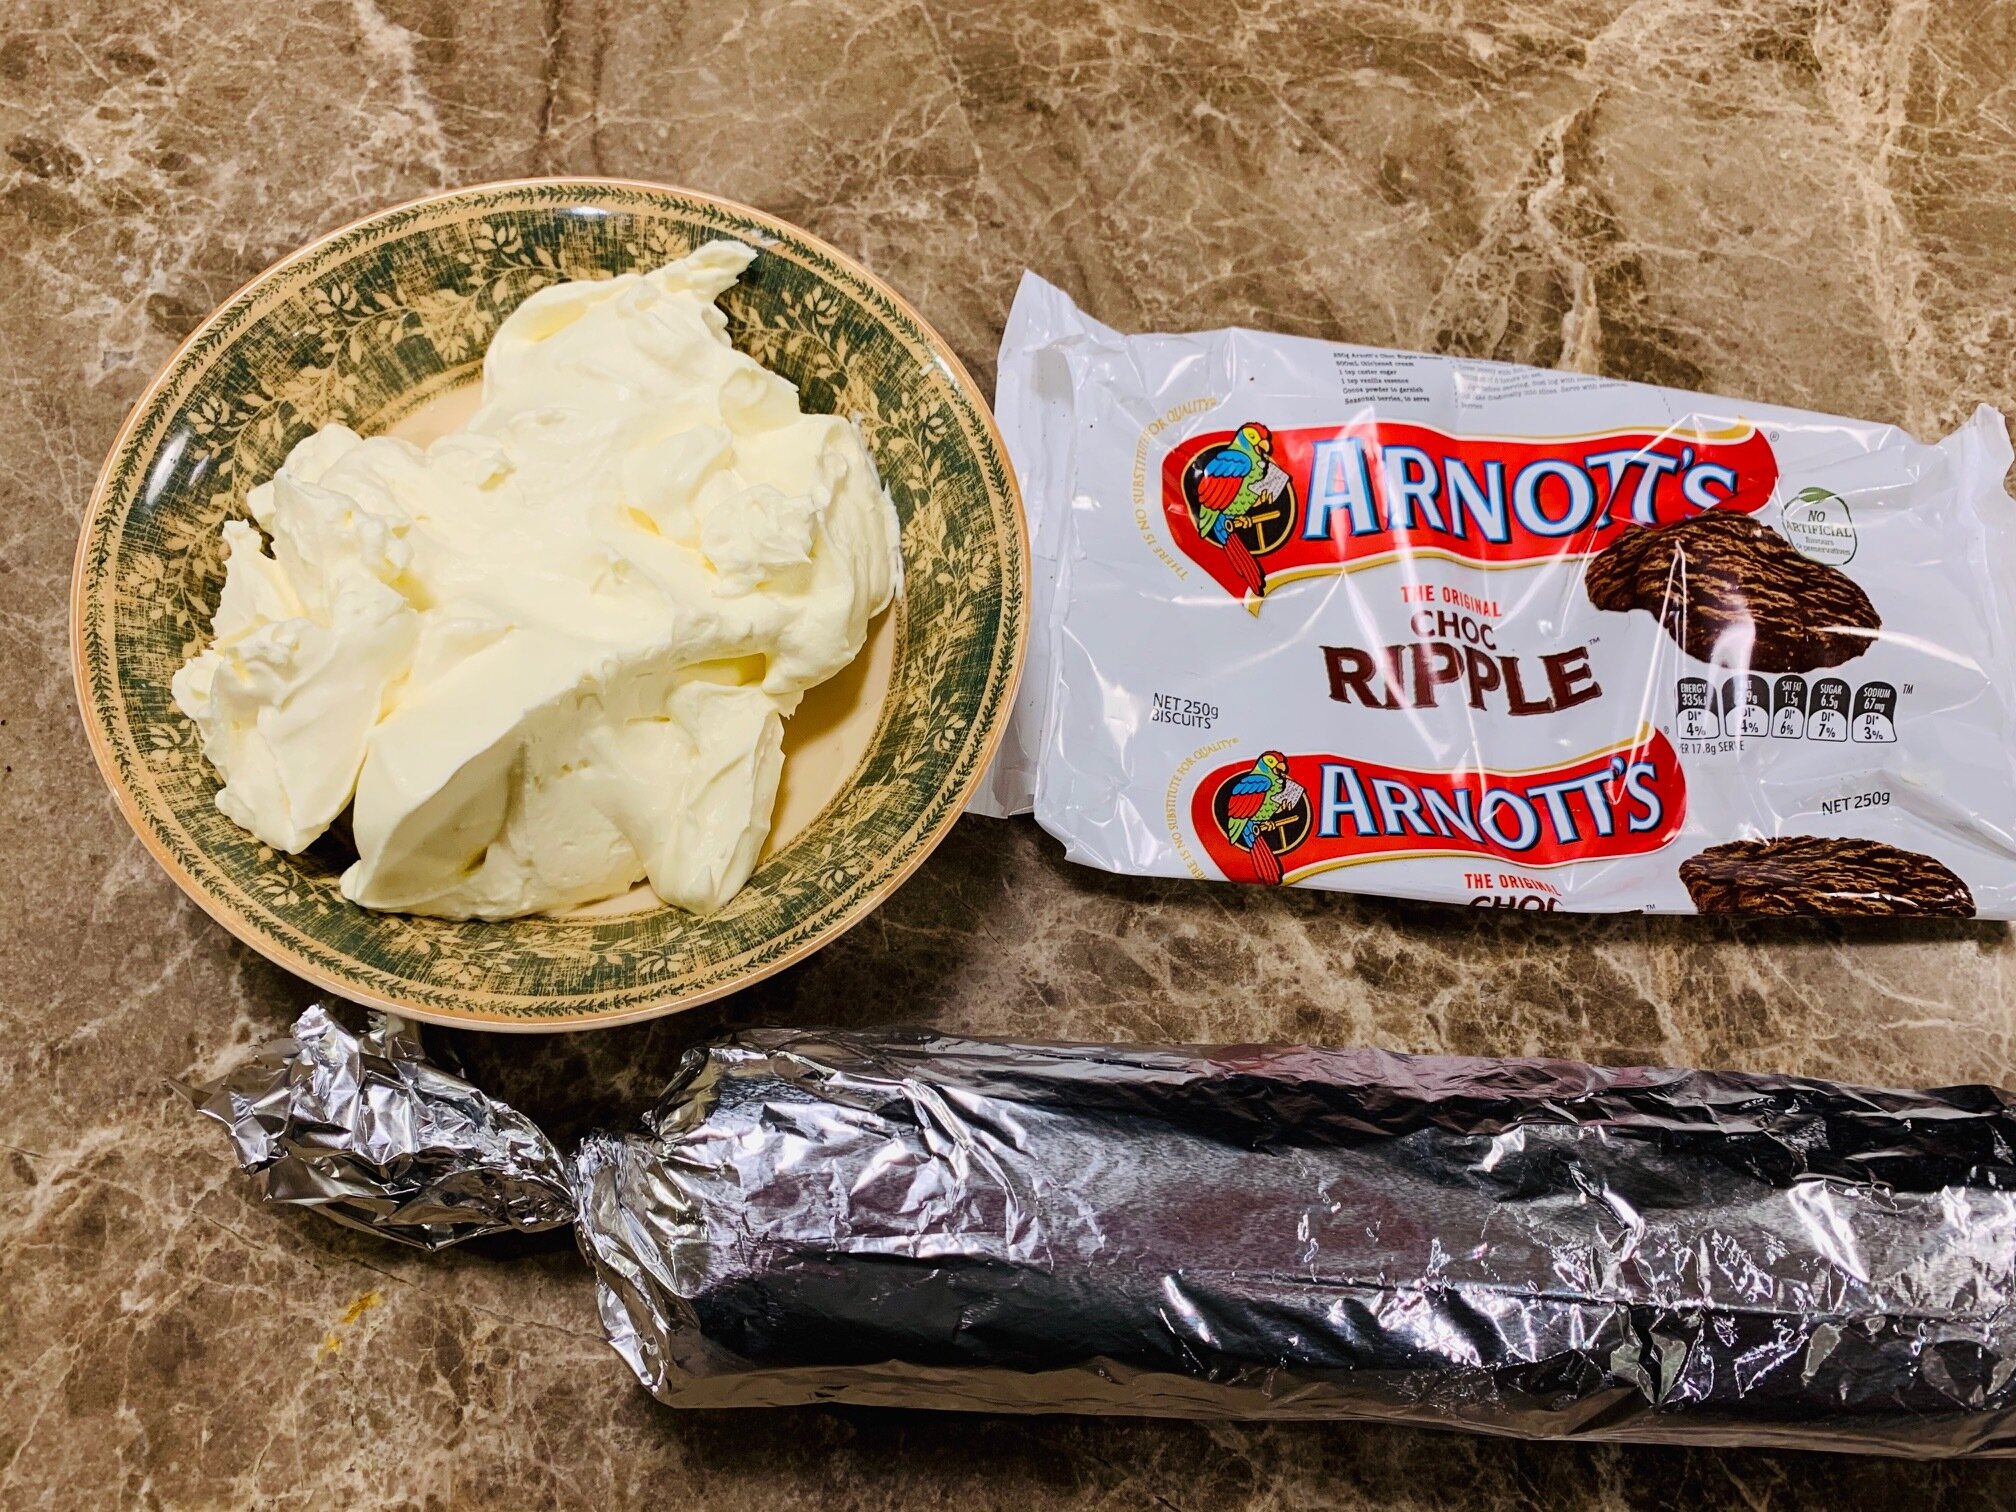
-       a packet of sponge finger biscuits;

-       200ml freshly brewed or percolated coffee, cooled to room temperature

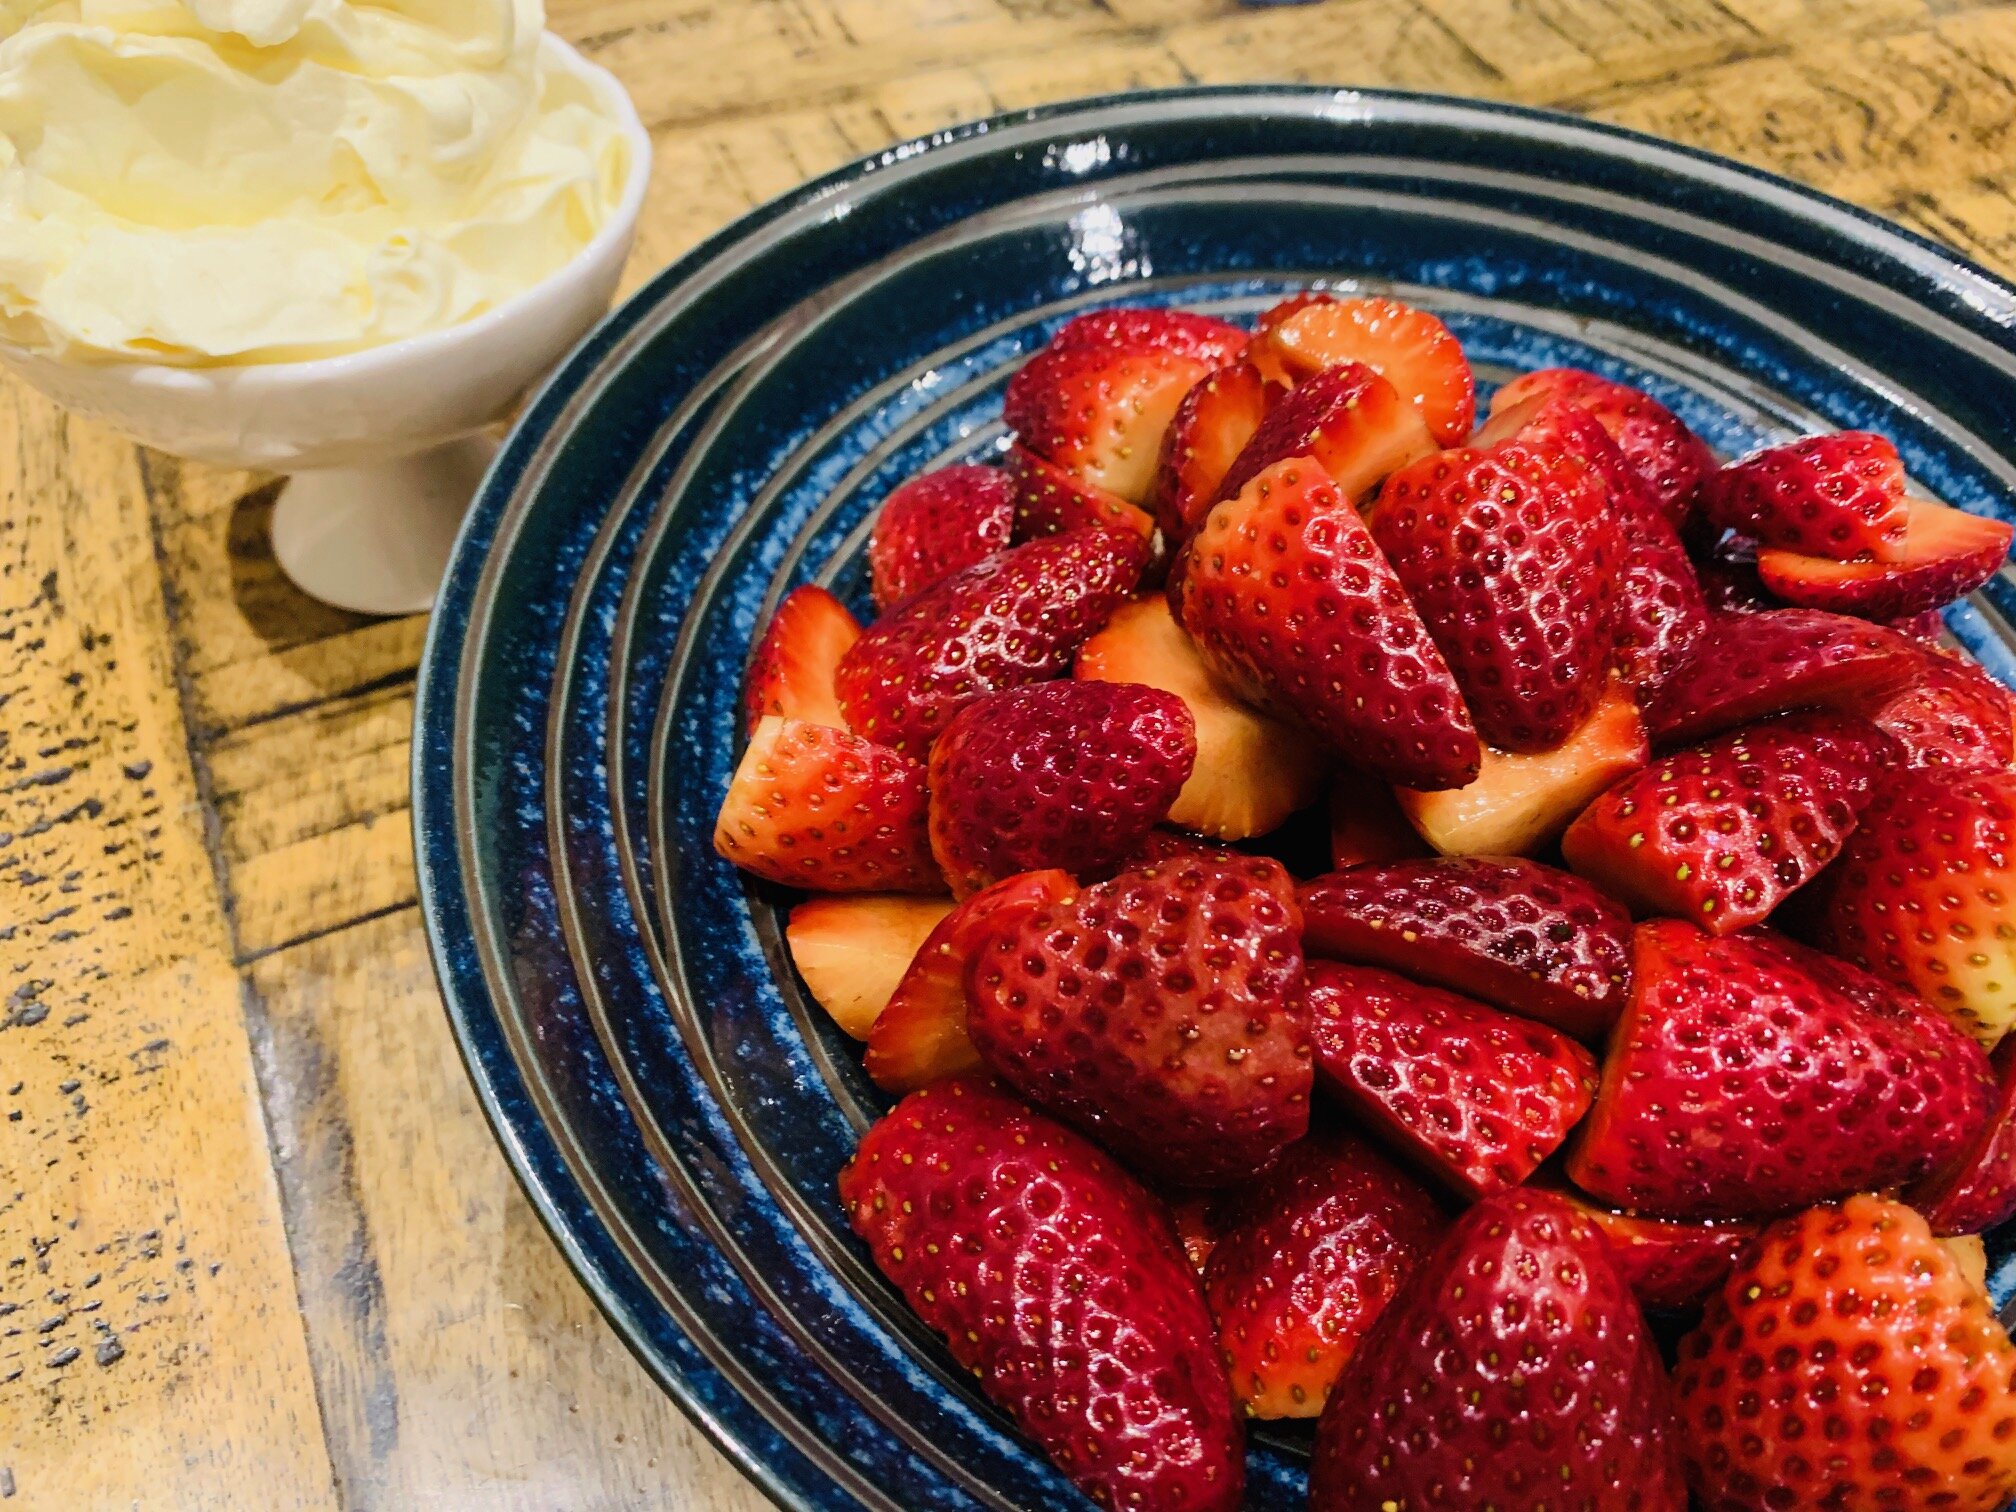
-       300ml fresh thickened cream

-       250gms mascarpone cheese (from the deli/dairy case)

-       1/3 cup caster sugar

-       4 drops vanilla essence

-       Fresh powdered cocoa

Method

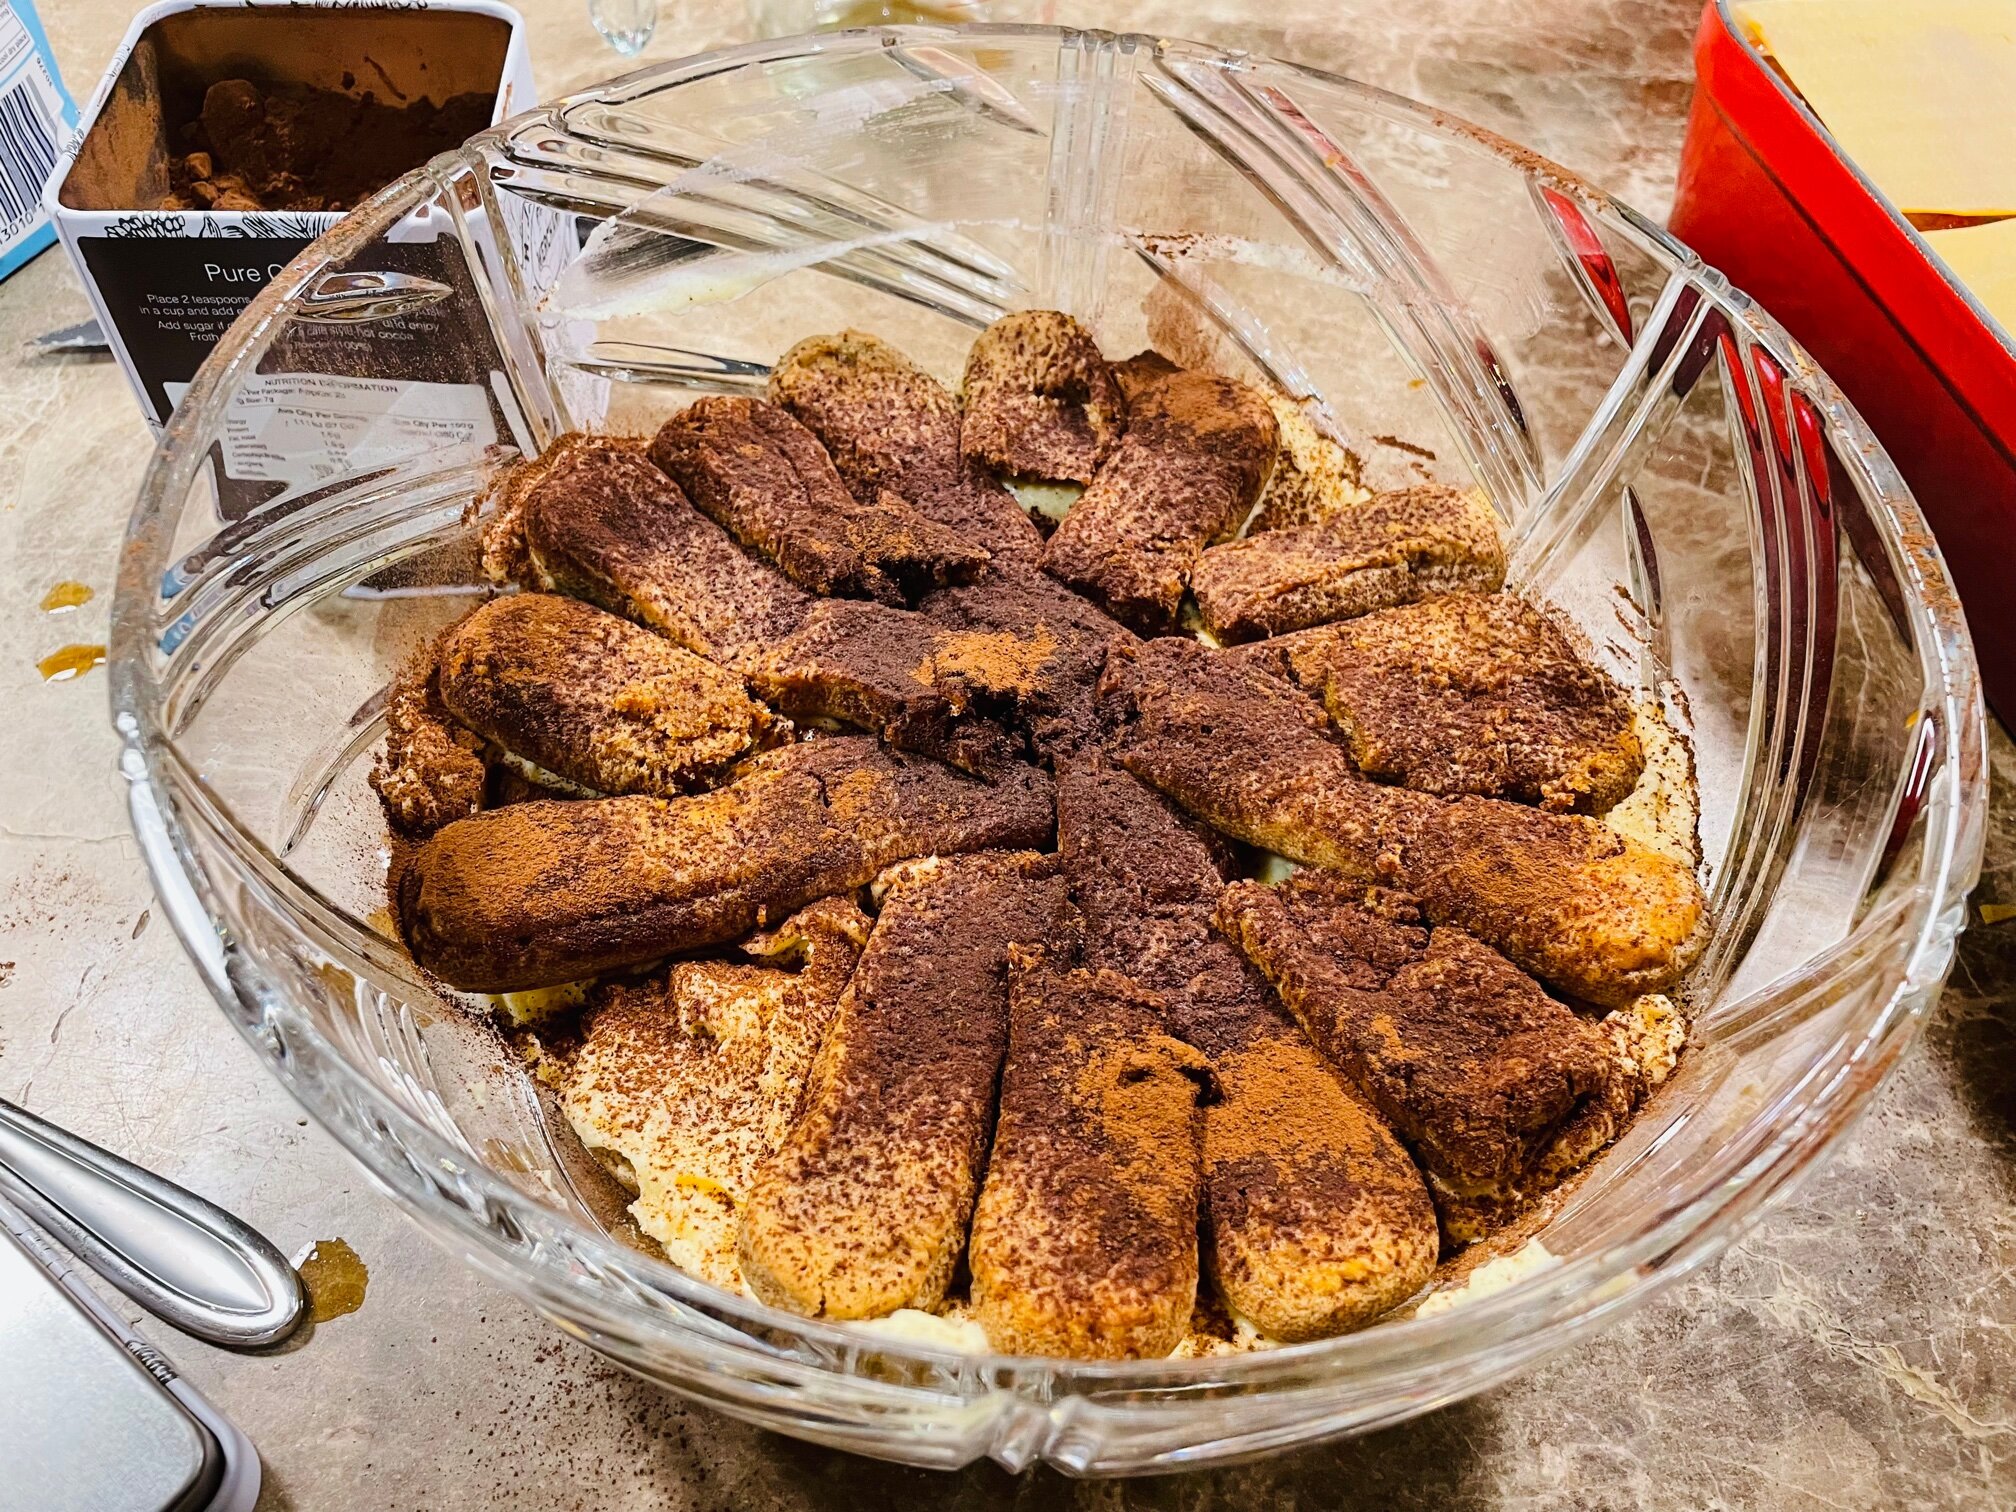
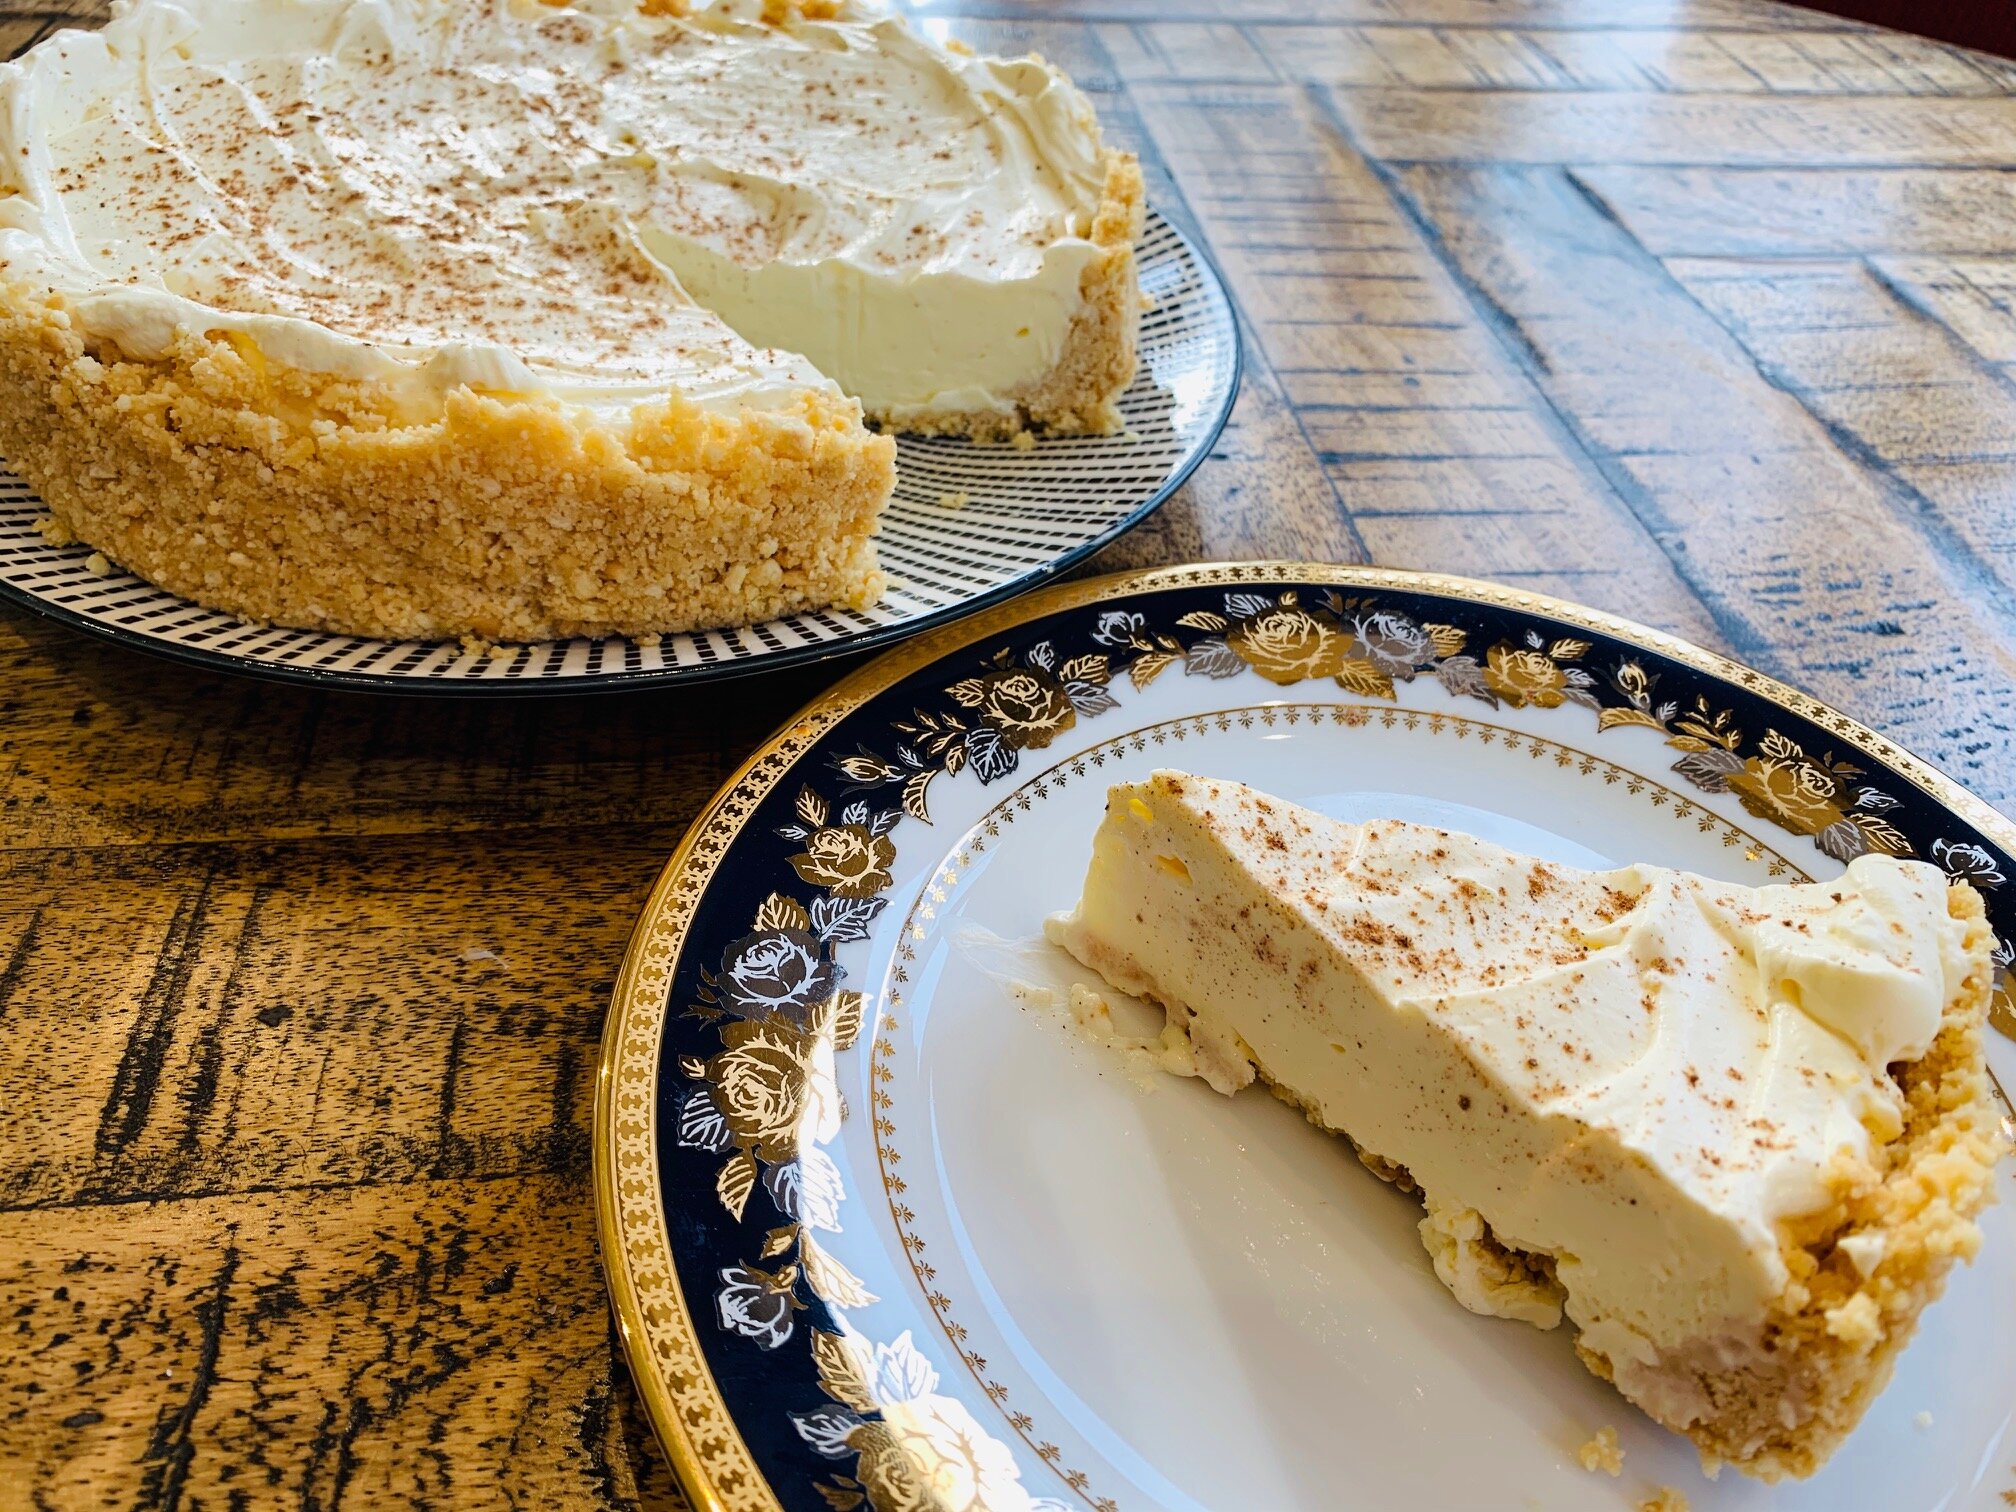
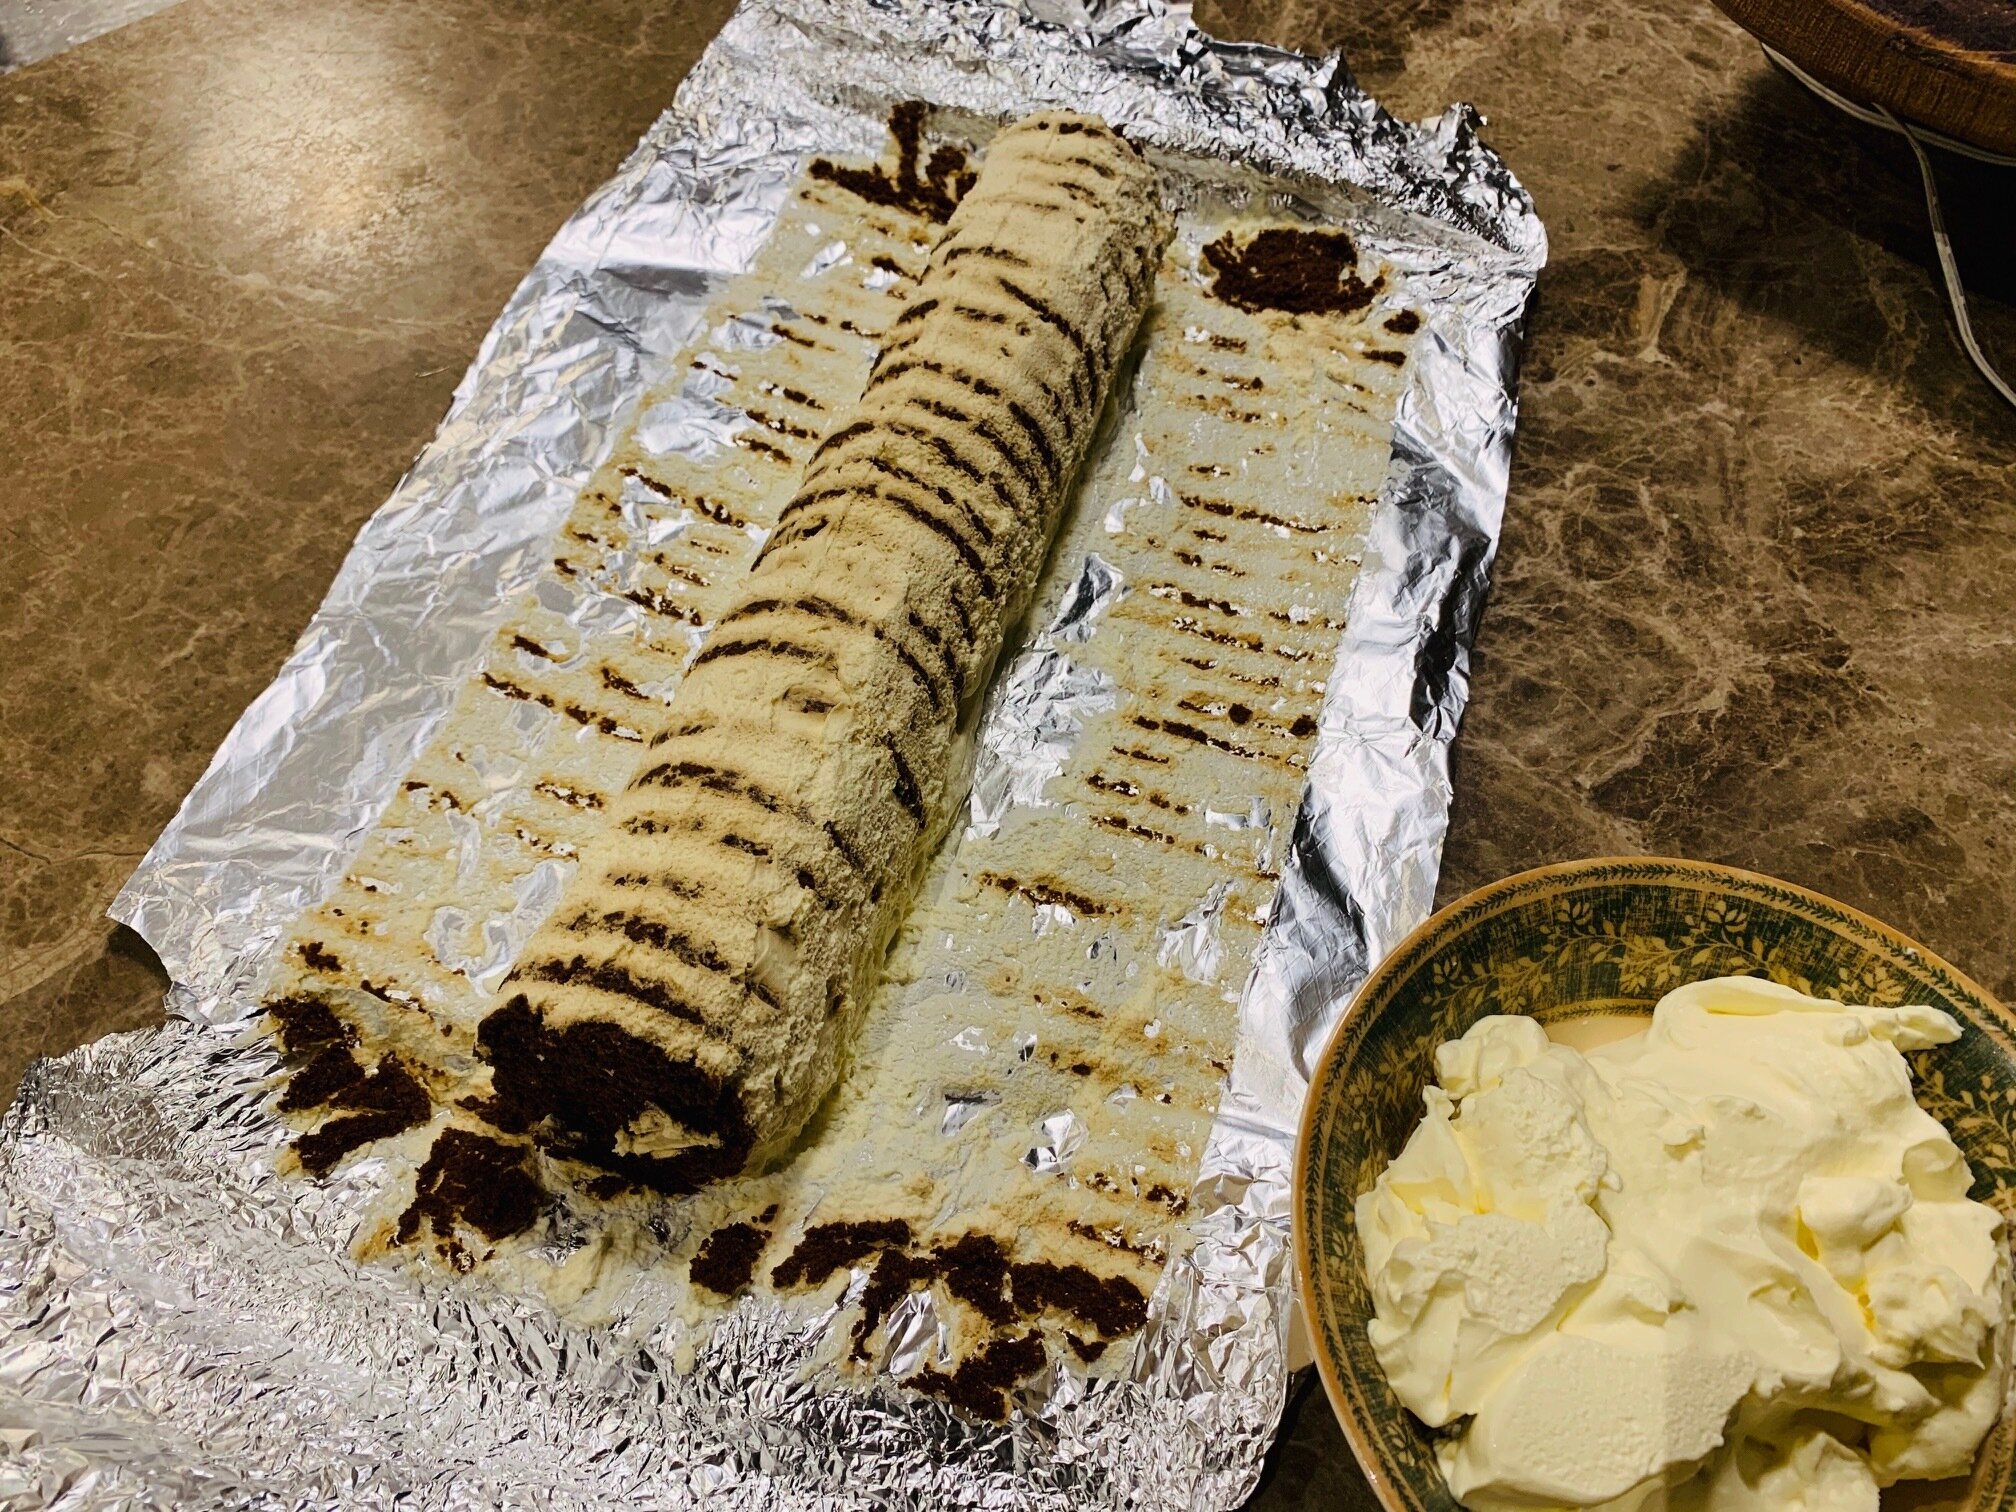
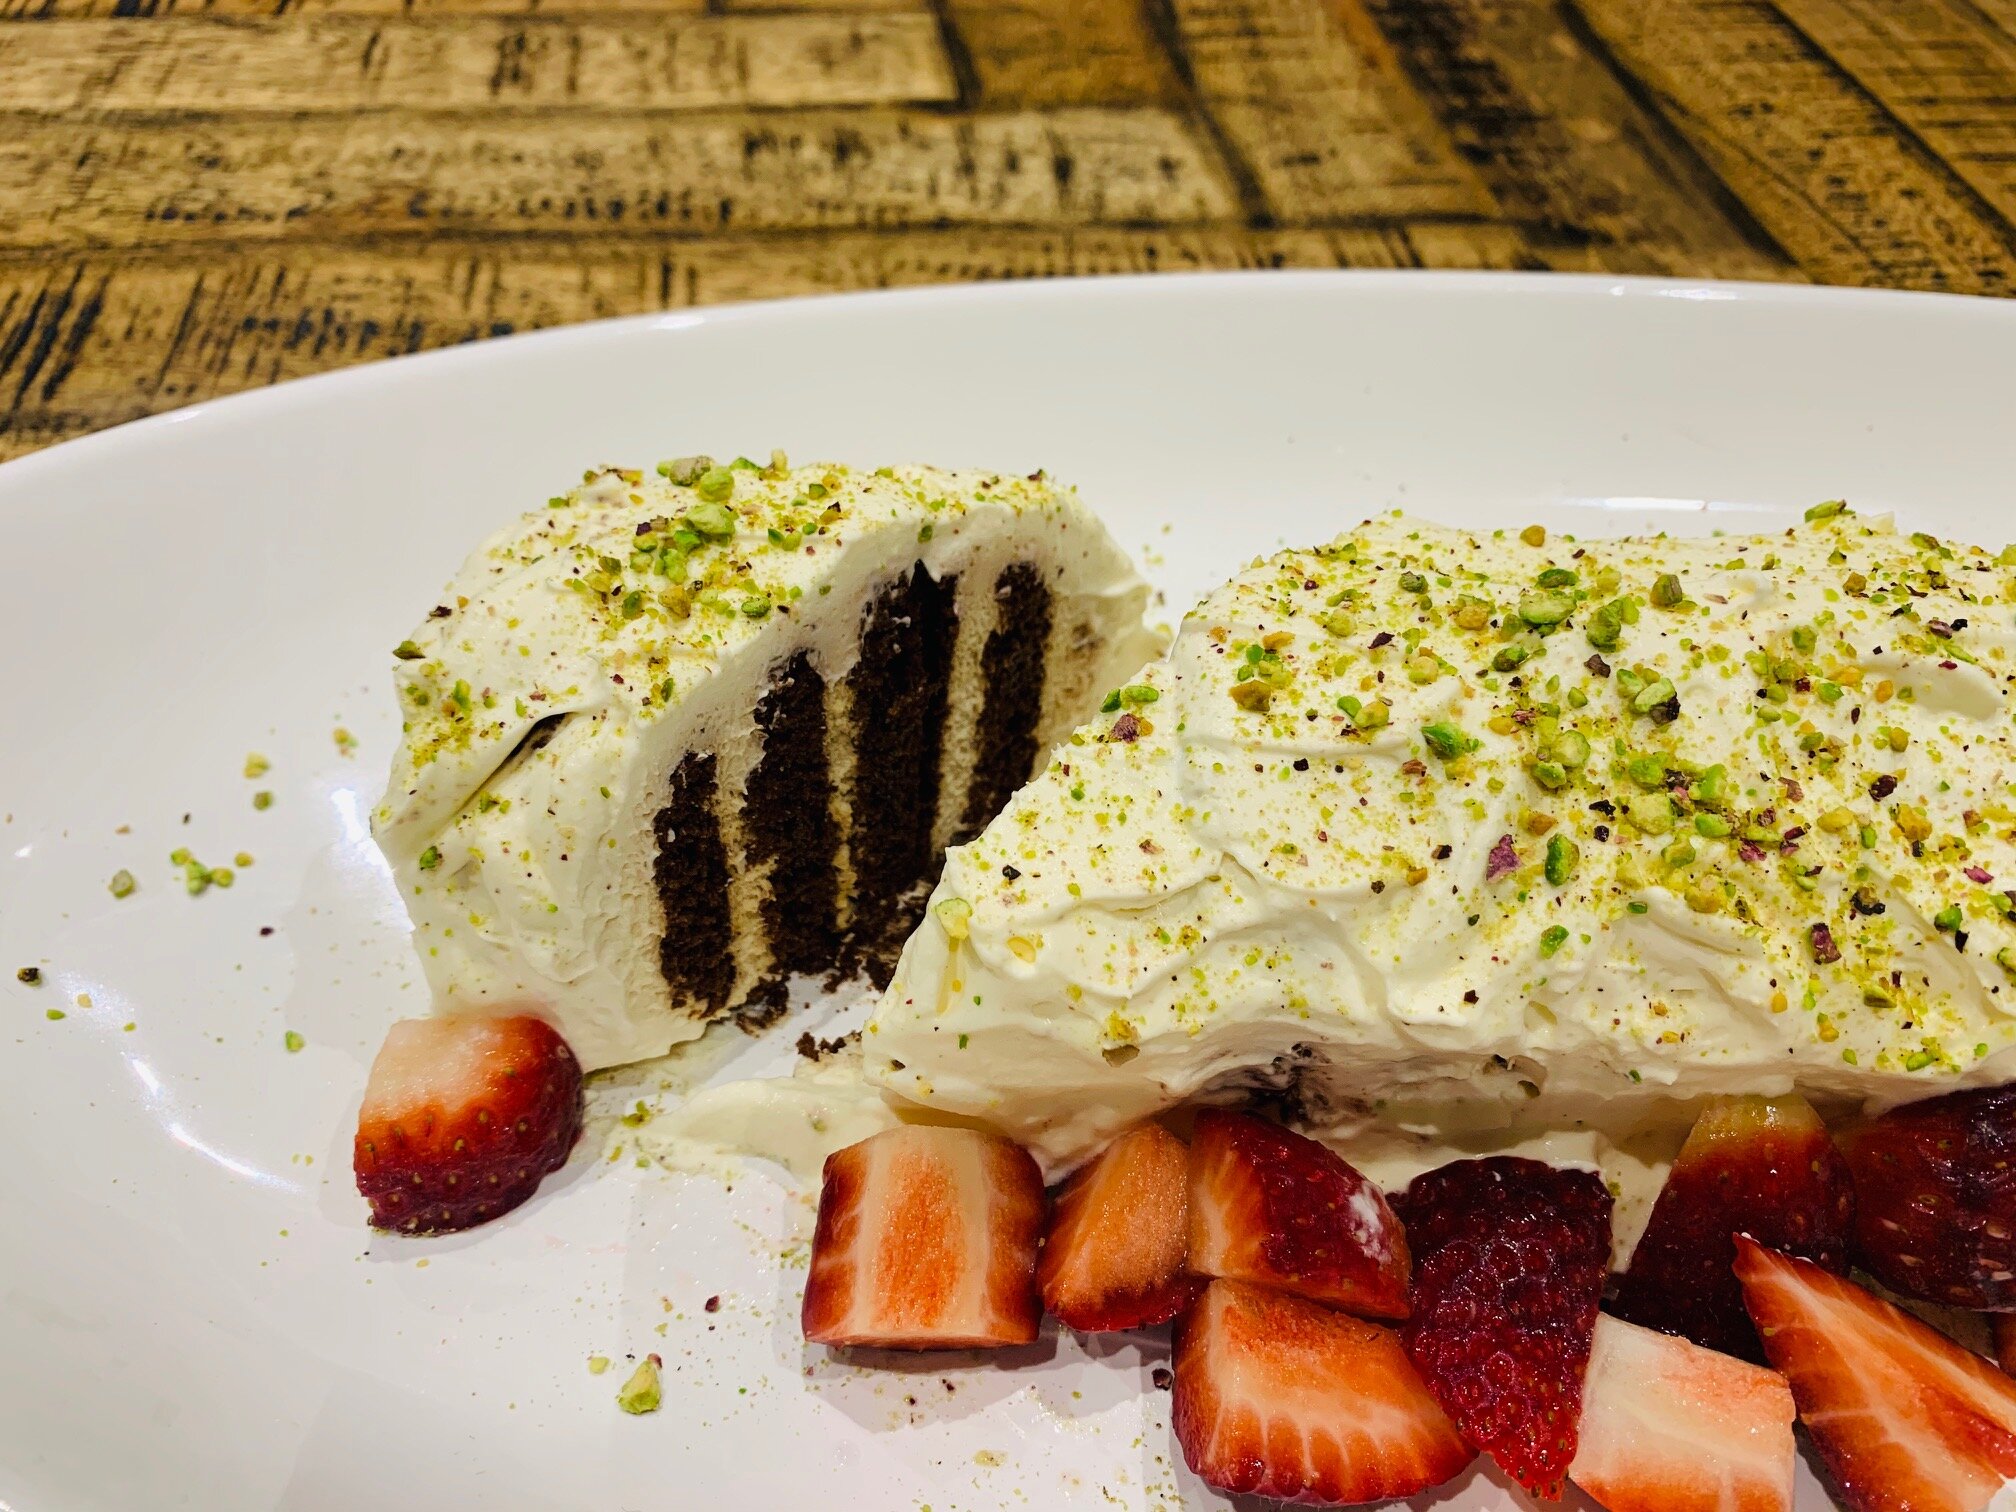
The tiramisu is a two layered cake, each layer is the same.

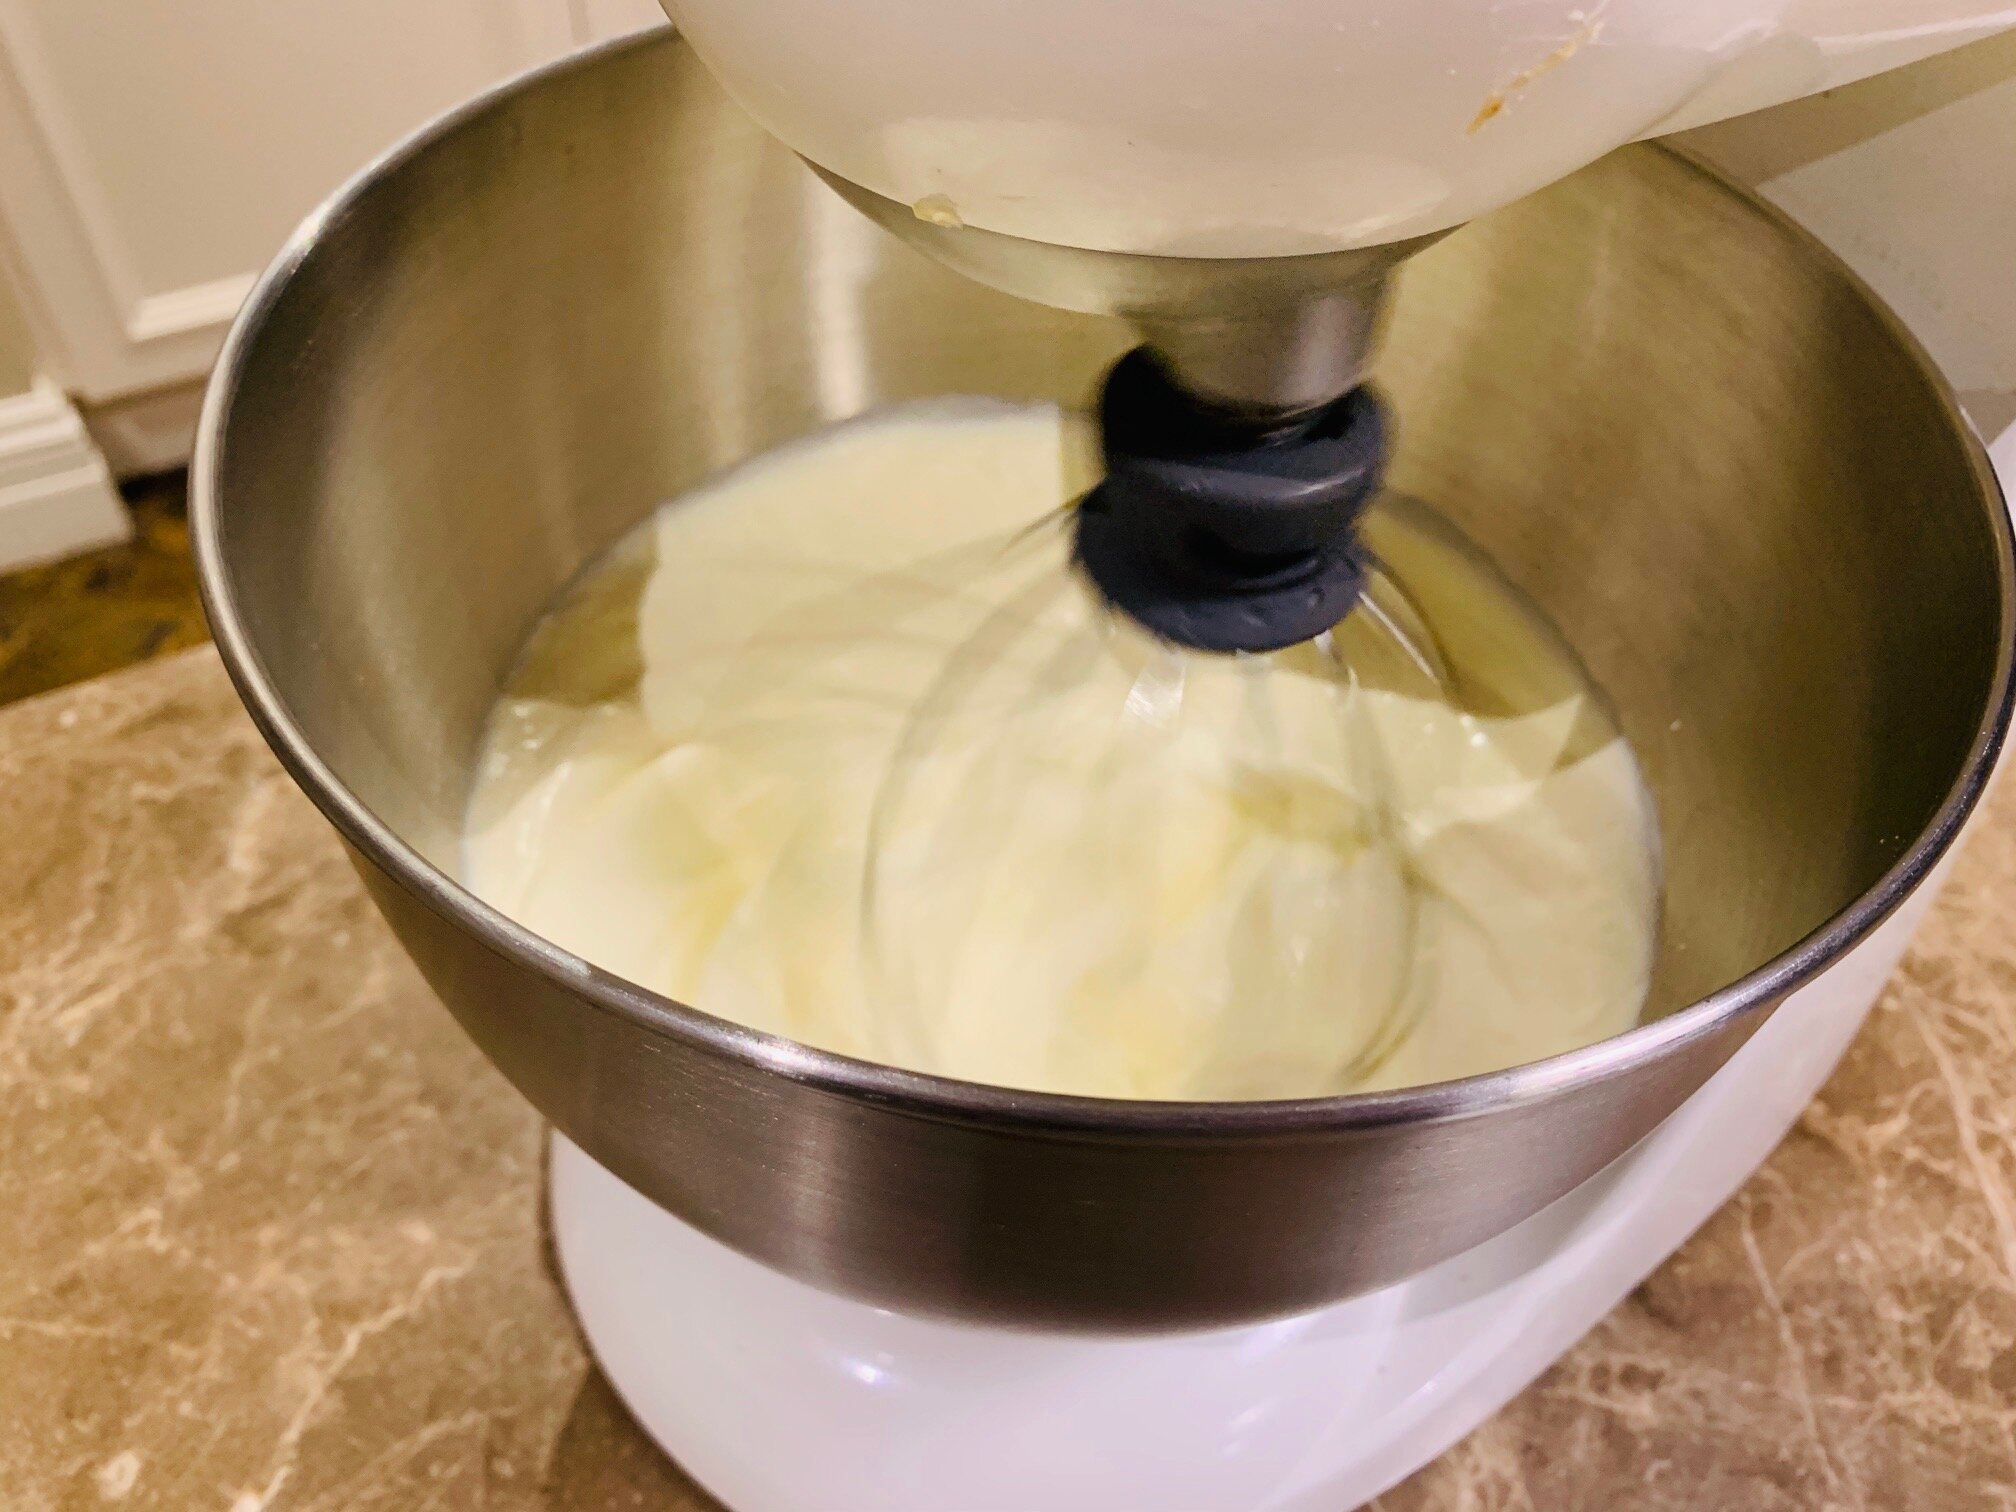
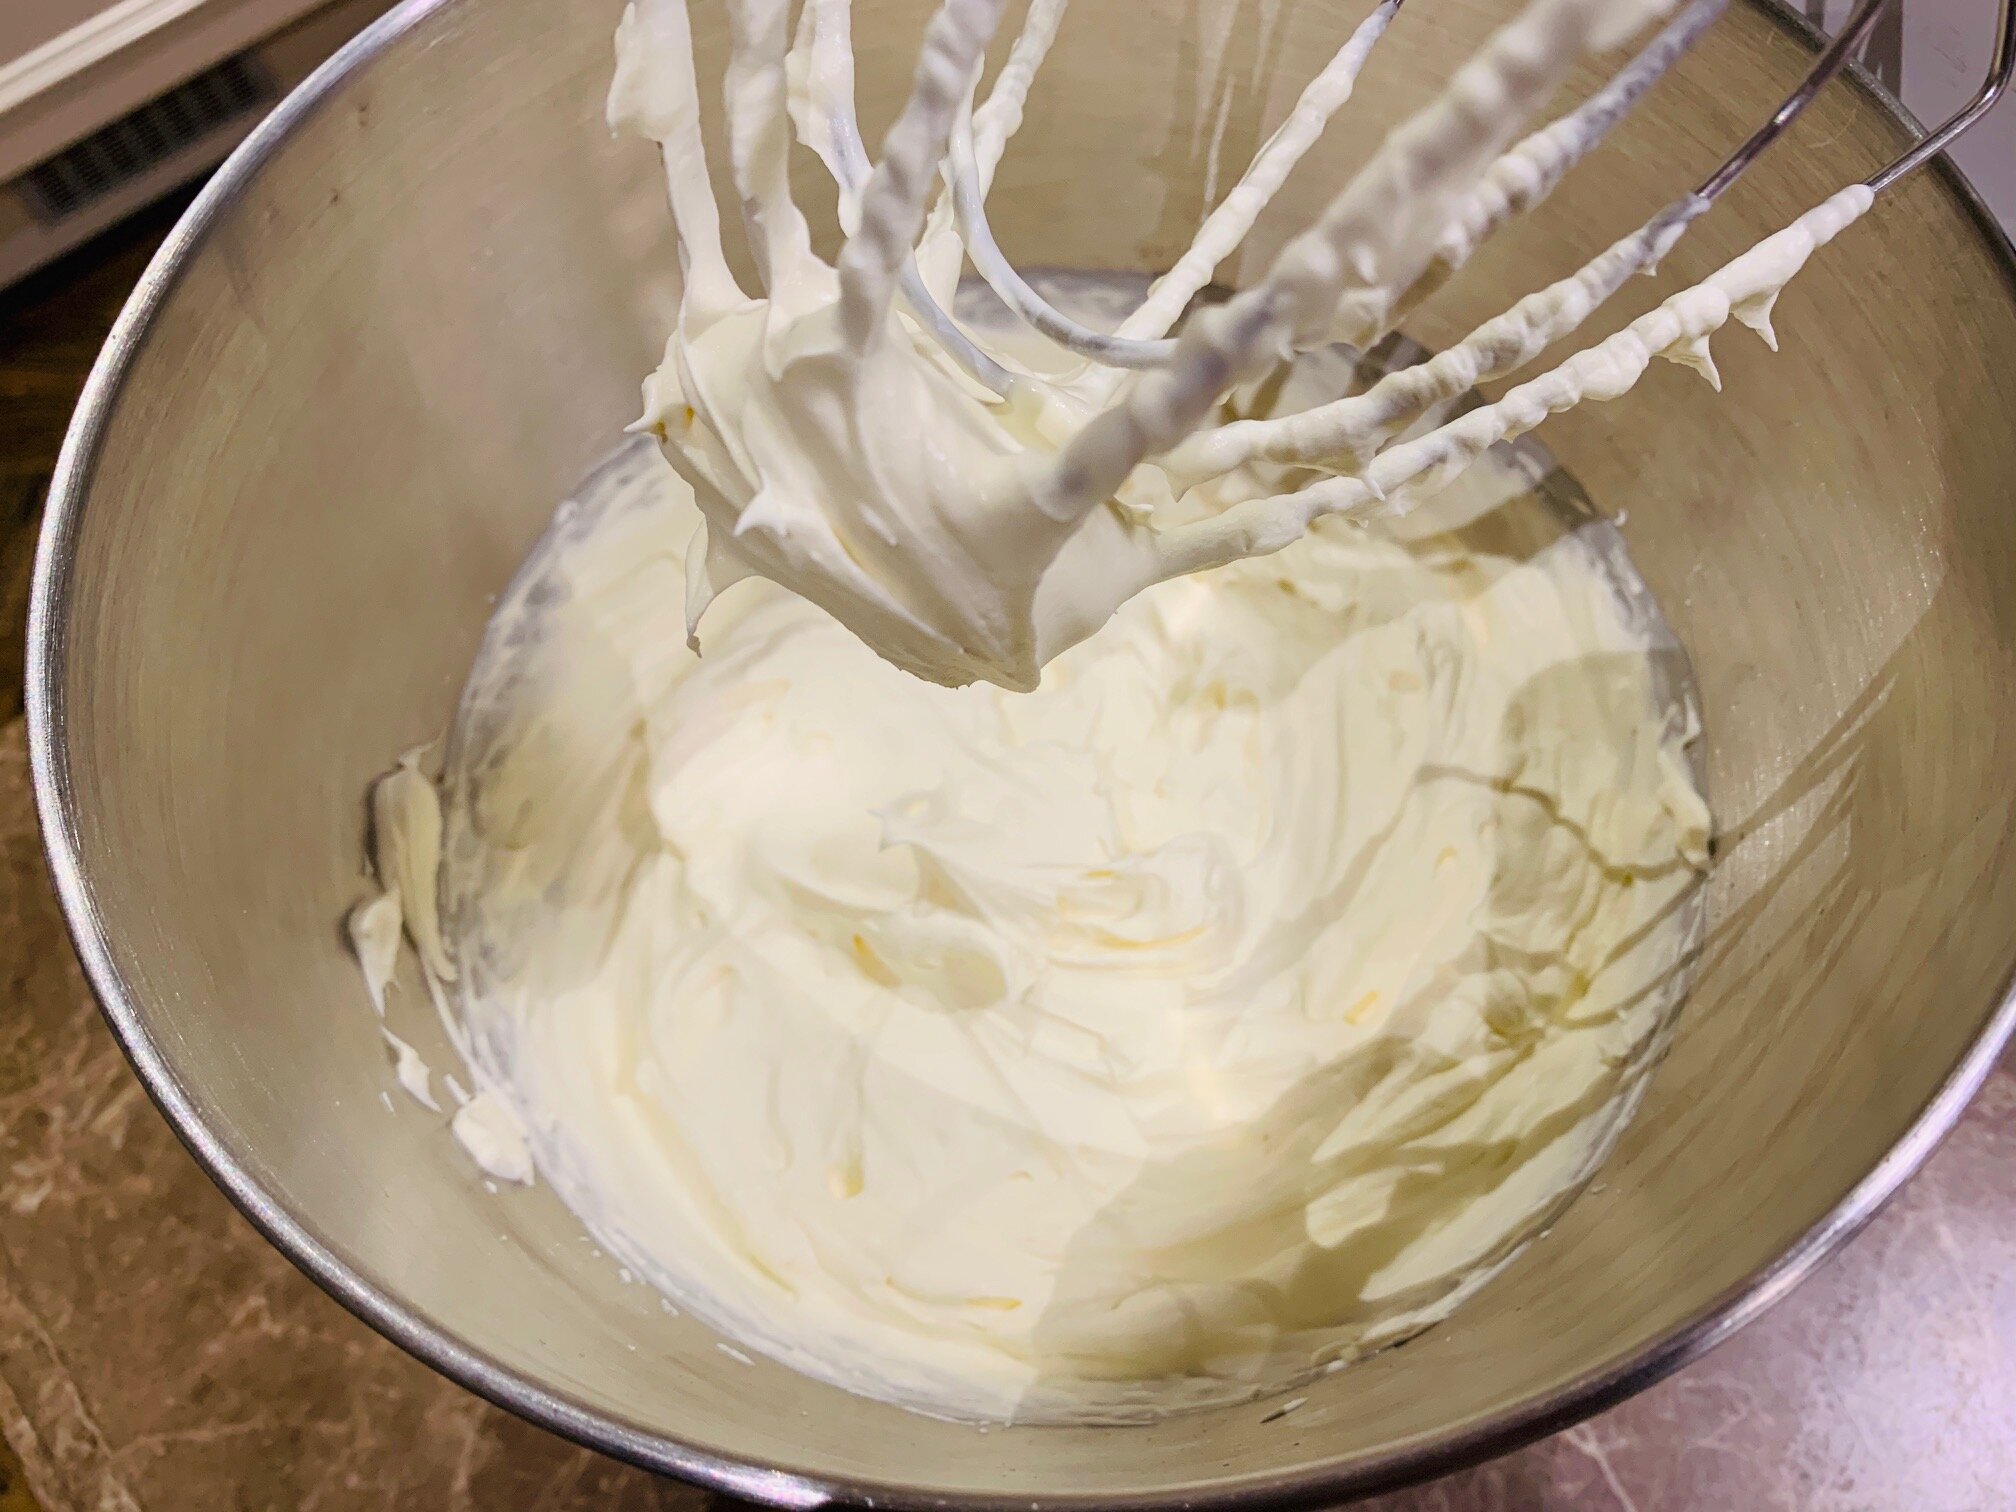
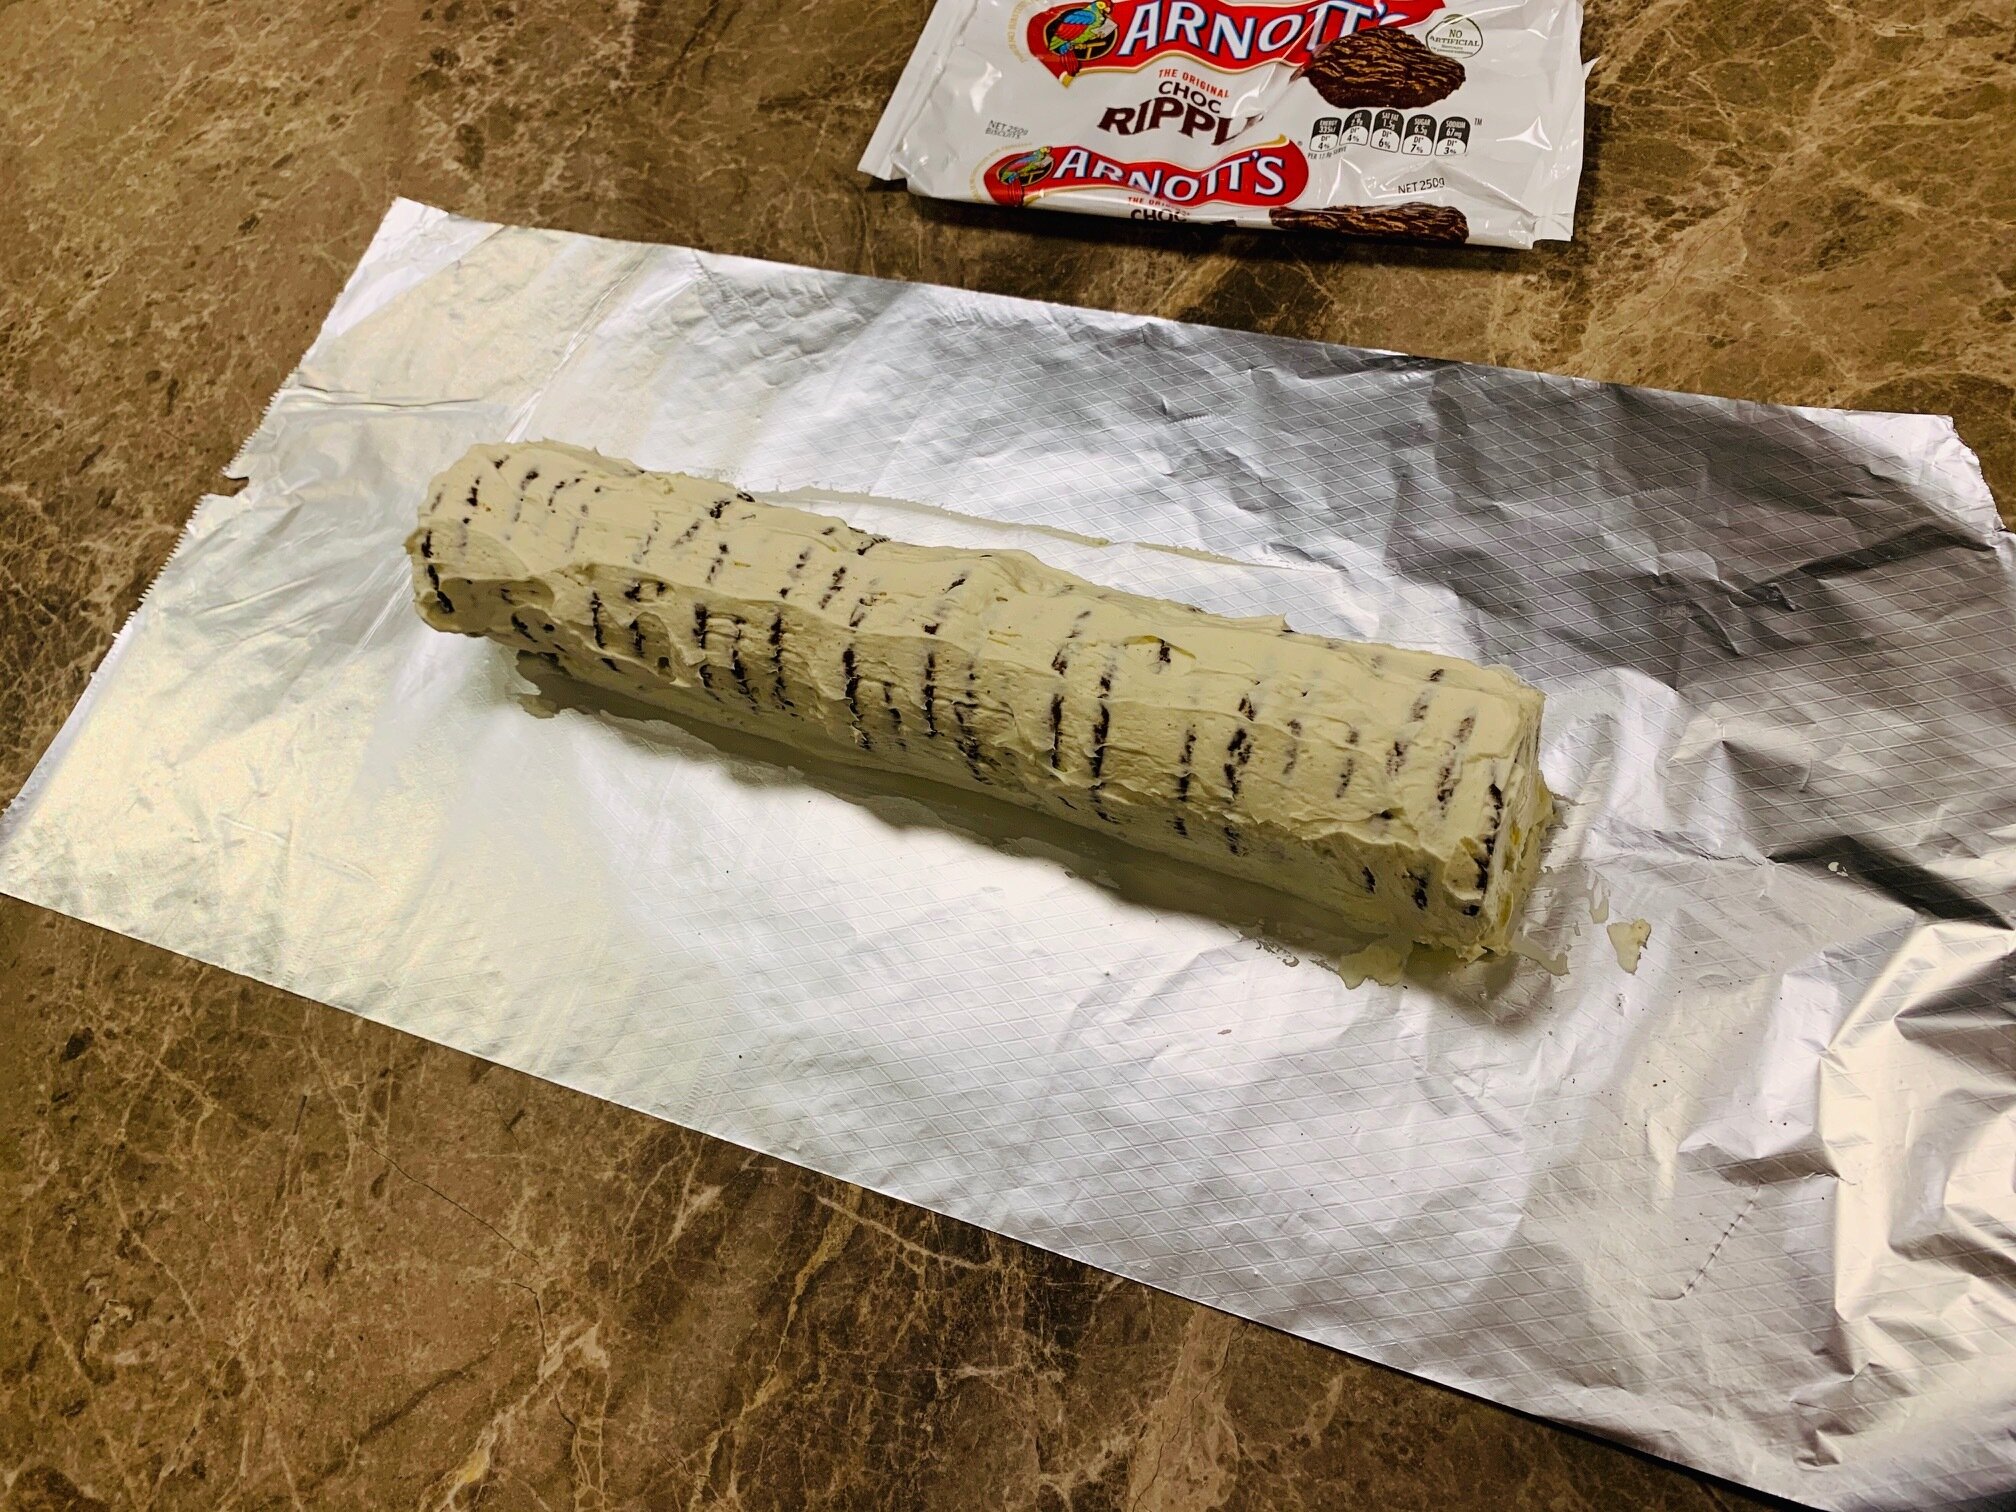
Using a mixer, whip the cream, sugar and vanilla essence until it is fairly stiff.  Using a spatula, fold well the mascarpone cheese into the mix.  

Ensure your coffee mixture is cooled.  Hot coffee may cause the cream/cheese mixture to curdle. 

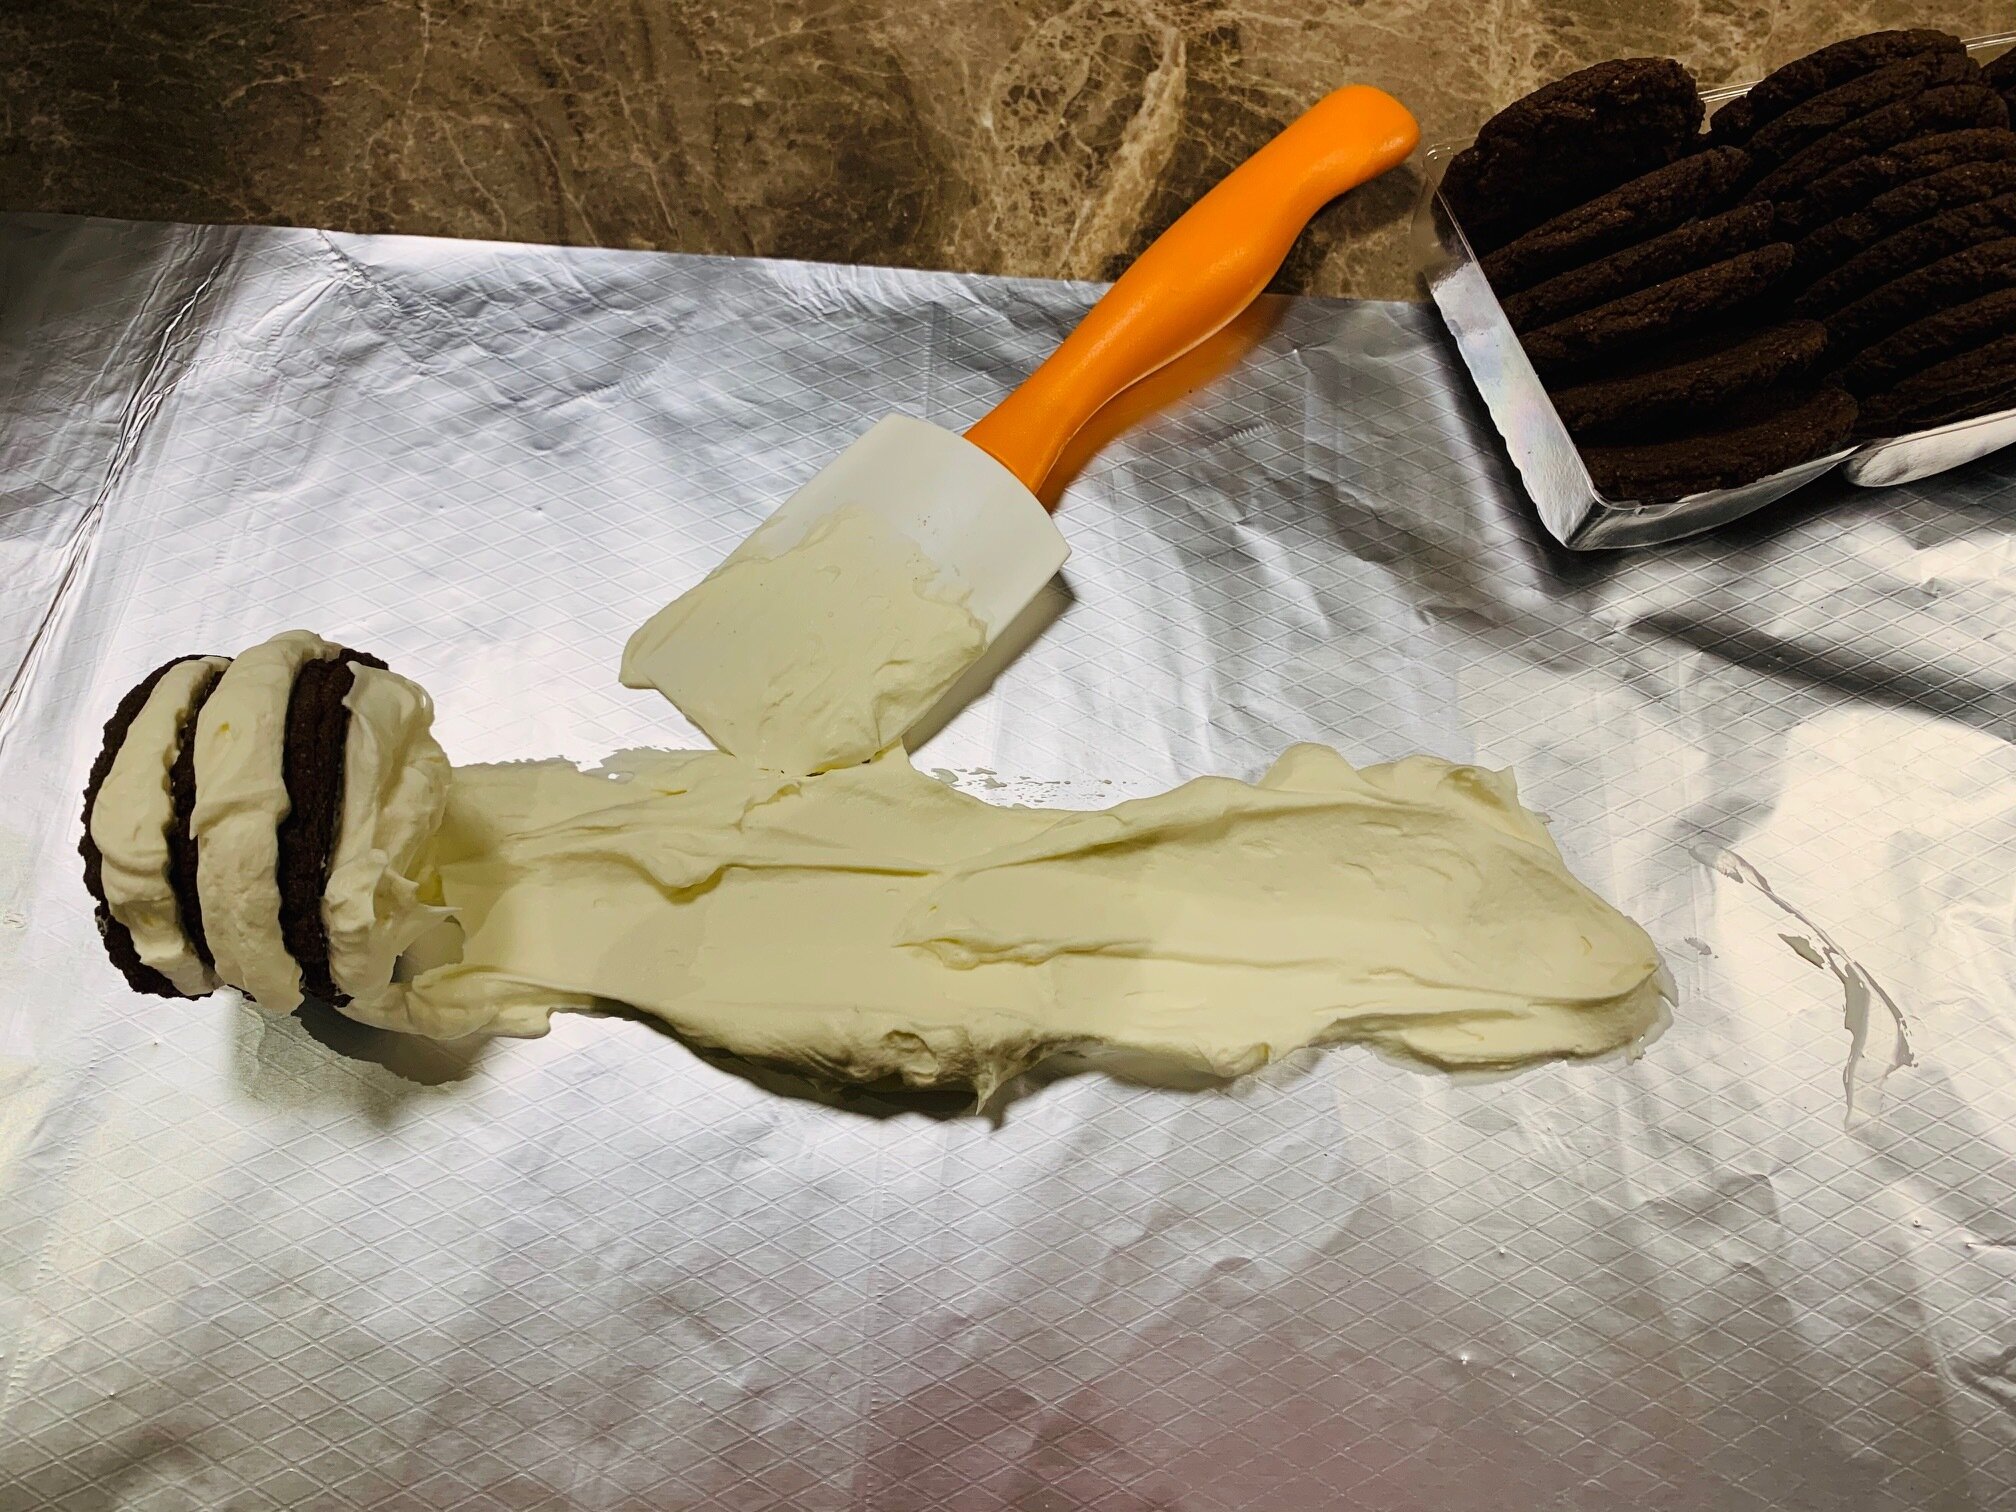
Prepare your bowl of cooled freshly brewed coffee.  Prepare a square tin/glass or ceramic dish approximately 50mm high.  Using exactly half the quantity of finger biscuits, dip each finger biscuit into the coffee for a second only and place it to create a create a layer on the base of the tin.  Now spread a layer of the cream cheese mixture, using exactly half of the amount prepared.  Generously sift the cocoa powder over the cream cheese layer.  This is one layer done. 

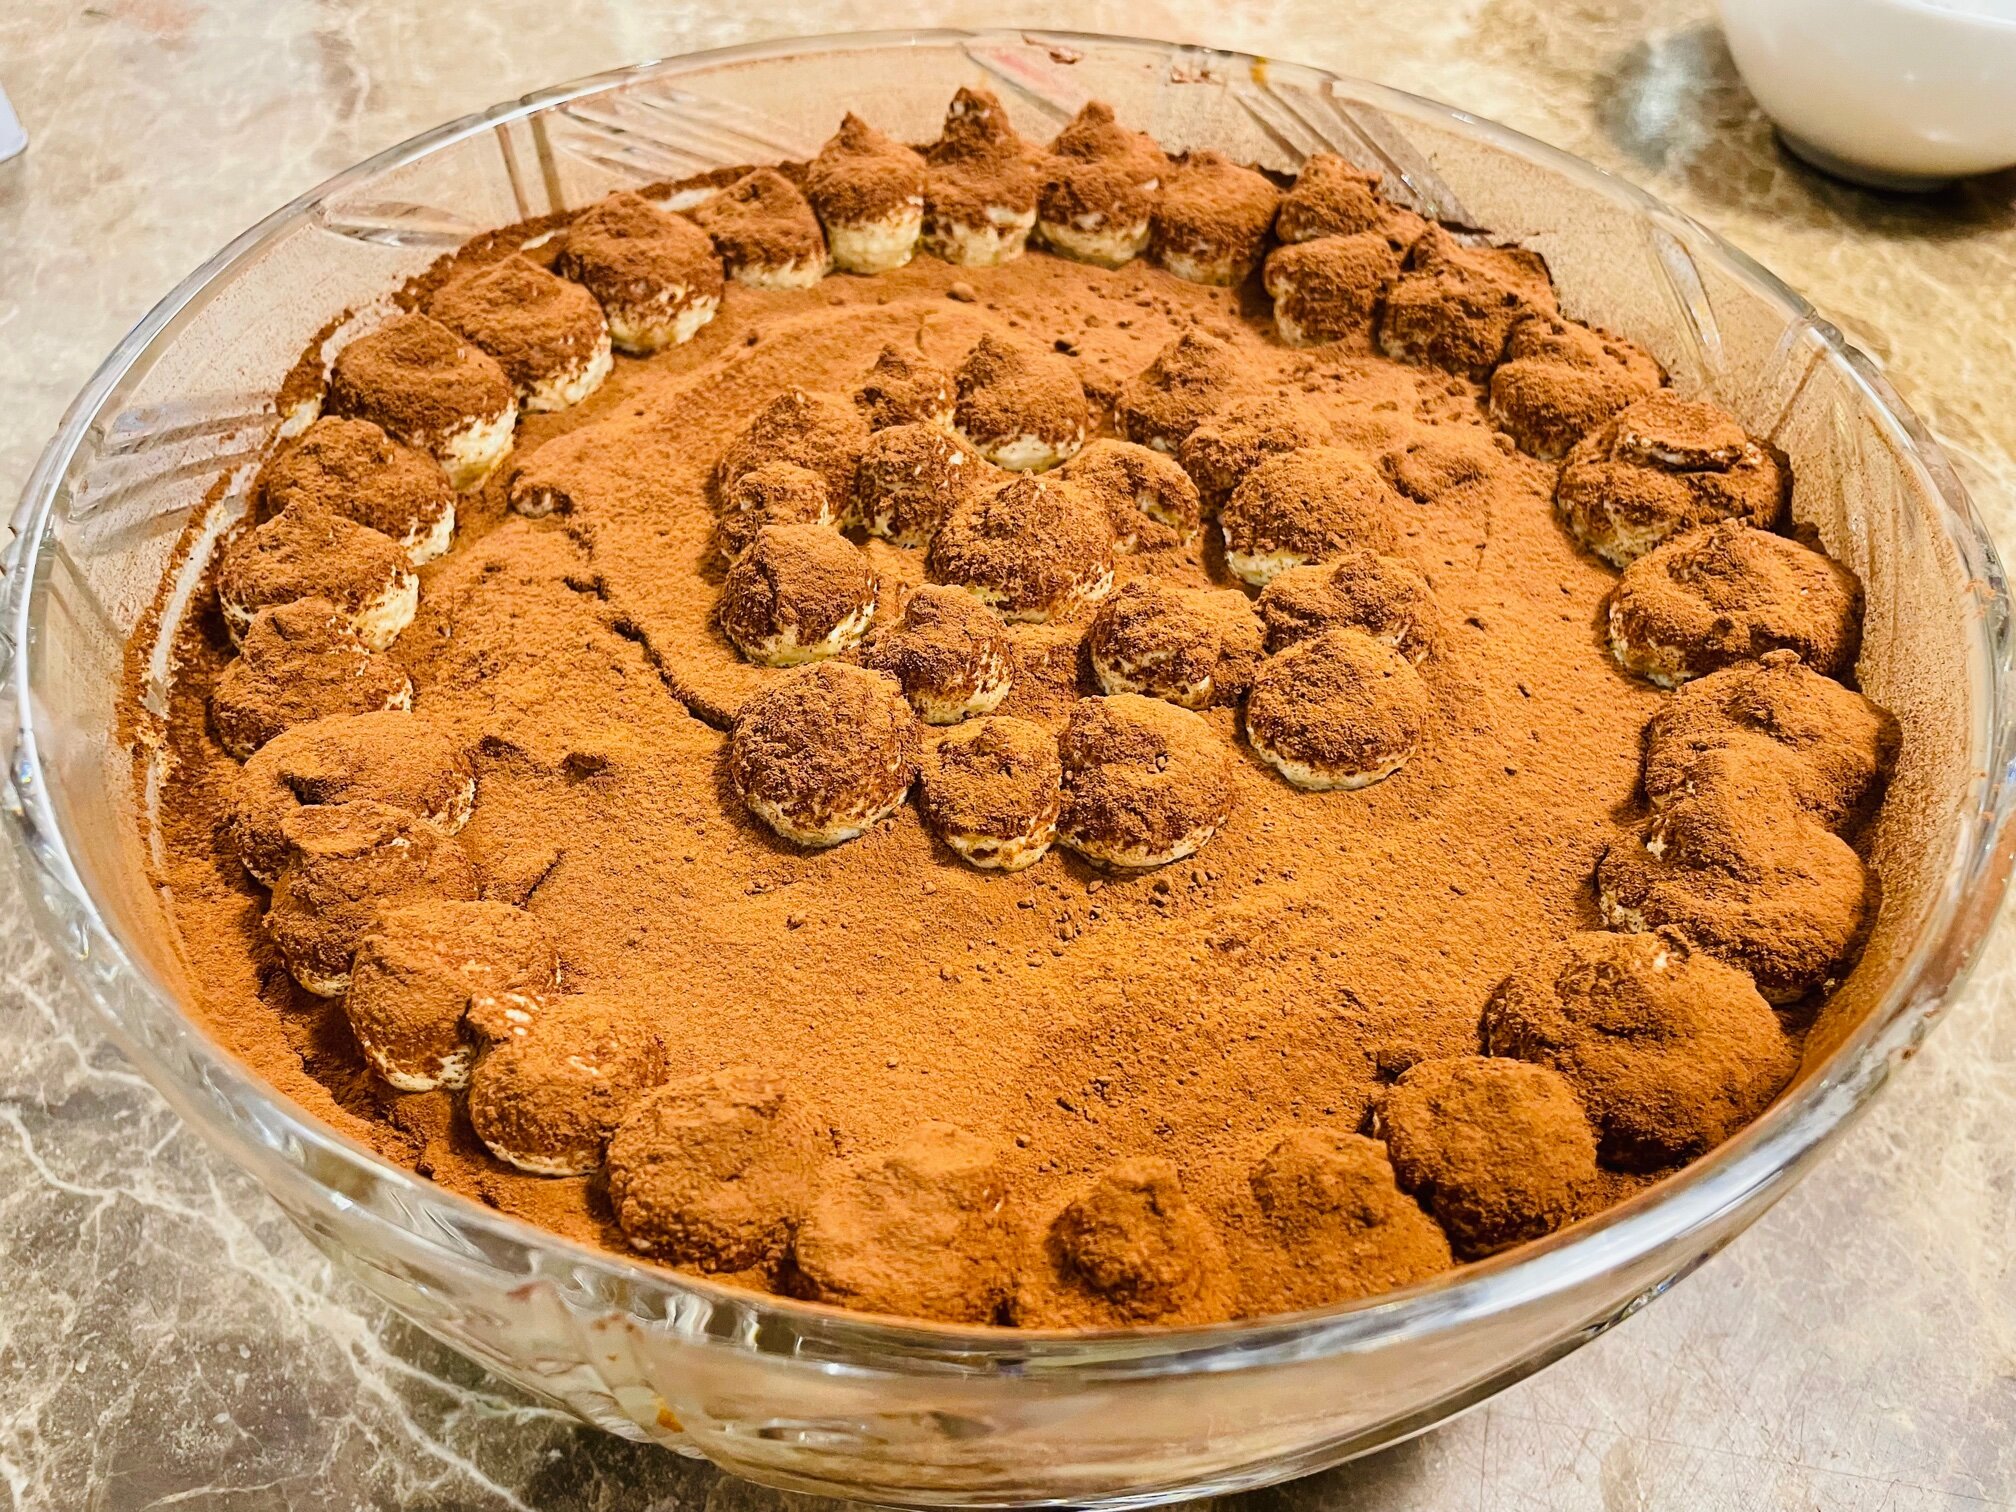
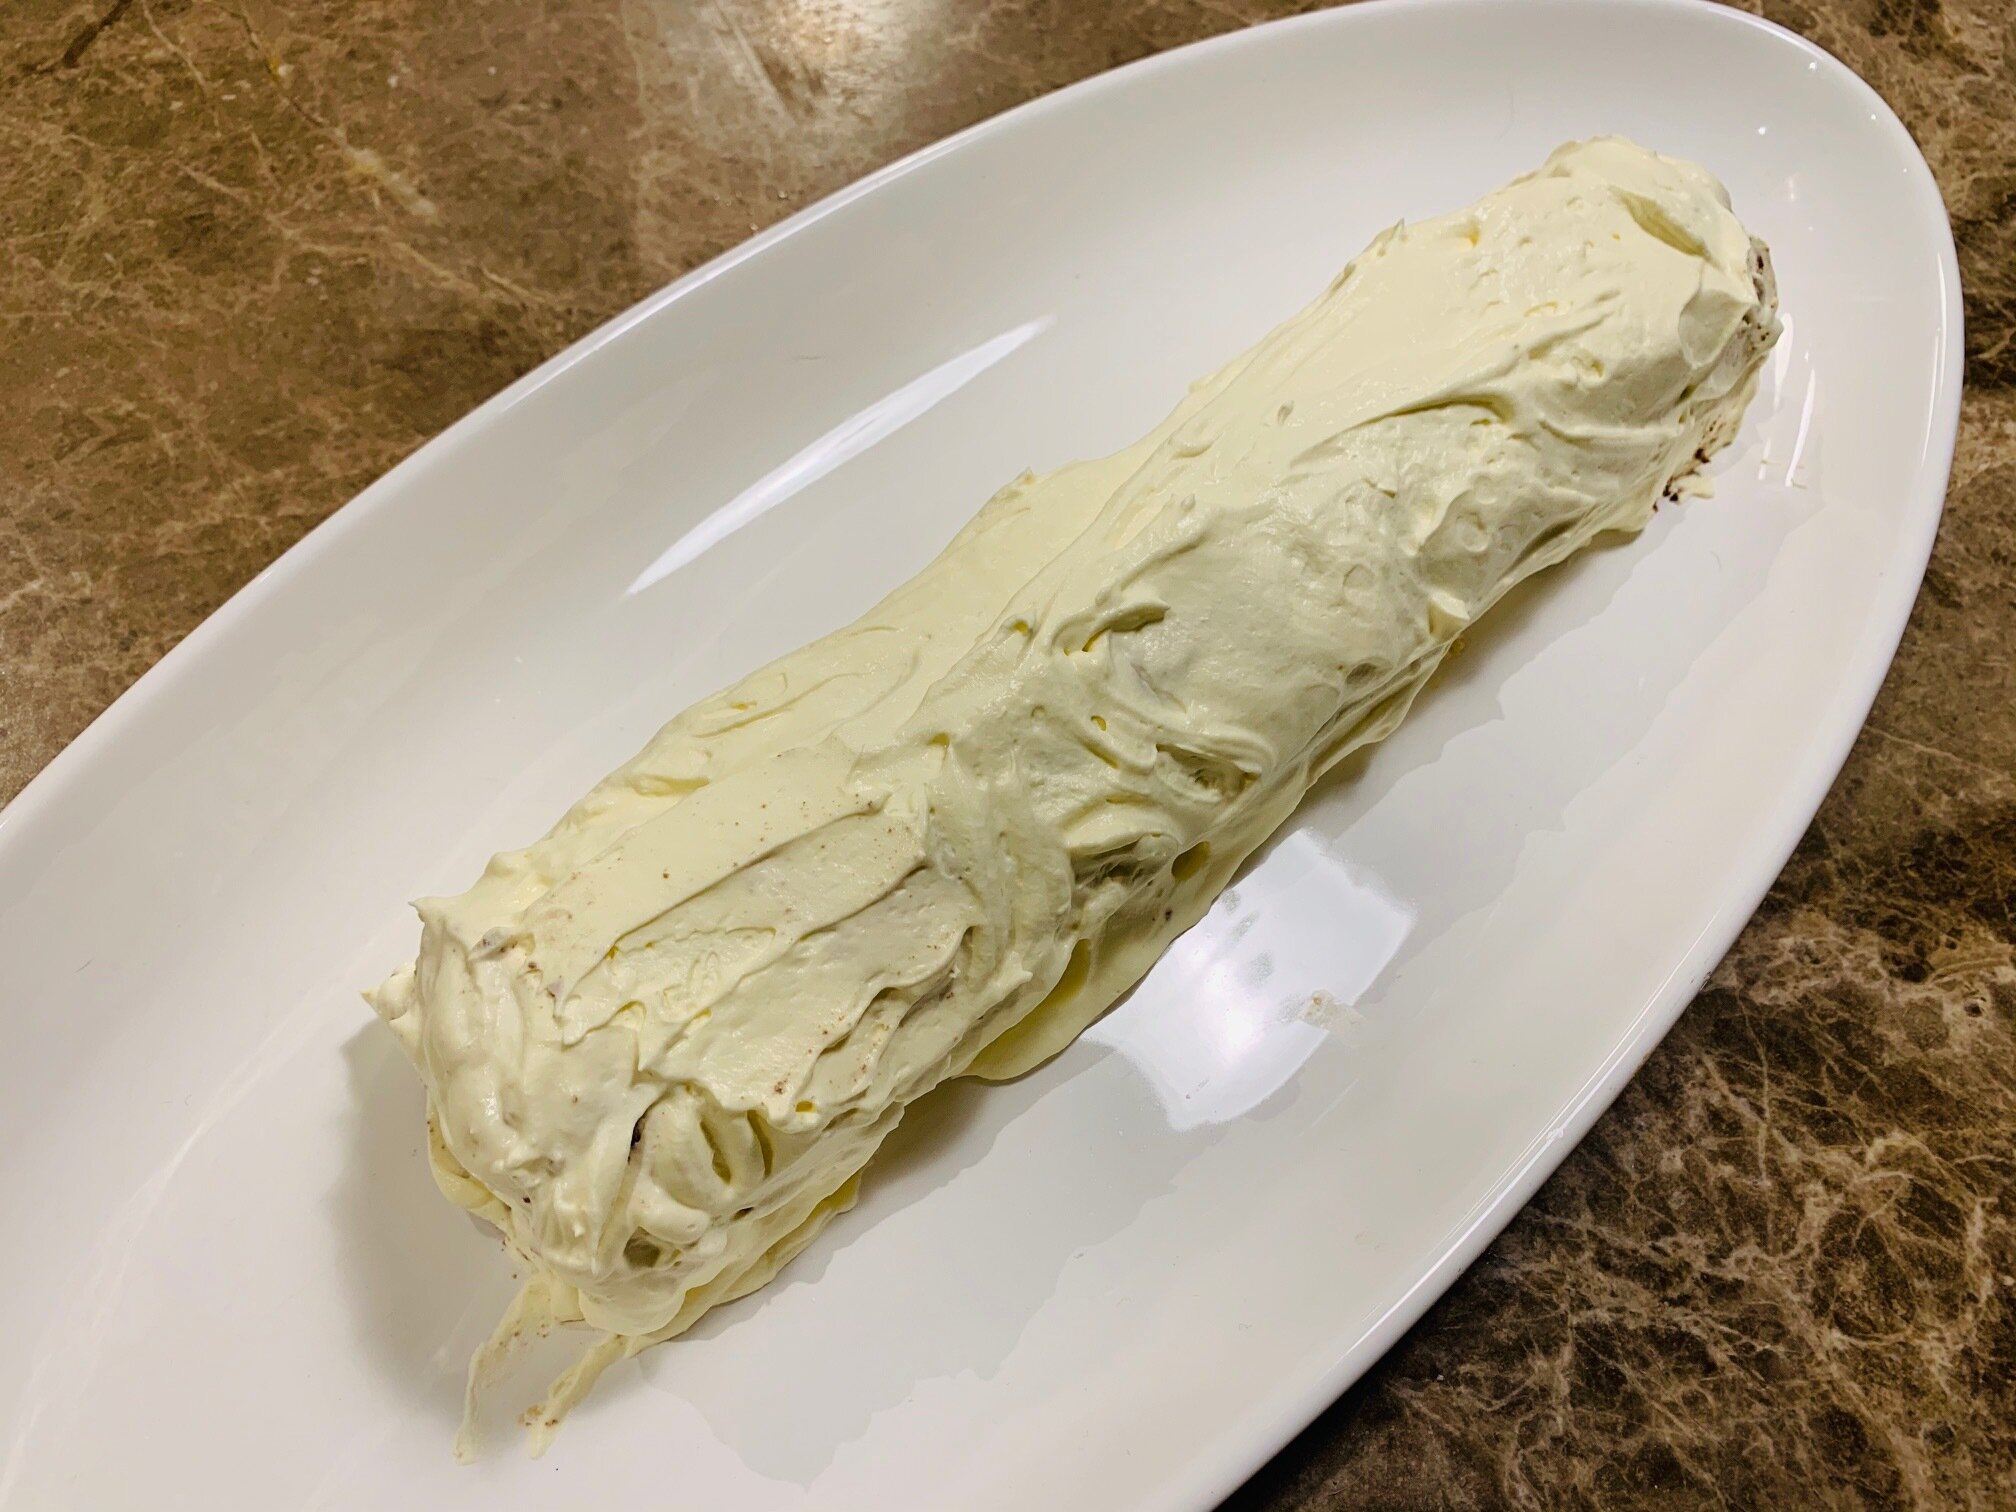
Now repeat the same atop the first layer.  Cover with the remainder of the cream cheese mixture and heavily sift the cocoa powder on top.

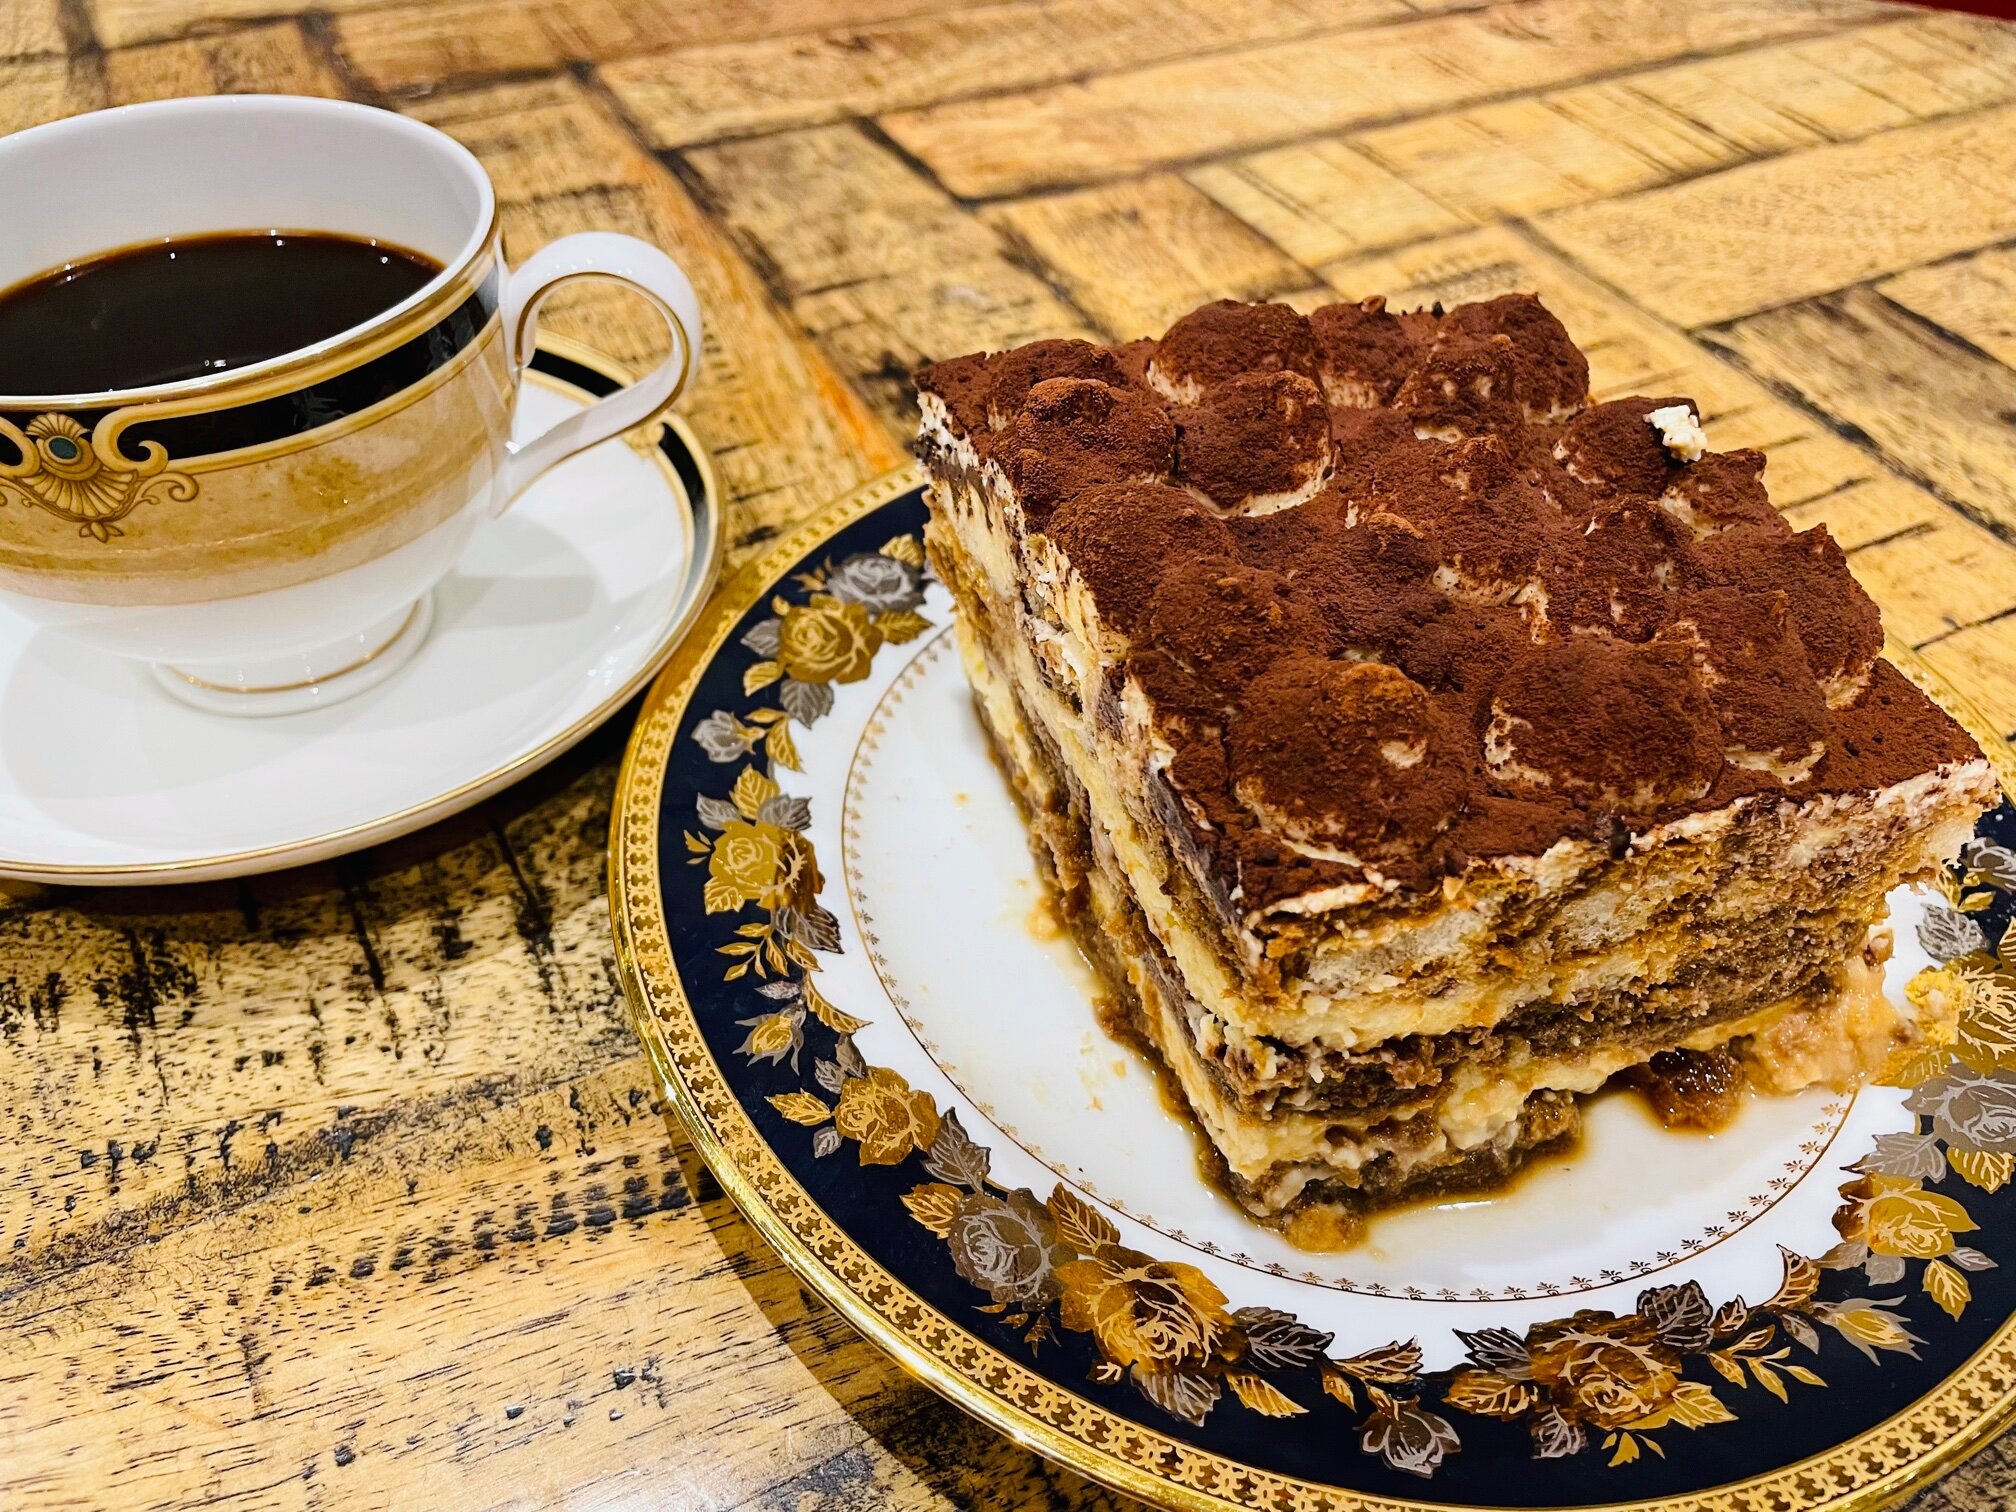
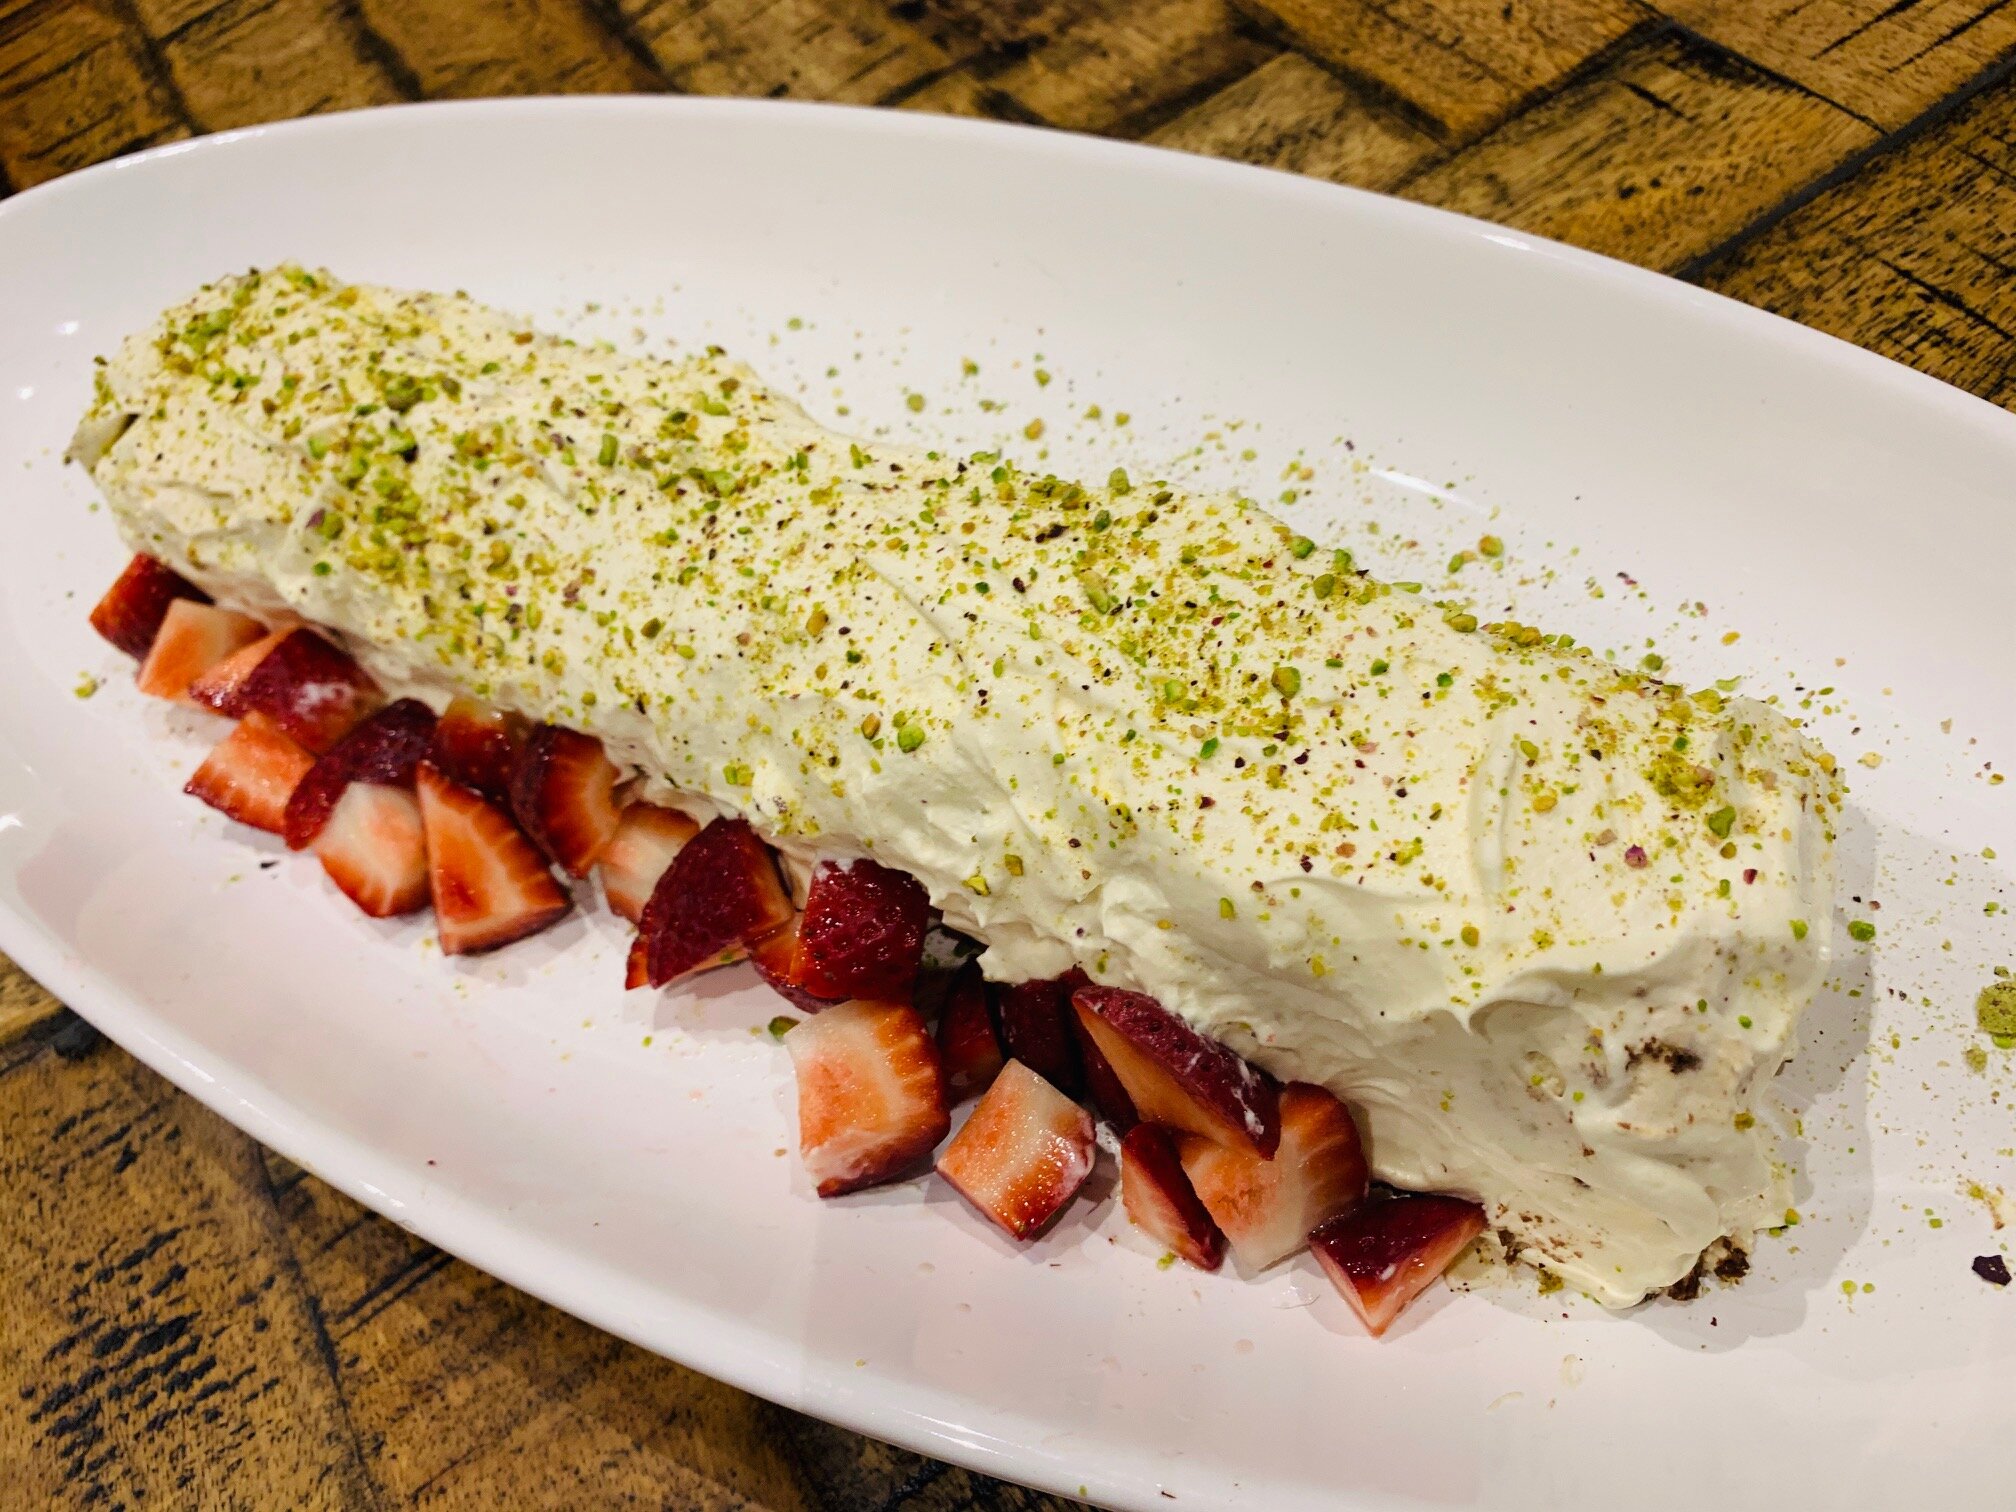
Refrigerate for about three hours.

Eat.

Enjoy.

Berry Crumble (gluten free/dairy free versions below)

Berry Crumble

As a result of my failed Summer Berry pudding, this berry crumble dessert became a winner!

Fresh berries are great, with cream they are better, as a crumble they are best!

Berry base:

2 punnets blackberries

2 punnets blueberries

2 punnets raspberries

1 punnet strawberries, tops chopped and halved.

150gms brown sugar

5 tablespoons water

Crumble:

1 cup rolled oats

1 cup plain flour

½ cup brown sugar (or coconut sugar)

125g butter

1 teaspoon baking powder

Pinch of salt

-       Gluten free version:

Substitute plain flour with almond meal or gluten free flour

 -       Dairy Free version:

Substitute butter with olive oil

Berry method

In a saucepan, gently heat sugar (I used coconut sugar) in five teaspoons of water.  When the sugar dissolves add a handful of mixed berries.  Let them simmer and release their fabulous flavours for about two minutes.  Turn of the heat.  Add the rest of your berries and gently turn over so they all become gently warm.  Leave them for about five minutes.

 Crumble method

Prepare your dessert bowls or tray.  Line the base with the berries.  The ‘crumble on top’ is a mixture of butter, plain flour and rolled oats.  In a separate bowl, mix the oats, flour, sugar, salt and baking powder.  Gently melt the butter on a low heat and add to the mix.  Stir with a spoon until the butter is well distributed.  Spoon this mixture onto your berry base.

Bake for about 30 minutes at 180C or until golden brown.  The olive oil version will brown faster, so keep a watchful eye on the colour!

Serve hot with freshly whipped cream.  Add a drop of vanilla essence to the cream as you whip for extra praise!

Stay warm!


Summer Berry Pudding – no success yet…

So, before we get to the recipe, let me tell you that I have failed at every attempt to make this spectacular dessert.  I saw it on a Christmas buffet dessert table about ten years ago and I have tried unsuccessfully to get it right.  Even the pudding you see picture here was not made by me, but my daughter. 

I am yet to successfully make a Summer Berry Pudding.

I tried to make it for you on the weekend when the weather felt like Spring.  I stuffed it up when releasing the pudding from the mould.  The quick solution was to retrieve all the delicious berry fruits and convert the dessert into a ‘berry crumble’, which is an apple crumble, but with berries.  That was highly successful, but again I claim no credit!

I took some photos of the berry crumble and I highly recommend it!  I’ll ask my daughter how she made it and I’ll post it separately as it is completely deserving of its own post.  

Therefore, I challenge you all to make a Summer Berry Pudding.  If you get it right, please photograph it and tell the world your secret.  Meanwhile, I’ll persist and I dream that one day I will sit back with my successfully made Summer Berry Pudding and eat the whole thing with too much cream and very dark coffee.

Please send in your posts.

Summer Berry Pudding

The recent ‘taste of Spring’ days we have enjoyed has prompted me to ‘bring on Summer’ and make a fantastic Summer berry delightful dessert.

Ing.

2 punnets raspberries

2 punnets blueberries

2 punnet blackberries or gooseberries or mulberries

1 punnet strawberries, trimmed and halved

150g castor sugar (I used coconut sugar)

10 tablespoons water

1/2 loaf fresh white bread, crusts removed

Method

Wash all the berries in a colander.  Put some aside for garnishing.

In a saucepan on medium heat, heat the sugar with five tablespoons water.  When heated and mixed, place a cup of your berries into the pot and heat slowly, stirring for about five minutes.  Add the other five table spoons water.  This releases the berry colours and juice.  It will smell amazing! 

Turn off the heat and place all the berries into the pot, stir them through and place the lid on top.  Let them rest, turning every minute or so to let the fresh berries warm a little.

In a bowl which will form your mould, line the sides with the bread slices, crusts removed.  Place your first piece in the centre and try to cut the bread to fit neatly and cover all gaps, without overlapping.

Using a slotted spoon, scoop the fruit into the mould, compressing with the spoon as you layer the fruit.  Save all the red berry juice that remains.  We will need to use it later 

Place pieces of sealing bread on the top of your fruit which will form the base of the pudding.  Invert a saucer or small plate that fits the mould and press down on it to compress the pudding.  Place weights on the saucer (I used two tins of tomatoes and a tin of coconut cream for weight) to keep it under pressure.  Place it into the refrigerator to set.    

After four or five hours, remove the weights and the saucepan, invert the mould, allowing it to come out neatly onto your presentation plate.  Place it on a serving plate.

Using the coloured and flavoured juice from the pot, paint the uncoloured areas where the colour did not soak through.  Run the fresh garnishing berries through the berry juice and pour the remainder over the pudding through the garnishing fruit.  Don’t waste the juice, pour it on!

I added some spearmint leaves for colour.  Serve with whipped cream!

Please enjoy!

Lemon Citron Tart

Easy peasy lemon squeezy.  I thought now is time to bake!  But who needs a reason?

This famous lemon tart tastes so good and is so easy to make.  I challenge you to make this tart and let me know how good it is!  The recipe I used came from Mr Google, but I will try to make it easier for you here.

This is made in two parts, the base needs to baked for 10 mins before the filling is added.

Ing.

Base:

1 ¾ cups plain flour

½ cup almond flour

1/3 cup icing sugar

2 egg yolks

175g chilled, chopped unsalted butter

2 tablespoons chilled water

Lemon filling:

5 eggs, whisked

¾ cup caster sugar

300ml thickened cream

2 tablespoons grated lemon rind

½ cup fresh lemon juice 

Preheat oven to 200c.  Mix initially in a bowl, then press and knead on the bench the flour, almond flour, icing sugar, egg yolks, butter and water.  Knead it like bread until you have a consistent ‘dough’.  When all the butter has mixed through, shape it into a disc, wrap it in film and place it into the refrigerator.  Leave for 30 mins in the fridge.

To make the lemon filling, place into a bowl the whisked eggs, sugar, cream, lemon rind and the lemon juice.  Whisk it again until it is well whisked!  Set aside.

Take your pastry from the fridge and using a rolling pin, roll it between two sheets of baking paper to achieve a 3mm thick base.  Lay the base into a 230mm (9 inch) low tart baking dish, lined with baking paper.  This can be tricky as the pastry likes to break, but it can be easily patched and repaired.  Now bake the base in the oven at 200c for 10 mins.  Once baked, remove from the oven and refrigerate for 15 mins.

Reduce the oven temperature to 160c.  When the base is chilled, pour the lemon filling into the base and then place into oven to bake for 30-35 mins or until the centre is set.

Refrigerate overnight in the pan.  The next day, dust with icing sugar, cut and eat.

This is so good.

Enjoy.

Yes, cheesecake, again

It’s time for kids to make you a cheesecake. 

A note to the children, there is a requirement to melt butter on a hot stove.  This is a task that must be undertaken with adult assistance.

You should know that I love cheesecake.  It is so good it is so easy to make. 

2 x 250g packets of Philadelphia Cream Cheese

250g Arnott’s Marie biscuits

50gm melted butter

600ml Bulla thickened cream (2 x 300ml tasks)

1/3 cup caster sugar

Freshly grated lemon rind and a squeeze of lemon or lime

1 teaspoon Gelatine dissolved in a splash of hot water

4 drops Vanilla Essence

Ground nutmeg

Crush your Arnott's Marie biscuits. I place them into a plastic bag and roll them with a rolling pin. Melt 50 gms of butter and then pour the hot molten butter into a bowl with the crushed biscuits and mix well together with a spoon. Your high side tin is, of course, already prepared and lined with greaseproof paper or foil.

Tip your biscuit and butter mix into the tin, mould the sides up using a well-shaped glass. Make sure your base is firm and there are no holes or thin spots.

Meanwhile, using a mixer, mix two packets of Philadelphia cream cheese (at room temperature) with 300ml Bulla Thickened cream, 1/3 cup castor sugar and a few drops of vanilla essence. In a separate cup, dissolve a teaspoon of gelatine in a splash of hot water. When dissolved, add it into the mixer. Feel free to add some lemon or lime rind at this time if you want to flavour it up.  Also squeeze a little of the juice of the lemon or lime into the mix.

When it is well mixed without any 'unmixed' cream cheese, which tends to happen, pour it into the biscuit base lined tin and smooth it over using a fork. Lick the fork, it saves on cleaning.

Wash your mixing bowl, beat the remaining 300ml (of your 600ml btle of cream). Add a few drops of vanilla essence (and a dash of icing sugar if you want to sweeten it). Once firmly whipped place it over your cream base and again smooth it over with fork. Lick the fork.

Sprinkle with ground nutmeg. Refrigerate for 4 hours.

Now eat.

Enjoy!

Fresh Strawberries in Balsamic Vinegar

Until you try this you will not understand how good it is!

Ing


Strawberries

Balsamic Vinegar from Modena, Italy ($3.45 for a 250ml btl at Maxi Castlemaine/Ballarat)

A sprinkle of icing sugar


Cut the tops off your washed strawberries and chop them in half. In a bowl, splash them with balsamic vinegar at the rate of one generous tablespoon per punnet. Sprinkle on some icing sugar and let them rest on the bench for 20-30 minutes. Turn them gently with a slotted spoon every five minutes to ensure they all receive a good glazed covering.


Serve with whipped thickened cream with a drop or two of Vanilla Essence. If you can get the real Vanilla Essence, as opposed to the imitation Vanilla Essence, you will be pleasantly surprised.

Let me know how you find this!

Choc Ripple Cake Challenge– this is for the kids on school holidays

So easy to make, no heating required, a great starter for kids to make their first cake.  Such a sense of pride and accomplishment will present itself after this cake is made.  It is not just for the kids, Choc Ripple cakes are terrific to eat!

Ingredients

1 x 250g packet of Arnott’s choc Ripple biscuits

600ml Bulla thickened cream

4 drops Vanilla Essence

1 teaspoon caster or icing sugar

To garnish: pistachio nuts and fresh strawberries               

In an electric mixer, or by hand, beat all the cream with the teaspoon of sugar and the four drops of vanilla essence until a firm consistency is achieved.

Half the whipped cream into two sections.  We will use one half now and the other half after the cake is removed from the refrigerator, usually overnight.

Lay a 900mm sheet of aluminium foil flat on the benchtop.  Smear some cream in a straight line on the foil where you want your cake to be assembled.


In your hand, take a Choc Ripple biscuit and spread some cream onto one side, a little thicker than the biscuit.  Take another biscuit and press it onto the creamed side of the first biscuit to make a cream and biscuit sandwich.   Now put these two joined biscuits onto the foil. This is the start of your cake assembly.


Progressively add more biscuits and cream until you have a long complete cake. Use the cream now to spread over the cake until it is completely covered in cream.  Gently wrap the foil over the sides and ends.  Place it into the refrigerator.  It needs to stay there for at least six hours.  I just leave it overnight.  Place it alongside the second bowl of cream so it stays fresh until you are ready to use it.


The next day, gently unwrap the foil and place your semi-finished cake onto the dish you want to use to serve or present it.  Take the second bowl of cream and gently cover the entire cake with the fresh whipped cream.  Grate some pistachio nuts and chop some strawberries.  It is ready to eat!


Post a picture of your cake on Facebook.


New York Style Baked Cheesecake

I promised you a baked cheesecake recipe, so here it is.


Yes, it tastes as good as it looks!  It’s easy to make.


It takes a little engagement and a little time, but this is what you get for your effort!


Before you start to bake make sure you have the time to make this cake: 

-       preparation time: 20 mins

-       baking time: 1h 15mins

-       inside oven rest time: 2 hours

-       refrigerator time: 4 hours

once in the oven, the oven door must remain closed for 3h 15mins.


Preheat oven to 160c (140c fan forced).


Ing.


1 x 250g packet Arnotts Marie Biscuits

180g unsalted Butter

2 x 250g Philadelphia Cream Cheese (at room temp.)

200g Sour Cream (not light Sour Cream)

1 cup Caster Sugar

½ teaspoon Vanilla Essence

½ teaspoon of grated fresh Lemon Rind

1 tablespoons of fresh Lemon Juice

2 tablespoon Plain Flour

4 Eggs

Icing Sugar to dust

Blueberries or Raspberries to garnish


Preheat oven to 160c (140c fan forced).


Crush your Arnott’s Marie biscuits.  I use a rolling pin with five or six biscuits at a time inside a zip-lock plastic bag to crush the biscuits.

Line a 20cm cake baking tin with baking paper.

Melt the butter over a low flame in a small saucepan.  When melted, pour the butter over the crushed biscuits, in a bowl, and stir with a wooden spoon until consistent.  Now line the base and the sides of your baking tin with the crushed biscuits.  I use a drinking glass to press and mold the base.  Most recipes now tell you to put the base into the refrigerator for 30 mins.  I never do, never have, never will!


Using an electric mixer, if you have one, mix the Philadelphia Cream Cheese, the caster sugar, the vanilla essence, the lemon rind, lemon juice and two tablespoons of plain flour.  Mix gently. 


Whilst mixing, introduce your four eggs, one at a time.  Use a low mixing setting so the eggs don’t fluff too much.


When all is well mixed, remove the bowl from the mixer and fold the sour cream manually into the mix using a spatula.  Don’t lick the spatula!  Raw eggs…


Now pour the lot into the biscuit base.


Place into your preheated oven for 1h 15mins.  Don’t open the oven door!  Once the 1h 15mins is reached, turn off the oven and leave inside the heated oven for two hours.  Again, don’t open the door.  Opening the door makes the cheesecake crack!


Once the two hour time is over, remove your cheesecake, place into a refrigerator for four hours (or as I say, overnight).


Decorate however you like.  Blueberries and raspberries with a light dusting of icing sugar is good enough for me. 


Serve at room temperature with lashings of freshly whipped thickened cream!


Enjoy!

Spicy Australian Brandied poached dried fruit

You have all read my posts where I don’t believe we should wait for December to enjoy the delights of Christmas food.  Today I poached Australian dried fruits with brandy and spices.  OMG! This is so good words cannot explain, but facial expressions can!


In your pot, bring to the boil 1 cup of brown sugar with 2 to 2.5 cups of water, two cinnamon sticks, vanilla bean scrapings (and the bean), a teaspoon of mixed spice, about 12 cloves and a good splash of brandy.  I gave mine a really good splash of brandy!  The alcohol evaporates early but the flavour remains. Boil for 2 minutes.


Now turn down the stove to the lowest possible heat setting and add 500g of Australian dried fruit.  I added pears, apples, prunes, peaches and apricots.   Given the fruit is dried, 500g is a lot of fruit.  Let it simmer for 30 mins, slowly turn it over occasionally so all the fruit absorbs the liquid. 


Remove and discard the cinnamon stocks and vanilla bean. Let it cool and slap on a dollop of freshly whipped cream.


Incredible!!


You can place these fruits in their liquid into sealed glass jars for storage in the refrigerator, guaranteeing a week’s supply of excellent lock down food.  


You can eat this as a meal.  Who needs savoury food?


Stay well, enjoy isolation!

Traditional cloth wrapped Plum Pudding

Why do we have to eat wintery foods in summer at Christmas time?  We are not in Europe and the snow is not falling.  July seems to be the best time to enjoy these delights, so given the time to prepare, I thought I’d make a traditional plum pudding, or two, to eat in July when it is very much required!    

Now, this is not a challenge to you excellent food makers, but people have been asking me for meals and dessert ideas, so why not challenge yourselves!  I found making these puddings very easy.  I had not made one before.

I created a hybrid of two recipes, one from Australia, the other from the UK.  For those who are interested, the two recipes I chose are listed here.

https://bakingwithgab.com/2013/12/20/christmas-and-pudding/

http://www.paulcouchman.co.uk/how-to-make-a-traditional-christmas-pudding-in-a-pudding-cloth/

My ingredients were:

450g raisins

450g currants

200g sultanas

300g shredded apples

50g glace cherries

250ml St Remy brandy

450g butter

500g brown sugar

8 eggs

350g plain flour

1 tsp nutmeg

1 tsp mace (I’ll deal with Mace in a separate post)

1 tsp mixed spice (heaped!)

50g chopped almonds

250g breadcrumbs

¼ tsp bi-carb of soda

Pinch of salt

For two days I soaked the raisins, sultanas, currants, mixed peel and chopped almonds in brandy.  I left the bowl on the bench, covered with clear film.

Before I started to assemble the pud, I cut and boiled two lengths of calico.  Calico is in abundance at Spotlight.  A roll costs about $10.00 and it can make a lot of puds. The calico needs to boil for 20 mins in water to sanitise it and encourage the fibres to swell.  It was ready to come off the stove when the mix was ready to be put into the calico.  Once the calico is wrung out, which is a memorable task due to its intense heat, it needs to be laid over the sizing bowl and dusted with flour.  The flour absorbs into the fibres and seals the calico.  This stops the brandy from escaping!  

As I assembled all the ingredients, I mixed the butter with the sugar in the mixer.  I beat 8 eggs separately and left them in a bowl, I measured my bread crumbs and flour then added the nutmeg, mace, mixed spice, bi carb and salt into the flour bowl.

I tipped the lot onto the bench and blended it all by hand! Who needs a bowl when you have bench? I separated my mass of uncooked pudding into two separate bowls and cleaned the bench.  Calico time:

The calico was laid over the bowl, dusted with plain flour, mixture inserted and then tied twice with cotton string.

I then put them both into boiling water where they currently sit and will remain for 3.5 hours.  Once the water boils, the heat can be turned down to very low and the water will continue to boil, making the energy cost relatively low.  It requires a top up of hot water from the kettle every hour or so.

After 3.5 hours of boiling, I removed them from the stove and hung them in a ventilated outdoor area (garage) where they will remain for about 2 months.   

Christmas Day

In the morning of the day they are to be consumed, remove your pudding from it’s resting place, boil in water (in the sealed cloth) for three hours. Remove it from the water, allow it to drip dry for a few minutes and then put it aside to cool. It needs time to reach room temperature, probably about two hours. Don’t open the cloth until it has cooled to room temperature. To remove the cloth, cut the wrapped seal and gently peel the cloth away from your pudding, ensuring nothing breaks off. Place it, inverted, onto a serving plate. It is now ready to serve.

You need to prepare the standard whipped cream or custard (or both), but you will have ample time to prepare these sweet condiments whilst the pudding is settling.

To light the pudding with brandy, this is what you do: using a metal soup ladle, place a generous quantity of brandy into the ladle. Do not fill it to the top. Light a flame, preferably the stove top flame and gently warm the brandy in the ladle over the flame. After about ten seconds, simply tilt the ladle and the brandy will ignite!

Pour the flaming brandy over the pudding. If your guests thought it was a spectacular sight and they want to see it again, simply collect the brandy from the pudding plate and do it again. The brandy will ignite multiple times!

Enjoy!


Spicy Apple Dessert

Puff pastry is finally being stocked again the stores. Both Pampas and Borgs puff pastry are excellent choices for this dessert, but you can always make your own...

Winter is here tonight, so it is an appropriate time to offer my Spicy Apple Dessert recipe, a relatively simple pastry dish I have been making for about five years with extraordinary success!

The recipe below is in three parts. I recently made three different desserts, one with apple, one with apple using honey as an alternative to brown sugar and the final one was just a punnet of blueberries! The methods is the same, the ingredients vary.

Preheat the oven to 225c. Thaw three sheets of puff pastry on the bench. Peel, core and dice two Granny Smith apples per pasty sheet.

Regular Apple: in a mixing bowl, toss your diced apple, 50 gms of brown sugar, a teaspoon of plain flour, a tspn of ground cinnamon and two tspns of 'Mixed Spice'. Toss it all together until each piece of apple is coated and dry (add a handful of sultanas if you want a really great dessert!). Pour the dried mixture onto a thawed sheet of puff pastry.

Apple with Honey: in a mixing bowl, toss your diced apple, a tspn plain flour, two tspns of Mixed Spice. Toss until coated and dry. Pour the mixture onto a puff pastry sheet and add the honey at this stage. Maybe a couple of tablespoons is a good amount.

Blueberry: simply wash your blueberries and place them onto the pastry sheet. Sprinkle 50 gms of brown sugar on top.

Wrap the pastry sheet over the fruit mixture and seal each end. Turn the envelope over so the seal is on the bottom. Place the envelopes onto a sheet of baking paper on a baking tray. Evenly slice the pastry in with a knife to allow heat to transfer and a texture to form. Coat the envelopes with a beaten egg.

Bake for about 25 mins or until dark golden brown. Let them cook! A little burnt edge here and there is a good sign that your pastries are ready.

Sprinkle with icing sugar (if you choose) and serve with lashings of whipped cream, whipped with with four or five drops of Vanilla Essence.

Enjoy!

Magnificent Poached Pears

I think you all like desserts as much as the main meal! So I made a special dessert tonight. It is a rich gourmet delight that is guaranteed to send praise your way by all who indulge!

It is very simple and inexpensive to make. Who knew that blending and preparing foods can create the most wonderful flavours.

Peel and core five ripe (but firm) green pears. Be sure to leave the stalk on top and coring is done with two simple scoops using a melon baller into the base of the pear. It removes all the seeds and leaves a whole solid pear.

Place all five peeled and cored pears into a deep pot, pour in any cheap red wine (or expensive if you don't want to drink it), 100 gms of brown sugar, two vanilla beans, split lengthways to release the essence, two whole cinnamon sticks and about six star anise pods.

Bring to the boil and then simmer on low heat, covered, for about an hour. Turn the pears gently using a large cooking spoon so all the pear soaks the wine juice. Let them cook. They will progressively become a dark burgundy colour. Let them cook and soften. They will become quite delicate and they will score or damage easily, so turn them gently.

The alcohol in the wine will completely evaporate at relatively low heat, so children can enjoy these too.

Serve them warm. Be sure to provide your guests with a pear, a large pond of red wine juice and a sampling of the remaining spices.

There is no limit to the amount of whipped cream you are allowed to add. A couple of drops of vanilla essence will make the cream blend so well.

The best way to handle these poached pears is not to serve them to your family and friends. Instead put them in the refrigerator so you can warm them and enjoy them each night without any one else knowing they are there.

They are too good to share!

Did you know that cheesecake is a breakfast food? It is at my house!

Question: when did you last make a good old cheesecake?
Answer: yesterday.

Crush your Arnott's Marie biscuits. I place them into a plastic bag and roll them with a rolling pin. Melt 50 gms of butter and then pour the hot molten butter into a bowl with the crushed biscuits and mix well together with a spoon. Your high side tin is, of course, already prepared and lined with greaseproof paper or foil.

Tip your biscuit and butter mix into the tin, mould the sides up using a well shaped glass. Make sure your base is firm and there are no holes or thin spots.

Meanwhile, using a mixer, mix two packets of Philadelphia cream cheese (at room temperature) with 300ml Bulla Thickened cream, 1/2 cup castor sugar (although I used Maple Syrup) and a few drops of vanilla essence. In a separate cup, dissolve a teaspoon of gelatine in a splash of hot water. When dissolved, add it into the mixer. Feel free to add some lemon or lime rind at this time if you want to flavour it up.

When it is well mixed without any 'unmixed' cream cheese, which tends to happen, pour it into the biscuit base lined tin and smooth it over using a fork. Lick the fork, it saves on cleaning.

Wash your mixing bowl, beat the remaining 300ml (of your 600ml btle of cream). Add a few drops of vanilla essence (and a dash of icing sugar if you want to sweeten it). Once firmly whipped place it over your cream base and again smooth it over with fork. Lick the fork.

Sprinkle with ground nutmeg. Refrigerate for 4 hours.

Now eat.